

1.首先在index.html中引入高德地图
<script type="text/javascript" src="https://webapi.amap.com/maps?v=1.4.15&key=&plugin=AMap.Driving"></script>
备注:key是在高德地图平台申请的密钥必填的,plugin是插件所用到的方法(这里使用的是行程经纬度)
2.在需要使用地图的界面:
<div id="container"></div>
script中 设置全局变量 var MAP,driving;
在mounted中:
MAP = new AMap.Map('container', {
mapStyle: 'amap://styles/normal',
zoom: 4, //级别
center: [116.397428, 39.90923], //中心点坐标
viewMode: '3D', // 地图模式
pitch: 43.5, //设置俯仰角
});
这样就可以显示地图了,然后我们把marker添加到地图上
使用axios获取后台接口:
axios.post('后台接口地址').then(res=>{
let {code,data} = res.data;
if(code == 200){
data.map(item=>{
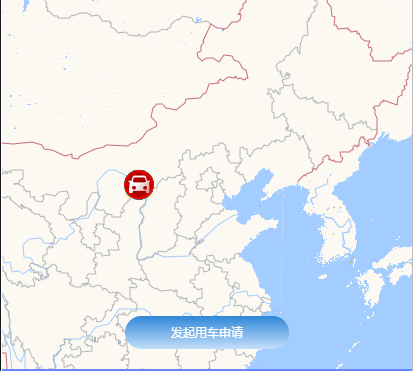
let marker = new AMap.Marker({
map: MAP,
icon: require('../images/markerIcon.png') ,//marker图标
position: [item.longitude, item.latitude],//接口返回经纬度
title:item.carNumber,
});
})
}
})
如果是需要动态切换图标的位置则会用到websocket;
那么把上边的方法直接写到onMessage里边就可以了,但是在渲染marker之前,必须先调用MAP.clearMap()方法,
再进行渲染,否则marker图标改变位置时,原先的marker图标依然还在而导致marker图标越来越多。
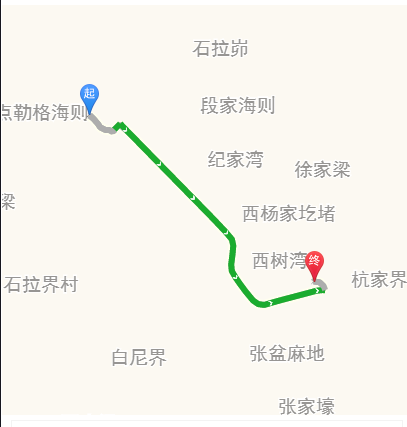
3.再说这个plugin获取行程路径的方法
在method中定义一个方法:
showMap() {
MAP = new AMap.Map("container", {
resizeEnable: true,
center: [116.397428, 39.90923],//地图中心点
zoom: 13 //地图显示的缩放级别
});
//构造路线导航类
driving = new AMap.Driving({
map: MAP,
panel: "panel"
});
this.tuJingPath = [];
axios.post('后台接口地址').then(res=>{
let {code,data} = res.data;
if(code==200){
this.startPath = [data[0].longitude,data[0].latitude];//起点坐标
this.endPath = [data[data.length-1].longitude,data[data.length-1].latitude];//终点坐标
data.map(item=>{
this.tuJingPath.push(new AMap.LngLat(item.longitude,item.latitude))
this.tuJingPath.shift();
this.tuJingPath.pop();
})
// 根据起终点经纬度规划驾车导航路线
driving.search(this.startPath,this.endPath,{waypoints:this.tuJingPath},(status, result)=>{
if (status === 'complete') {
// log.success('绘制驾车路线完成')
} else {
// log.error('获取驾车数据失败:' + result)
}
})
}
})
},
在需要这个功能的页面直接调用就OK:
还有许多方法,高德文档上都有,感兴趣的小伙伴可以详细看一下,随时沟通!

 浙公网安备 33010602011771号