Centos7 中Nginx的安装与配置
安装与配置
1.安装nginx
yum intsall nginxsudo systemctl start nginx启动服务sudo firewall-cmd --permanent --zone=public --add-service=http 允许http通信 sudo firewall-cmd --permanent --zone=public --add-service=https 允许https通信 sudo firewall-cmd --reload 重新加载配置
2.配置
在 /etc/nginx/conf.d 目录中新建一个my.conf文件,在此之前先将nginx.conf 配置文件中的server节点注释掉
server {
        listen 80;   #映射端口
        location / {
                 proxy_pass http://localhost:5000;   #监听端口
                 proxy_http_version 1.1;
                 proxy_set_header Upgrade $http_upgrade;
                 proxy_set_header Connection keep-alive;
                 proxy_set_header Host $host;
                 proxy_cache_bypass $http_upgrade;
        }
}
3.使用新配置启动nginx
执行这两个命令中的任一个重置nginx
 nginx -s reload  重新加载配置文件
 systemctl  nginx restart  重启nginx
4.访问网站
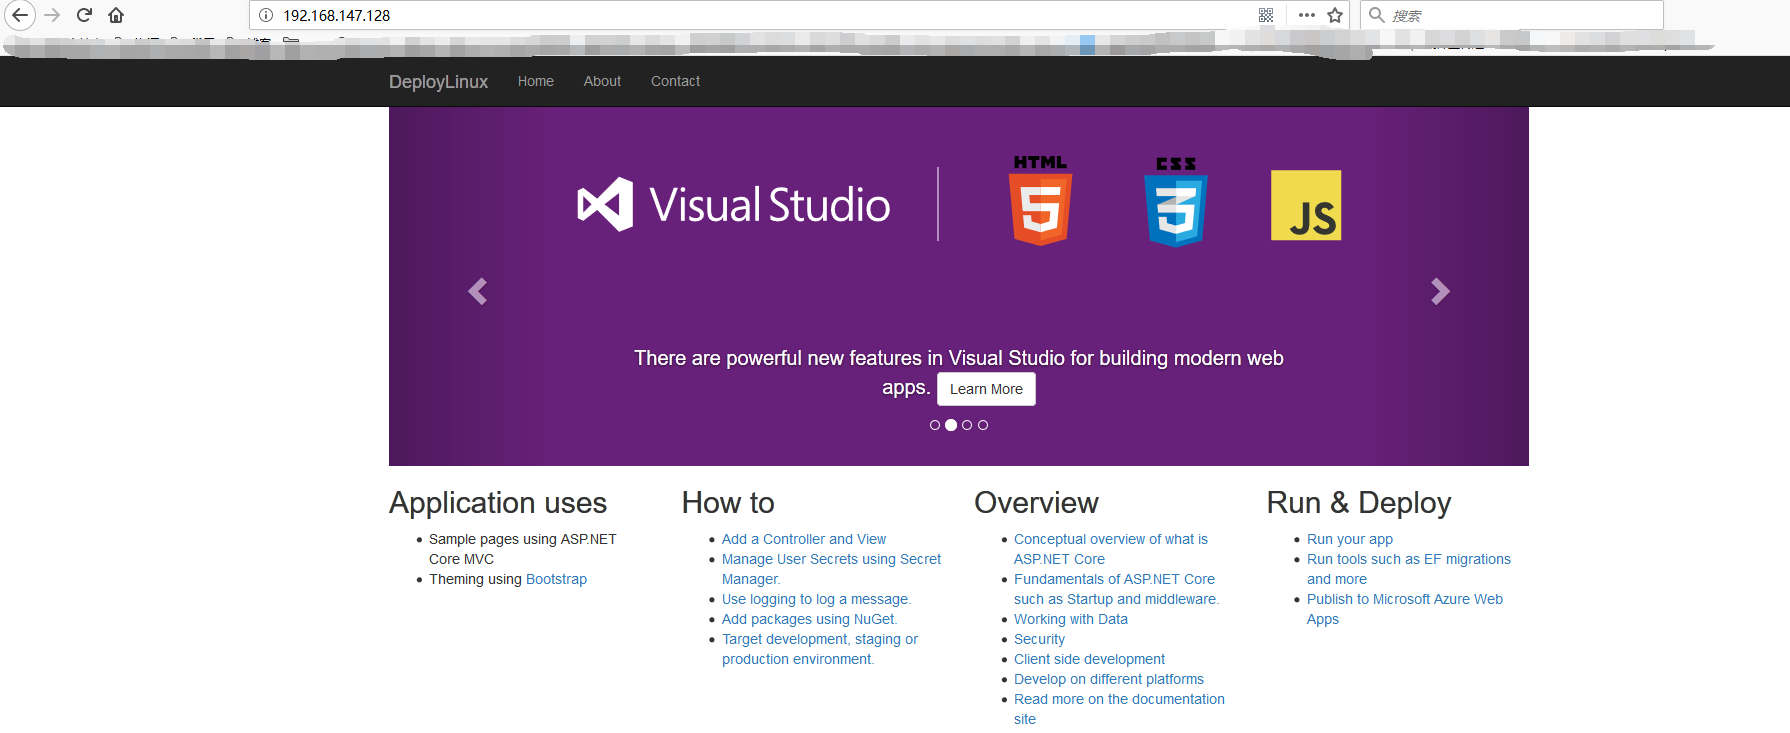
此时通过80端口访问网站应该是一切正常,但不凡意外发生

异常情况502
进入 /var/log/nginx/ 目录中查看错误日志,如果是以下错误,可以尝试用下面的方法解决

getsebool -a |grep httpd_can_network_connect //检查http网络访问权限情况
我们可以看到它是关闭状态的

执行 setsebool -P httpd_can_network_connect 1 //开启网络访问权限
开启后 http_can_network_connect 状态为on


