微服务-springcloud-注册中心
创建服务注册中心(eureka-server)
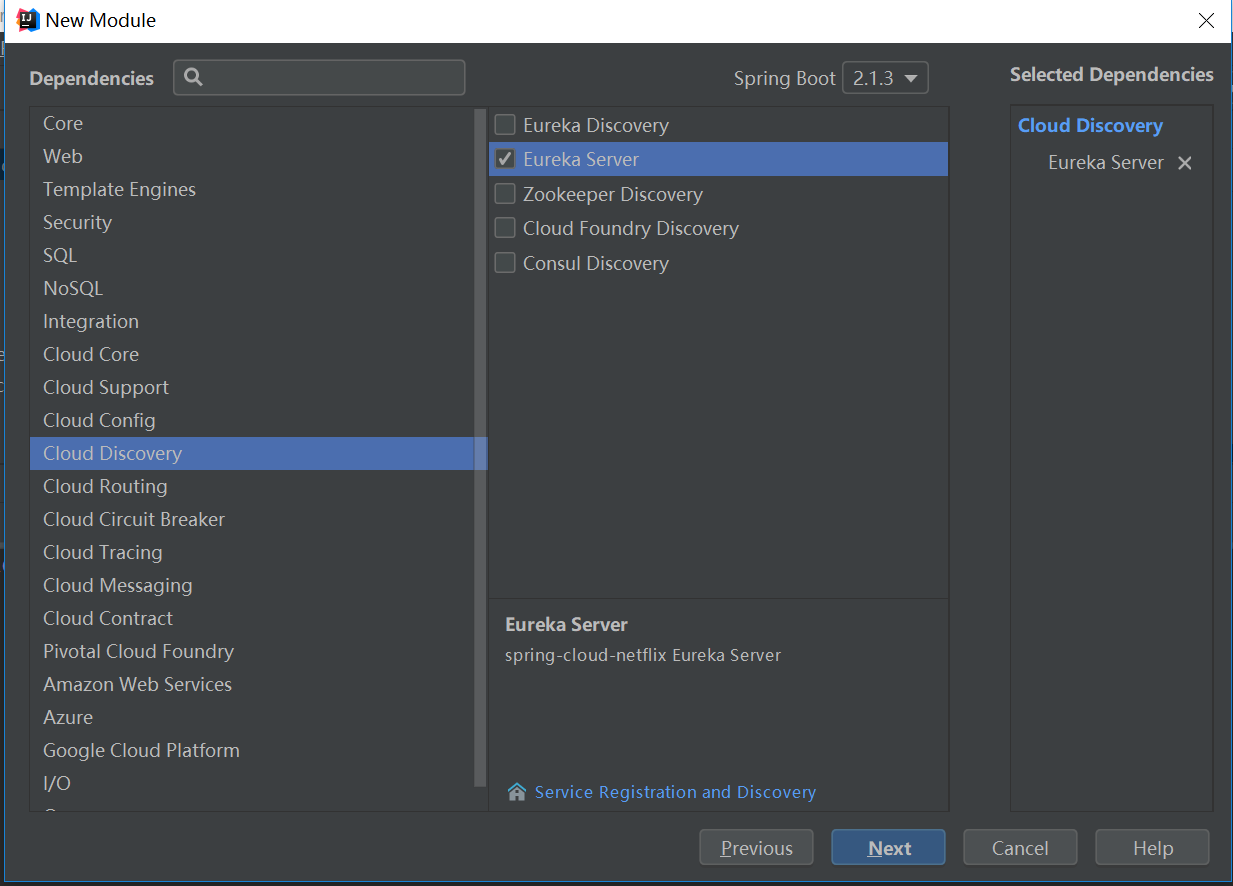
1.创建项目,选择 Eureka Server 别的都不要选择,next-finish
2.application.yml中写入如下信息:通过eureka.client.registerWithEureka:false和fetchRegistry:false来表明自己是一个eureka server.
server:
  port: 8761

eureka:
  instance:
    hostname: localhost
  client:
    registerWithEureka: false
    fetchRegistry: false
    serviceUrl:
      defaultZone: http://${eureka.instance.hostname}:${server.port}/eureka/
3.EurekaServerApplication加入注解 @EnableEurekaServer
import org.springframework.boot.SpringApplication;
import org.springframework.boot.autoconfigure.SpringBootApplication;
import org.springframework.cloud.netflix.eureka.server.EnableEurekaServer;

@SpringBootApplication
@EnableEurekaServer
public class EurekaServerApplication {

    public static void main(String[] args) {
        SpringApplication.run(EurekaServerApplication.class, args);
    }

}
4.启动项目,打开浏览器,输入http://localhost:8761/

No instances available 没有服务被发现 ……^_^
因为没有注册服务当然不可能有服务被发现了。
创建服务client(server-user)
当client向server注册时,它会提供一些元数据,例如主机和端口,URL,主页等。Eureka server 从每个client实例接收心跳消息。 如果心跳超时,则通常将该实例从注册server中删除。
创建过程同创建注册中心类似
1.通过注解@EnableEurekaClient 表明自己是一个eurekaclient.
import org.springframework.boot.SpringApplication;
import org.springframework.boot.autoconfigure.SpringBootApplication;
import org.springframework.cloud.netflix.eureka.EnableEurekaClient;

@SpringBootApplication
@EnableEurekaClient
public class ServerUserApplication {

    public static void main(String[] args) {
        SpringApplication.run(ServerUserApplication.class, args);
    }

}
2.配置文件中注明自己的服务注册中心的地址,application.yml配置文件如下:
eureka:
  client:
    serviceUrl:
      defaultZone: http://localhost:8761/eureka/
server:
  port: 8762
spring:
  application:
    name: server-user
3.启动项目
打开http://localhost:8761 ,即eureka server 的网址


