vue 实现 类似手机的悬浮球 【可缩进半隐藏】
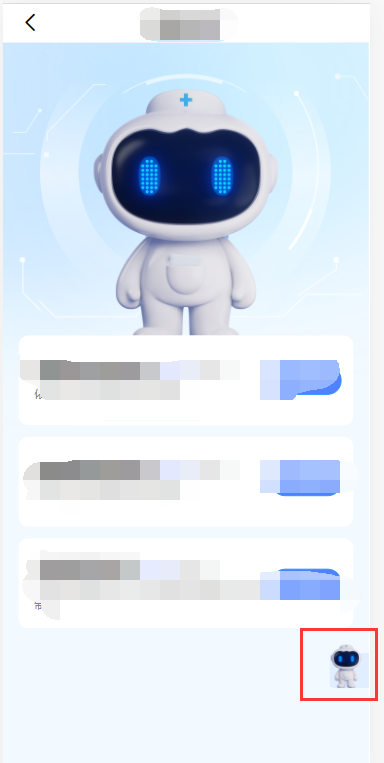
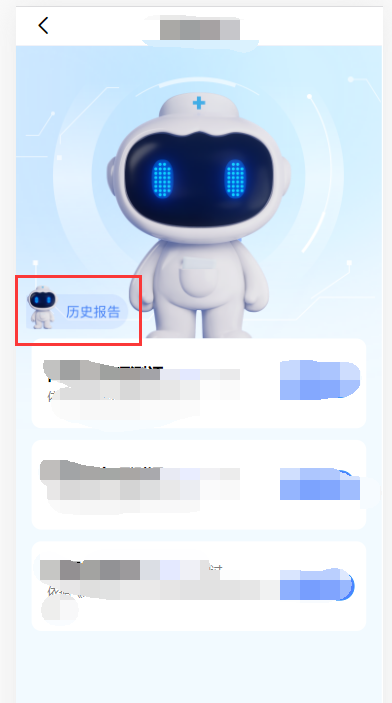
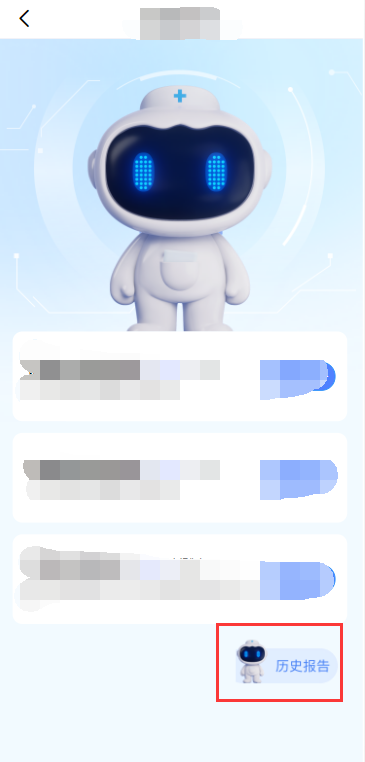
悬浮球 效果
3种位置展示
悬浮球 组件代码
<template>
     <div class="ys-float-btn" :style="{'width':itemWidth+'px','height':itemHeight+'px','left':left+'px','top':top+'px'}"
     ref="div"
     @click ="onBtnClicked">
     <slot name="icon"></slot>
     <SvgIcon :iconClass="'changjianwentijieda'"
         :style="{'width':itemWidth+'px','height':itemHeight+'px'}"/>
     </div>
</template>

<script>
  export default {
     name: "DragIcon",
     data() {
        return{
          timer:null,
          currentTop:0,
          clientWidth:0, // 屏幕宽度
          clientHeight:0, // 屏幕高度
          left:0,
          top:0
        }
     },
     props:{
        itemWidth:{ // 悬浮物的宽度
        type:Number,
        default:40
        },
        itemHeight:{  // 悬浮物的高度
        type:Number,
        default:40
        },
        gapWidth:{ // 距离边界距离
        type:Number,
        default:10
        },
        gapWidthHide:{ // 距离边界多少时可以缩进
        type:Number,
        default:20
        },
        hideWidth:{ // 边界缩进隐藏的长度
        type:Number,
        default:20
        },
        coefficientHeight:{ // 计算 距离屏幕上边界高度的百分比
        type:Number,
        default:0.8
        }
     },
     created(){
      // 初始化
      this.clientWidth = document.documentElement.clientWidth; // 屏幕宽度
      this.clientHeight = document.documentElement.clientHeight; // 屏幕高度
      // this.left = this.clientWidth - this.itemWidth - this.gapWidth; // 初始为靠右贴边界位置
      this.left = this.clientWidth - this.hideWidth; // 初始为右侧缩进状态
      this.top = this.clientHeight*this.coefficientHeight; // 距离屏幕上边界80%的高度
     },
    mounted(){
        this.$nextTick(()=>{
          const div = this.$refs.div;
          div.addEventListener("touchstart",(e)=>{
              e.stopPropagation();
              div.style.transition = 'none';
          });
          // 悬浮物移动的过程展示
          div.addEventListener("touchmove",(e)=>{
              e.stopPropagation();
              if (e.targetTouches.length === 1) {
                  let touch = event.targetTouches[0];
                  this.left = touch.clientX - this.itemWidth/2;
                  this.top = touch.clientY - this.itemHeight/2;
                }
            },
              false
          );
          // 悬浮物最后被移动到的位置
          div.addEventListener("touchend",(e)=>{
              e.stopPropagation();
              div.style.transition = 'all 0.3s';
              if(this.left>this.clientWidth/2){ // 悬浮物最后位置在屏幕中间偏右
                // 悬浮物最后位置超过边界外时,具体具体根据 gapWidthHide 大小
                if (this.left > this.clientWidth - this.gapWidthHide) {
                  this.left = this.clientWidth - this.hideWidth;
                } else {
                    this.left = this.clientWidth - this.itemWidth - this.gapWidth;
                }
              } else { // 悬浮物最后位置在屏幕中间偏左
                this.left = this.gapWidth;
              }
              if(this.top<=36) {
                this.top=36+this.gapWidth
              } else{
                let bottom=this.clientHeight-50-this.itemHeight-this.gapWidth
                if(this.top>=bottom) {
                    this.top=bottom
                }
              }
          });
      });
     },
     methods:{
        onBtnClicked(){
         this.$emit("onFloatBtnClicked"); // 父组件用到的方法(点击球调用的方法)
        }
     }
  }
</script>

<style lang="scss" scoped>
     .ys-float-btn{
        margin-bottom: 0.77rem;
        background: url('../../src/assets/img/button.png') no-repeat right; // 背景色或背景图
        background-position: calc(100% - 0.15rem) center;

        // box-shadow:0 2px 10px 0 rgba(0,0,0,0.1); // 圆形球体图标的投影
        // border-radius:50%; // 制作圆形图标
        color: #666666;
        z-index: 20;
        transition: all 0.3s;
        display: flex;
        flex-direction: column;
        justify-content: center;
        align-items: center;
        position: fixed;
        bottom: 20vw;
      img{
          width: 50%;
          height: 50%;
          object-fit: contain;
          margin-bottom: 3px;
      }
     }
     .su_img{
        width: 40px;
        height: 40px;
        margin: 8px 0 0 0;
     }
</style>
引入组件
<template>
<section class="wrap">
<drag-icon
:itemHeight='60'
:itemWidth='120'
:gapWidthHide='80'
:hideWidth='40'
@onFloatBtnClicked="toHistory">
</drag-icon>
</section>
</template>
const DragIcon = () => import('@/components/dragIcon') // 引入组件
export default {
components: {
DragIcon
},
methods: {
toHistory () { // 点击组件调用的方法
this.$router.push('/history')
}
}
}
smile

 浙公网安备 33010602011771号