
基于SSH协议实现多个GitHub账号共存
在使用GitHub的时候,经常会存在同时使用多个账号的需求,本文手把手解决多个GitHub帐号共存的问题。
1. 清除原有的设置(初次使用git请跳过此步骤)
如果之前对git设置过global信息,则需要先清除这些信息,通过如下指令:
$ git config --global  --unset user.name “username”
$ git config --global  --unset user.email  "email"
2. 重新生成并添加SSH keys
2.1 生成SSH keys
假如我们需要两个git帐号共存,一个为self,另一个为work,通过如下命令生成ssh keys命令,
$ ssh-keygen -t rsa -C "email@email.com"
当命令行出现 Enter file in which to save the key (~/.ssh/id_rsa): 时第一次输入 ~/.ssh/id_rsa_self ,第二次输入 ~/.ssh/id_rsa_work ,出现 Enter passphrase (empty for no passphrase): 时直接回车,如下所示:
$ ssh-keygen -t rsa -C "xxxxxxxx@qq.com"
Generating public/private rsa key pair.
Enter file in which to save the key (/Users/LHC/.ssh/id_rsa): /Users/LHC/.ssh/id_rsa_self
Enter passphrase (empty for no passphrase):
Enter same passphrase again:
Your identification has been saved in /Users/LHC/.ssh/id_rsa_self.
Your public key has been saved in /Users/LHC/.ssh/id_rsa_self.pub.
The key fingerprint is:
SHA256:cfkxD34tib703HtlJG9ASV/MNPHWLvx6VkXKARzzDwA xxxxxxxx@qq.com
The key's randomart image is:
+---[RSA 2048]----+
|          Eo=+.B+|
|           ..++.O|
|        . o +oo+=|
|         o o B=Bo|
|        S   + B==|
|           . . +*|
|            o  o+|
|           . + o+|
|            . +++|
+----[SHA256]-----+
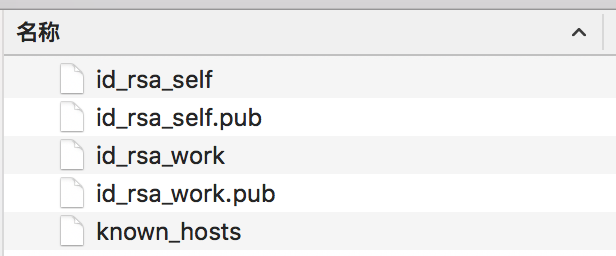
执行完后打开~/.ssh目录可以看到生成的公私钥文件如下图所示:
2.2 添加私钥
下一步,我们需要将生成的私钥添加到SSH agent中,通过如下指令:
$ ssh-agent bash
ssh-add ~/.ssh/id_rsa_self
ssh-add ~/.ssh/id_rsa_work
通过 ssh-add -l 查看添加结果,上述步骤执行结果如下所示:
$ ssh-agent bash
bash-3.2$ ssh-add ~/.ssh/id_rsa_self
Identity added: /Users/LHC/.ssh/id_rsa_self (/Users/LHC/.ssh/id_rsa_self)
bash-3.2$ ssh-add ~/.ssh/id_rsa_work
Identity added: /Users/LHC/.ssh/id_rsa_work (/Users/LHC/.ssh/id_rsa_work)
bash-3.2$ ssh-add -l
2048 SHA256:cfkxD34tib703HtlJG9ASV/MNPHWLvx6VkXKARzzDwA /Users/LHC/.ssh/id_rsa_self (RSA)
2048 SHA256:Rt7eT6Jtduy0XpA6dZoKmTB5c9X96dFX7HNkzOKhZaY /Users/LHC/.ssh/id_rsa_work (RSA)
2.3 添加公钥到帐号中
登录github帐号,进入用户setting,
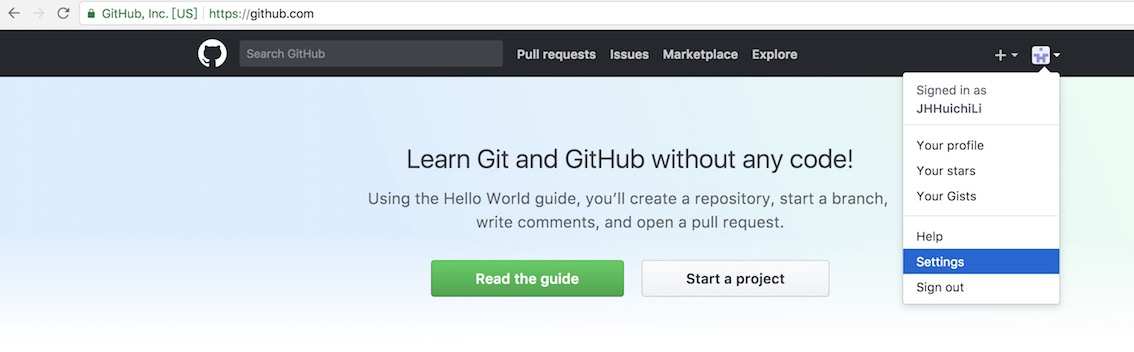
选择 SSH and GPG keys 并点击 new SSH key 按钮。
通过 $ pbcopy < ~/.ssh/id_rsa_self.pub 将私人帐号公钥拷贝并添加到个人的GitHub帐号, $ pbcopy < ~/.ssh/id_rsa_work.pub 指令将工作帐号公钥拷贝并添加到工作的GitHub帐号,请千万注意分别登录不同的GitHub帐号进行添加,千万不要搞混了。
3. 多帐号配置
通过touch ~/.ssh/config创建配置文件,配置信息如下所示:
Host user1
HostName github.com
User git
IdentityFile ~/.ssh/id_rsa_self
####################################
Host user2
HostName github.com
User git
IdentityFile ~/.ssh/id_rsa_work
其中Host是用来区分两个github账号的,HostName是github服务器的域名,User是本地ssh-agent与github服务器建立SSH连接时采用的用户名,IdentityFile是对应的私钥文件。
配置完成后,通过指令 $ ssh -T User@Host 对连接进行测试,正确情况如下所示:
$ ssh -T git@user1

Hi user1! You have successfully authenticated, but GitHub does not provide shell access.

$ ssh -T git@user2

Hi user2! You have successfully authenticated, but GitHub does not provide shell access.
4. 实现多账号操作
至此,我们已经实现了多个github帐号的共存,那当pull/push时候,系统能不能判断我们当前想要使用哪个github帐号呢?答案当然是不行的,仍然需要我们进行下一步的配置。
在需要操作的仓库目录下执行如下指令:
$ git remote add origin git@user1:user1/test.git
配置的原理也很容易理解,就是将仓库的Host更换为之前设置的别名。添加完毕后,后续再执行任何git操作时,系统就可以选择正确的SSH-key与GitHub服务器进行交互了。

