
使用Python FastMCP搭建MCP服务器
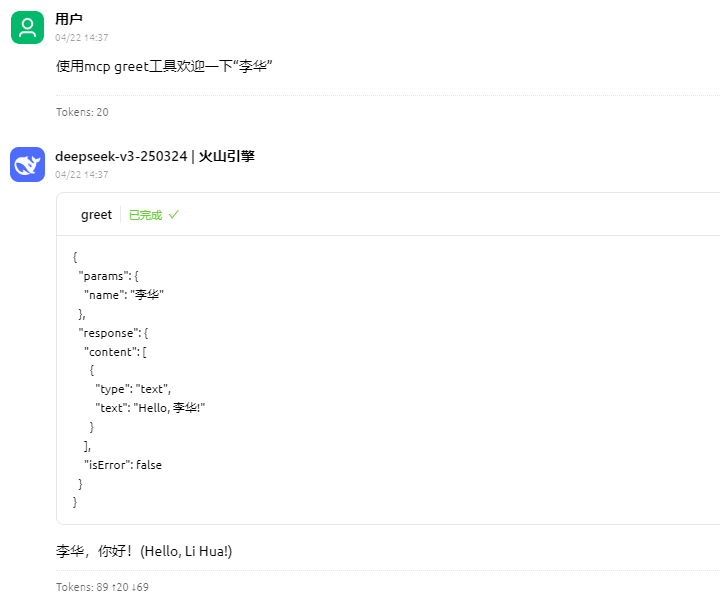
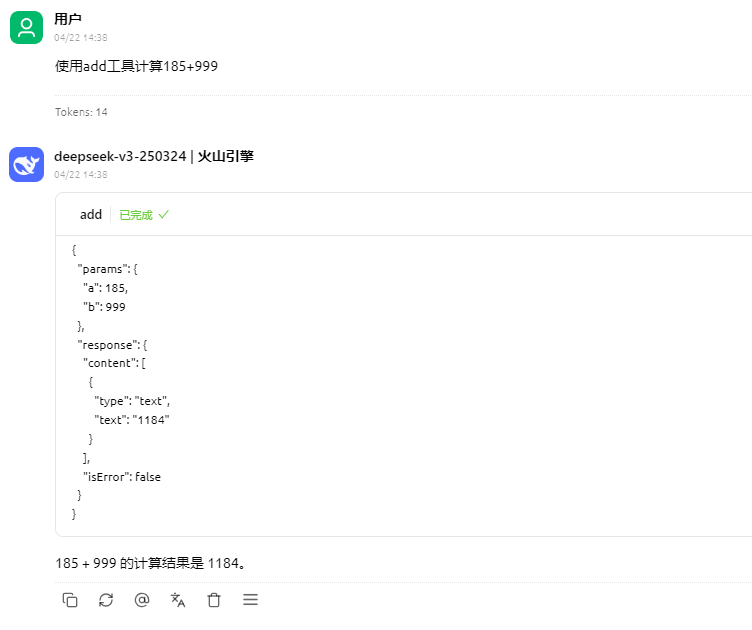
先看成果
安装FastMCP
pip install fastmcp
验证安装:
fastmcp version
将会输出:
FastMCP version:                                           2.2.1
MCP version:                                               1.6.0
Python version:                                           3.13.2
Platform:                              Windows-11-10.0.26100-SP0
FastMCP root path: ~/AppData\Local\Programs\Python\Python313\Lib
创建MCP服务器
from fastmcp import FastMCP
import asyncio

mcp = FastMCP(name="My First MCP Server")

@mcp.tool()
def greet(name: str) -> str:
    """Returns a simple greeting."""
    return f"Hello, {name}!"

@mcp.tool()
def add(a: int, b: int) -> int:
    """Adds two numbers together."""
    return a + b
启动MCP服务
D:\temp>fastmcp run mcptest.py:mcp --transport sse
[04/22/25 14:51:31] INFO     Found server "My First MCP Server" in D:\temp\mcptest.py                         cli.py:352
                    INFO     Starting server "My First MCP Server"...                                      server.py:262
INFO:     Started server process [39816]
INFO:     Waiting for application startup.
INFO:     Application startup complete.
INFO:     Uvicorn running on http://127.0.0.1:8000 (Press CTRL+C to quit)
INFO:     127.0.0.1:54998 - "GET /sse HTTP/1.1" 200 OK
INFO:     127.0.0.1:54999 - "GET /sse HTTP/1.1" 200 OK
INFO:     127.0.0.1:55001 - "GET /sse HTTP/1.1" 200 OK
INFO:     127.0.0.1:55020 - "GET /sse HTTP/1.1" 200 OK
--transport:选择通信协议(stdio、sse)。SSE 通常用于基于 Web 的交互。
--port, --host, --log-level:配置传输和日志记录设置。
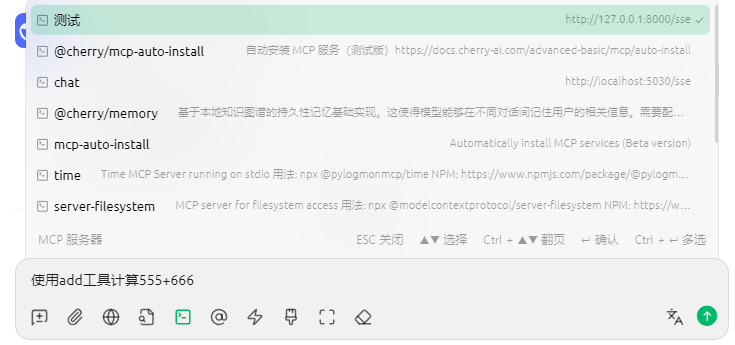
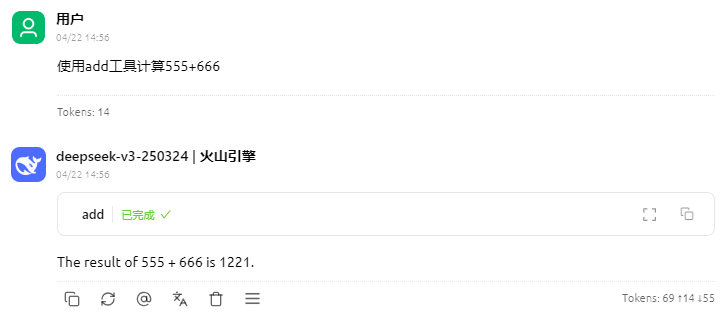
客户端连接调用
URL填入地址,打开服务

聊天时选择支持工具的模型,选择已添加的mcp服务

 浙公网安备 33010602011771号