

安装sway后一系列配置
安装sway后,如果使用源码安装,在编译安装后可能会出现没有配置文件(安装时未安装上),这也就造成了在一些教程中说将
/etc/sway/config 拷贝到~/.config/sway/ 下不成立。如果在/etc/sway/下有config文件,那也没必要在拷贝,直接修改config文件应该也是一样的
首先,我安装的sway没有在etc目录下找到sway/config
第一步:在用户目录下创建
mkdir ~/.config/sway
将编译文件中的config拷贝到.config/sway下
sudo cp ~/sway/build/config ~/.config/sway/
让我们看下配置文件:

# Default config for sway
#
# Copy this to ~/.config/sway/config and edit it to your liking.
#
# Read `man 5 sway` for a complete reference.

### Variables
#
# Logo key. Use Mod1 for Alt.
set $mod Mod4
# Home row direction keys, like vim
set $left h
set $down j
set $up k
set $right l
# Your preferred terminal emulator
set $term x-terminal-emulator
# Your preferred application launcher
# Note: pass the final command to swaymsg so that the resulting window can be opened
# on the original workspace that the command was run on.
set $menu dmenu_path | dmenu | xargs swaymsg exec --

### Output configuration
#
# Default wallpaper (more resolutions are available in /usr/share/backgrounds/sway/)
output * bg /usr/share/backgrounds/sway/Sway_Wallpaper_Blue_1920x1080.png fill
#
# Example configuration:
#
#   output HDMI-A-1 resolution 1920x1080 position 1920,0
#
# You can get the names of your outputs by running: swaymsg -t get_outputs

### Idle configuration
#
# Example configuration:
#
# exec swayidle -w \
#          timeout 300 'swaylock -f -c 000000' \
#          timeout 600 'swaymsg "output * dpms off"' \
#               resume 'swaymsg "output * dpms on"' \
#          before-sleep 'swaylock -f -c 000000'
#
# This will lock your screen after 300 seconds of inactivity, then turn off
# your displays after another 300 seconds, and turn your screens back on when
# resumed. It will also lock your screen before your computer goes to sleep.

### Input configuration
#
# Example configuration:
#
#   input "2:14:SynPS/2_Synaptics_TouchPad" {
#       dwt enabled
#       tap enabled
#       natural_scroll enabled
#       middle_emulation enabled
#   }
#
# You can get the names of your inputs by running: swaymsg -t get_inputs
# Read `man 5 sway-input` for more information about this section.

### Key bindings
#
# Basics:
#
    # Start a terminal
    bindsym $mod+Return exec $term

    # Kill focused window
    bindsym $mod+Shift+q kill

    # Start your launcher
    bindsym $mod+d exec $menu

    # Drag floating windows by holding down $mod and left mouse button.
    # Resize them with right mouse button + $mod.
    # Despite the name, also works for non-floating windows.
    # Change normal to inverse to use left mouse button for resizing and right
    # mouse button for dragging.
    floating_modifier $mod normal

    # Reload the configuration file
    bindsym $mod+Shift+c reload

    # Exit sway (logs you out of your Wayland session)
    bindsym $mod+Shift+e exec swaynag -t warning -m 'You pressed the exit shortcut. Do you really want to exit sway? This will end your Wayland session.' -b 'Yes, exit sway' 'swaymsg exit'
#
# Moving around:
#
    # Move your focus around
    bindsym $mod+$left focus left
    bindsym $mod+$down focus down
    bindsym $mod+$up focus up
    bindsym $mod+$right focus right
    # Or use $mod+[up|down|left|right]
    bindsym $mod+Left focus left
    bindsym $mod+Down focus down
    bindsym $mod+Up focus up
    bindsym $mod+Right focus right

    # Move the focused window with the same, but add Shift
    bindsym $mod+Shift+$left move left
    bindsym $mod+Shift+$down move down
    bindsym $mod+Shift+$up move up
    bindsym $mod+Shift+$right move right
    # Ditto, with arrow keys
    bindsym $mod+Shift+Left move left
    bindsym $mod+Shift+Down move down
    bindsym $mod+Shift+Up move up
    bindsym $mod+Shift+Right move right
#
# Workspaces:
#
    # Switch to workspace
    bindsym $mod+1 workspace 1
    bindsym $mod+2 workspace 2
    bindsym $mod+3 workspace 3
    bindsym $mod+4 workspace 4
    bindsym $mod+5 workspace 5
    bindsym $mod+6 workspace 6
    bindsym $mod+7 workspace 7
    bindsym $mod+8 workspace 8
    bindsym $mod+9 workspace 9
    bindsym $mod+0 workspace 10
    # Move focused container to workspace
    bindsym $mod+Shift+1 move container to workspace 1
    bindsym $mod+Shift+2 move container to workspace 2
    bindsym $mod+Shift+3 move container to workspace 3
    bindsym $mod+Shift+4 move container to workspace 4
    bindsym $mod+Shift+5 move container to workspace 5
    bindsym $mod+Shift+6 move container to workspace 6
    bindsym $mod+Shift+7 move container to workspace 7
    bindsym $mod+Shift+8 move container to workspace 8
    bindsym $mod+Shift+9 move container to workspace 9
    bindsym $mod+Shift+0 move container to workspace 10
    # Note: workspaces can have any name you want, not just numbers.
    # We just use 1-10 as the default.
#
# Layout stuff:
#
    # You can "split" the current object of your focus with
    # $mod+b or $mod+v, for horizontal and vertical splits
    # respectively.
    bindsym $mod+b splith
    bindsym $mod+v splitv

    # Switch the current container between different layout styles
    bindsym $mod+s layout stacking
    bindsym $mod+w layout tabbed
    bindsym $mod+e layout toggle split

    # Make the current focus fullscreen
    bindsym $mod+f fullscreen

    # Toggle the current focus between tiling and floating mode
    bindsym $mod+Shift+space floating toggle

    # Swap focus between the tiling area and the floating area
    bindsym $mod+space focus mode_toggle

    # Move focus to the parent container
    bindsym $mod+a focus parent
#
# Scratchpad:
#
    # Sway has a "scratchpad", which is a bag of holding for windows.
    # You can send windows there and get them back later.

    # Move the currently focused window to the scratchpad
    bindsym $mod+Shift+minus move scratchpad

    # Show the next scratchpad window or hide the focused scratchpad window.
    # If there are multiple scratchpad windows, this command cycles through them.
    bindsym $mod+minus scratchpad show
#
# Resizing containers:
#
mode "resize" {
    # left will shrink the containers width
    # right will grow the containers width
    # up will shrink the containers height
    # down will grow the containers height
    bindsym $left resize shrink width 10px
    bindsym $down resize grow height 10px
    bindsym $up resize shrink height 10px
    bindsym $right resize grow width 10px

    # Ditto, with arrow keys
    bindsym Left resize shrink width 10px
    bindsym Down resize grow height 10px
    bindsym Up resize shrink height 10px
    bindsym Right resize grow width 10px

    # Return to default mode
    bindsym Return mode "default"
    bindsym Escape mode "default"
}
bindsym $mod+r mode "resize"

#
# Status Bar:
#
# Read `man 5 sway-bar` for more information about this section.
bar {
    position top

    # When the status_command prints a new line to stdout, swaybar updates.
    # The default just shows the current date and time.
    status_command while date +'%Y-%m-%d %l:%M:%S %p'; do sleep 1; done

    colors {
        statusline #ffffff
        background #323232
        inactive_workspace #32323200 #32323200 #5c5c5c
    }
}
在配置文件中指定了一系列的快捷键和快捷启动程序
下面我们来一一配置:
从一开始启动sway,我们想打开程序有两种方法,
1、先启动一个终端,在终端中用命令行的方式启动一个程序
2、启动一个菜单程序,选择想要启动的应用
第一种:
# Your preferred terminal emulator
set $term x-terminal-emulator
将上面的替换为自己安装的终端程序,如果装了xwayland环境可以随心一些,但是完全在wayland下的终端程序就有限了
我所知道的有alacritty、kitty、konsole、rxvt-unicode、weston-terminal,还有一些终端
我在这使用的是
# Your preferred terminal emulator
set $term havoc
安装方式:
git clone https://github.com/ii8/havoc.git
cd havoc
make
sudo make install
上面这个终端不支持tab补全,换成wterm
安装方法一样:
git clone https://github.com/majestrate/wterm.git
cd wterm
make
sudo make install
第二种:
# on the original workspace that the command was run on.
set $menu dmenu_path | dmenu | xargs swaymsg exec --
替换为
# on the original workspace that the command was run on.
set $menu dmenu-wl_run -i
安装
git clone https://github.com/nyyManni/dmenu-wayland.git
cd dmenu-wayland
meson build
sudo ninja -C build/ install
由于我使用的是虚拟机,感觉显示的区域太小,为了调整一个比较好的视图区间
运行
swaymsg -t get_outputs
但是我遇到问题了,由于窗口太小,显示不全,导致看不见output的名字,因此运行
swaymsg -t get_outputs > output
将内容输出到output文件,然后用vim查看
output Virtual-1 resolution 1280x720 position 1280,0
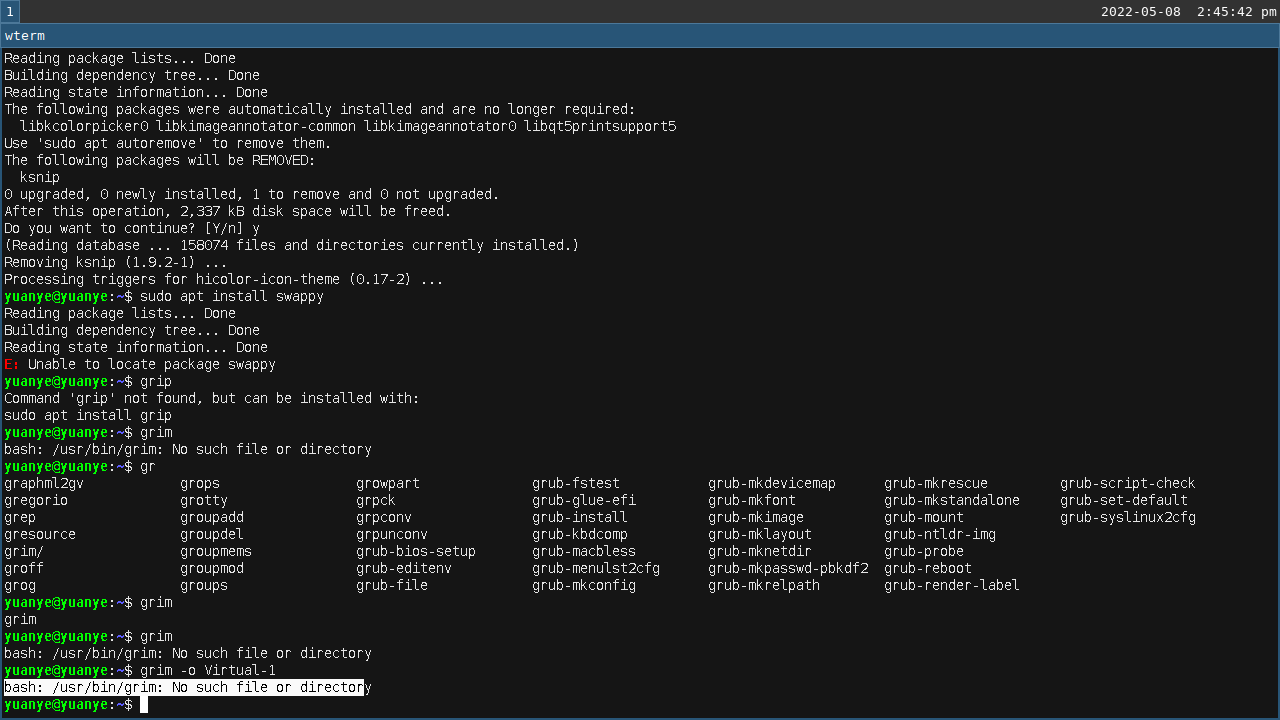
截图:
安装grim
运行 grim


【推荐】国内首个AI IDE,深度理解中文开发场景,立即下载体验Trae
【推荐】编程新体验,更懂你的AI,立即体验豆包MarsCode编程助手
【推荐】抖音旗下AI助手豆包,你的智能百科全书,全免费不限次数
【推荐】轻量又高性能的 SSH 工具 IShell:AI 加持,快人一步
· 分享一个免费、快速、无限量使用的满血 DeepSeek R1 模型,支持深度思考和联网搜索!
· 基于 Docker 搭建 FRP 内网穿透开源项目(很简单哒)
· ollama系列01:轻松3步本地部署deepseek,普通电脑可用
· 按钮权限的设计及实现
· 25岁的心里话