gitlab 的安装
一、GitLab 的介绍
GitLab 是一个用于仓库管理系统的开源项目,使用Git作为代码管理工具,并在此基础上搭建起来的web服务。
二、搭建环境
hostname:git1 10.0.0.200 最低2g内存
hostname:web 10.0.0.202
三、搭建步骤
1).安装方式 分为 yum 与rpm 这里我用的 rpm包
链接:https://pan.baidu.com/s/1iXotEpEqIiC78816v3rsvw 密码:2zfr
[root@gb1 ~]# rpm -ivh gitlab-ce-10.2.2-ce.0.el7.x86_64.rpm
warning: gitlab-ce-10.2.2-ce.0.el7.x86_64.rpm: Header V4 RSA/SHA1 Signature, key ID f27eab47: NOKEY
error: Failed dependencies:
        policycoreutils-python is needed by gitlab-ce-10.2.2-ce.0.el7.x86_64
[root@gb1 ~]#
**************************************************
#提示需要安装依赖
[root@gb1 yum.repos.d]# yum install -y  policycoreutils-python
Loaded plugins: fastestmirror
Determining fastest mirrors
[root@gb1 ~]# rpm -ivh gitlab-ce-10.2.2-ce.0.el7.x86_64.rpm
2)安装结束后提示
       *.                  *.
      ***                 ***
     *****               *****
    .******             *******
    ********            ********
   ,,,,,,,,,***********,,,,,,,,,
  ,,,,,,,,,,,*********,,,,,,,,,,,
  .,,,,,,,,,,,*******,,,,,,,,,,,,
      ,,,,,,,,,*****,,,,,,,,,.
         ,,,,,,,****,,,,,,
            .,,,***,,,,
                ,*,.
     _______ __  __          __
    / ____(_) /_/ /   ____ _/ /_
   / / __/ / __/ /   / __ \`/ __ \
  / /_/ / / /_/ /___/ /_/ / /_/ /
  \____/_/\__/_____/\__,_/_.___/
Thank you for installing GitLab!
GitLab was unable to detect a valid hostname for your instance.
Please configure a URL for your GitLab instance by setting `external_url`
configuration in /etc/gitlab/gitlab.rb file.
Then, you can start your GitLab instance by running the following command:
  sudo gitlab-ctl reconfigure
For a comprehensive list of configuration options please see the Omnibus GitLab readme
https://gitlab.com/gitlab-org/omnibus-gitlab/blob/master/README.md
3)修改配置文件
[root@gb1 ~]# vim /etc/gitlab/gitlab.rb
***********************************
#13行修改为本地IP地址:external_url 'http://10.0.0.200'
4)修改后重启配置
gitlab-ctl reconfigure
5)gitlab-ctl 服务命令
gitlab‐ctl reconfigure            # 更改配置文件后需重新配置
/opt/gitlab/                      # gitlab的程序安装目录
/var/opt/gitlab                   # gitlab目录数据目录
/var/opt/gitlab/git‐dfata         # 存放仓库数据
gitlab‐ctl status                 # 查看目前gitlab所有服务运维状态
gitlab‐ctl stop                   # 停止gitlab服务
nginx gitlab‐ctl tail             # 查看所有服务的日志
四、访问WEB界面
1)浏览器访问:10.0.0.200:80

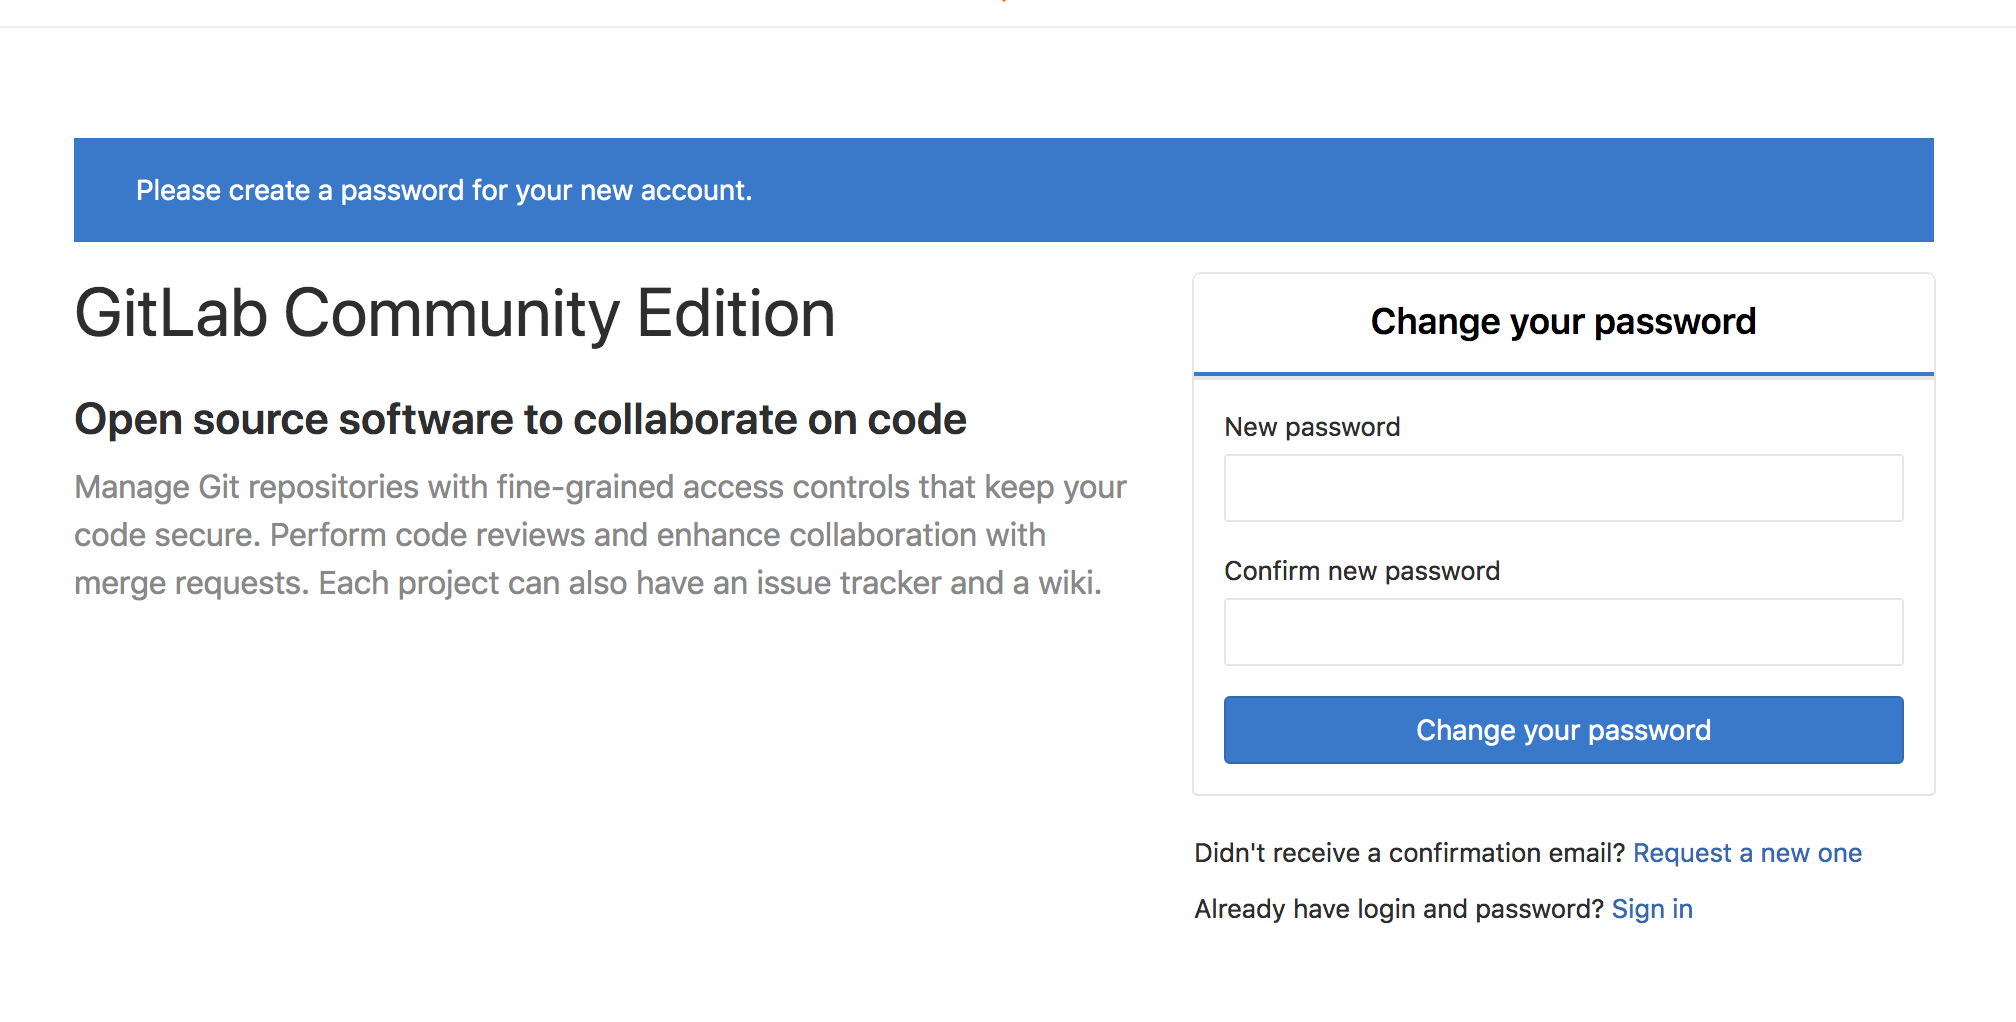
2)输入你要设置的密码 两次 之后 重新登录即可 用户名root

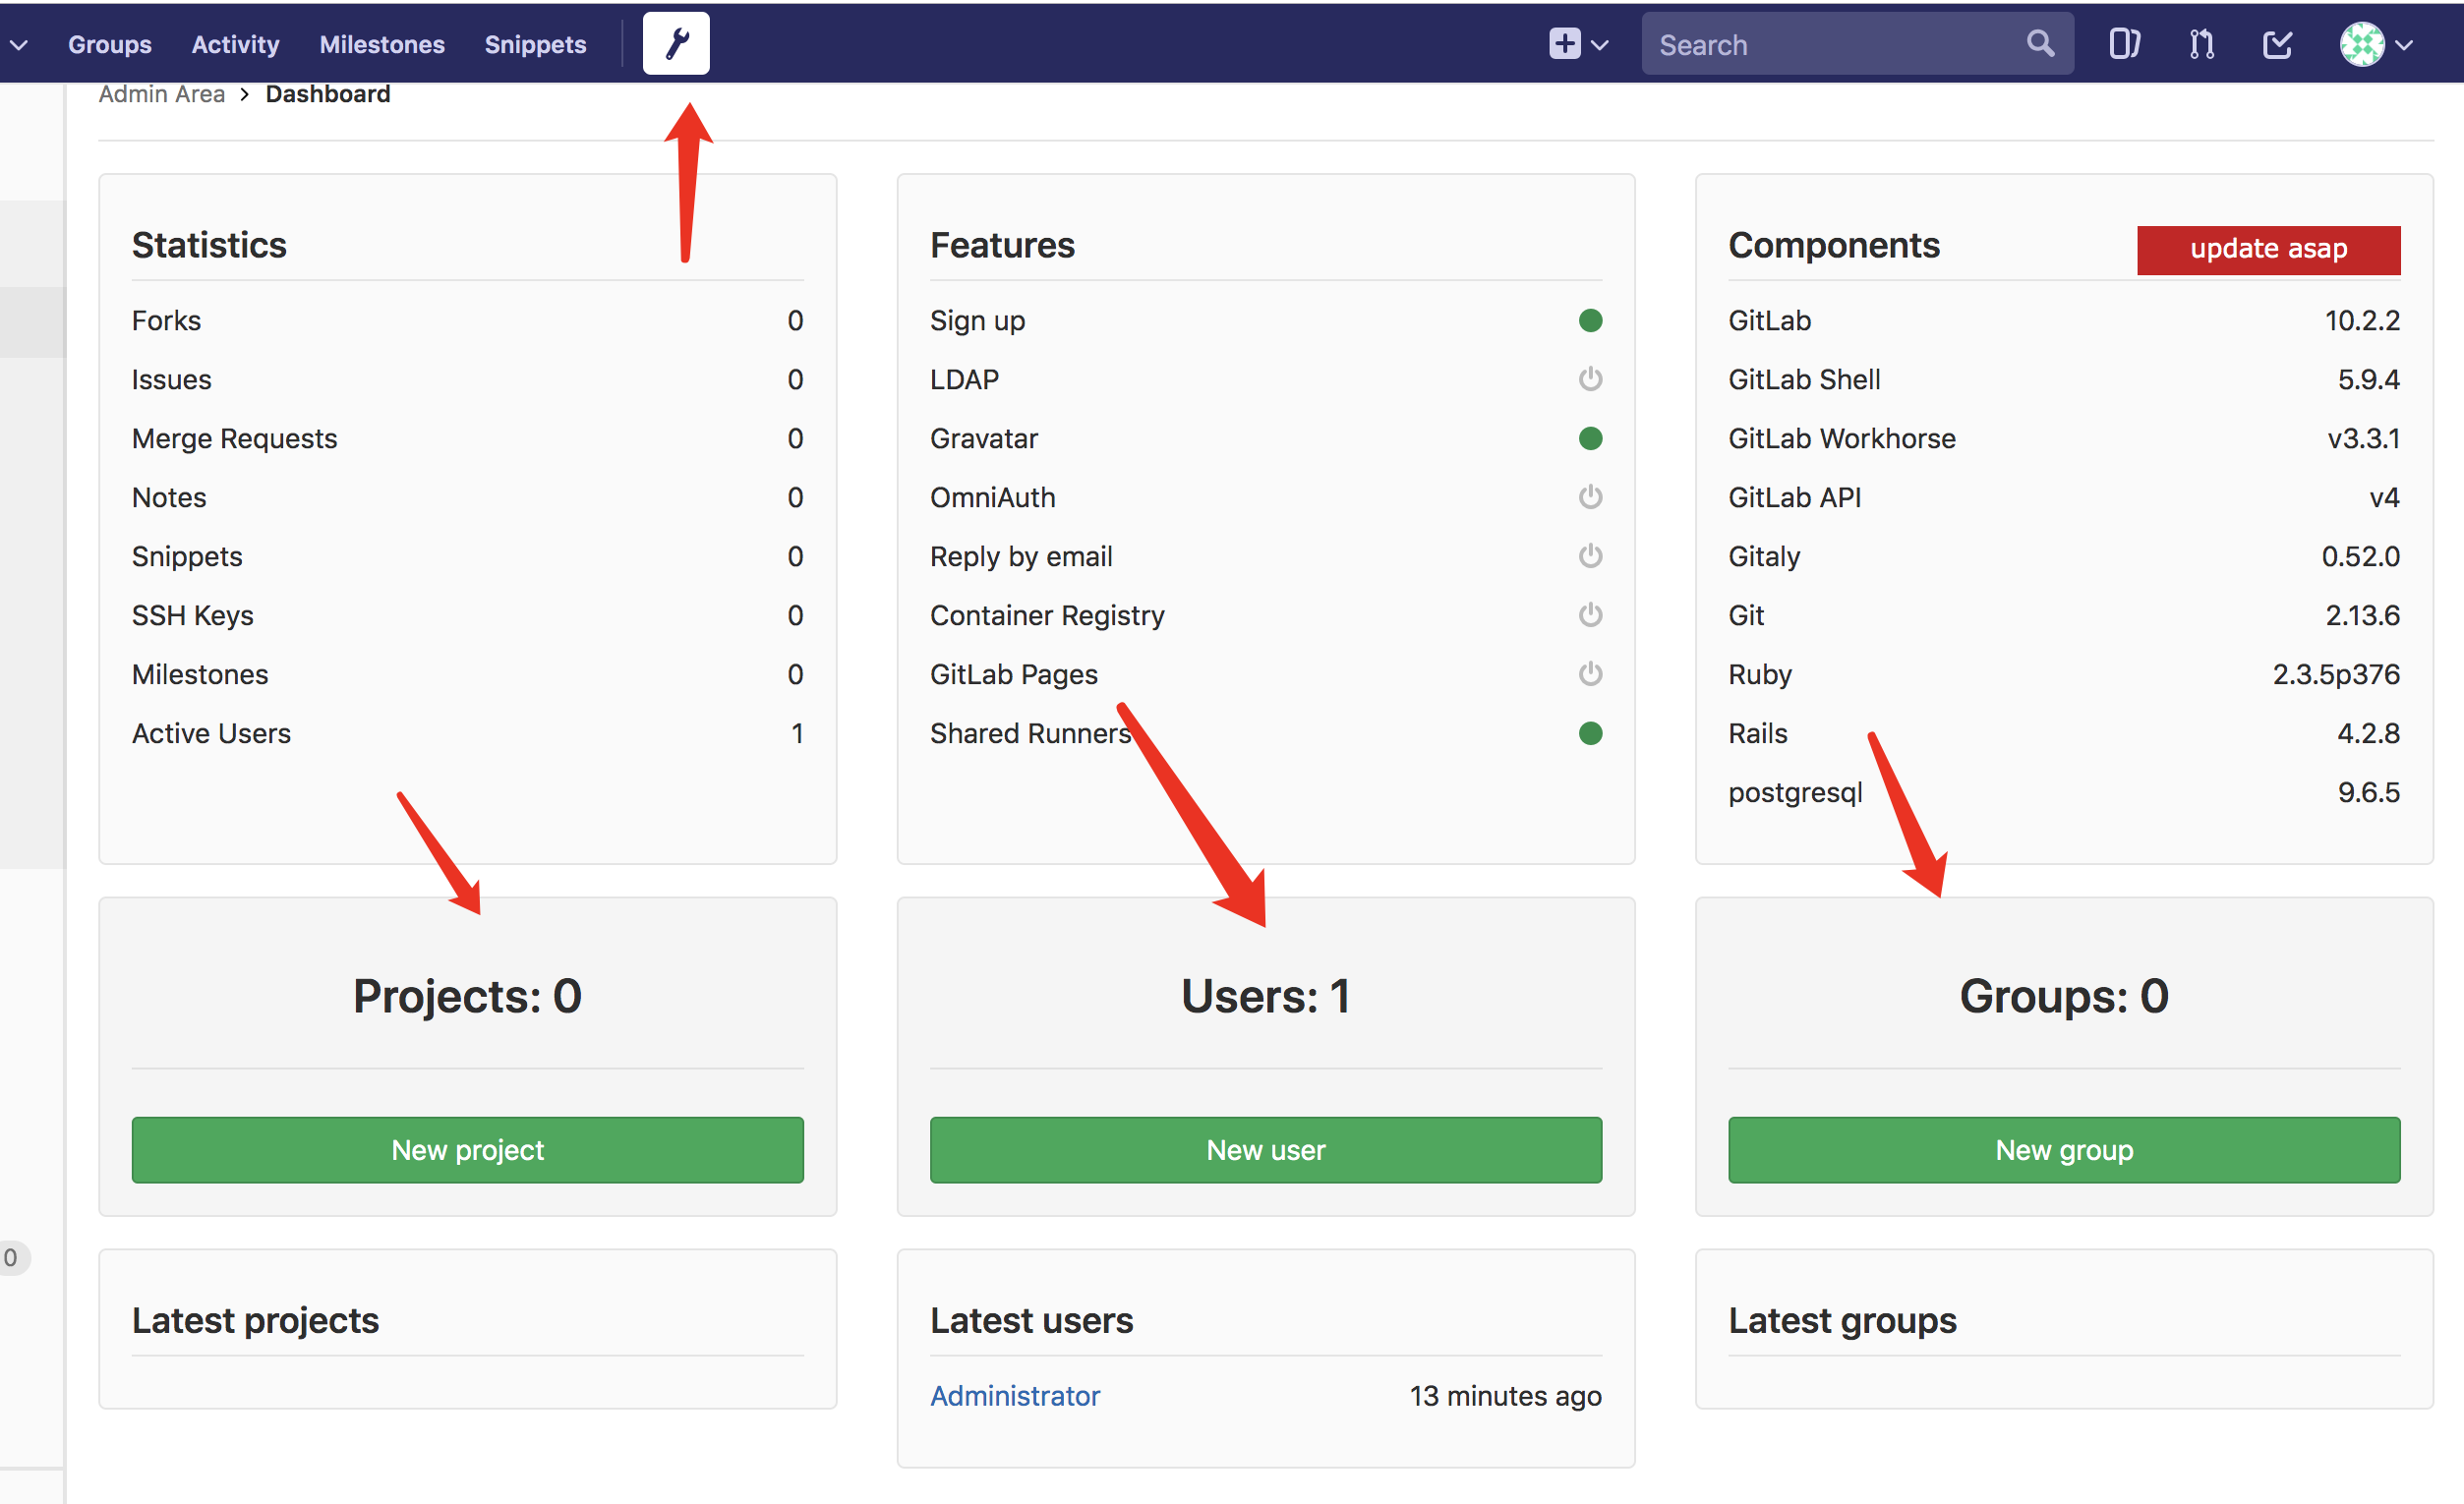
3)点击中间扳手,下方绿色按钮可以此 创建仓库 用户名 组


