Flask_restful 插件实战笔记——基本概念与使用
最近在Resetful接口设计上想法还是挺多的,也实现了一些需求!想着整理下Flask_restful插件的基本知识,方便日后的复习!
官方地址:https://flask-restful.readthedocs.io/en/latest/
【01】介绍:
Flask-Restful是一个专门用来写restful api的一个插件。使用他可以快速的集成restful api功能。在app的后台以及纯api的后台中,这个插件可以帮助我们节省很多时间。当然,如果在普通的网站中,这个插件就显得有些鸡肋了,因为在普通的网页开发中,是需要去渲染HTML代码的,而Flask-Restful在每个请求中都是返回json格式的数据。
【02】安装
Flask-Restful需要在Flask 0.8以上的版本,在Python2.6或者Python3.3上运行。通过pip install flask-restful即可安装。
【03】定义Restful的视图:
from flask import Flask, render_template, url_for
from flask_restful import Api, Resource

app = Flask(__name__)
api = Api(app)

# 1.定义类视图
class LoginView(Resource):
    def get(self):
        return {"username": "carson666"}

    def post(self, username=None):
        return {"username": username}

#2.绑定类视图和URL地址,一个类视图可以定义多个URL地址,这里我们就定义了两个
api.add_resource(LoginView, '/login/<username>', '/regist/', endpoint="login")

with app.test_request_context():
    print(url_for("login", username="alex666")) 不要忘记在这里添加参数,因为登入地址需要传递一个参数

@app.route('/')
def hello_world():
    return render_template("index.html")

if __name__ == '__main__':
    app.run(port=8989, debug=True)
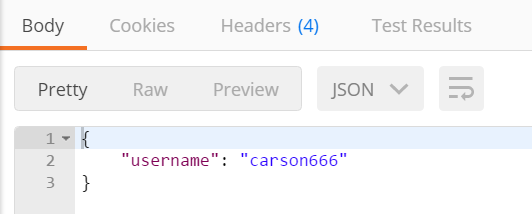
当我们以get方法访问http://127.0.0.1:8989/regist/,结果如下:

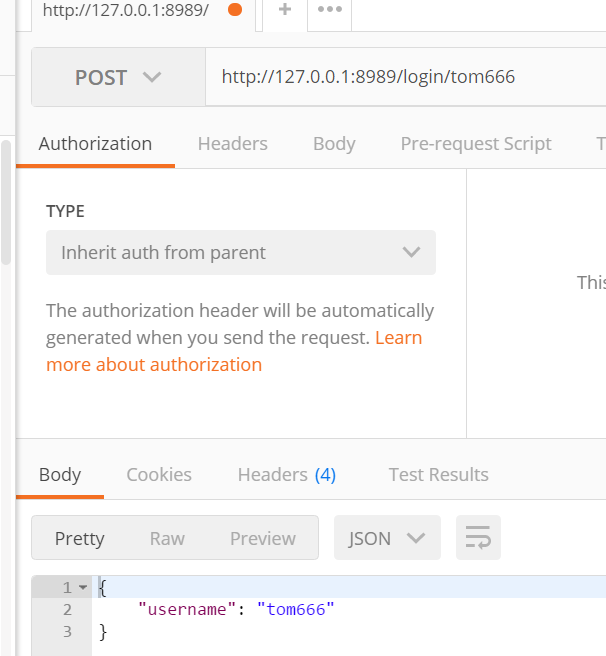
当我们以post方式访问:http://127.0.0.1:8989/login/tom666

【04】注意事项
1.endpoint是用来给url_for反转url的时候指定的。如果不写endpoint,那么将会使用视图的名字的小写来作为endpoint。
例如,我们在下面没有指定endpoint参数,那么url_for进行反转时,就需要使用视图类的小写来获取对应的url地址
api.add_resource(LoginView, '/login/<username>', '/regist/')

with app.test_request_context():
    print(url_for("loginview", username="alex666"))

2.add_resource的第二个参数是访问这个视图类的url,这个url可以跟之前的route一样,可以传递参数。并且还有一点不同的是,这个方法可以传递多个url来指定这个视图函数,例如在上面我们指定了两个url地址,一个带参数的:/login/<username>;另一个不带参数的:/regist/
【05】一个小坑
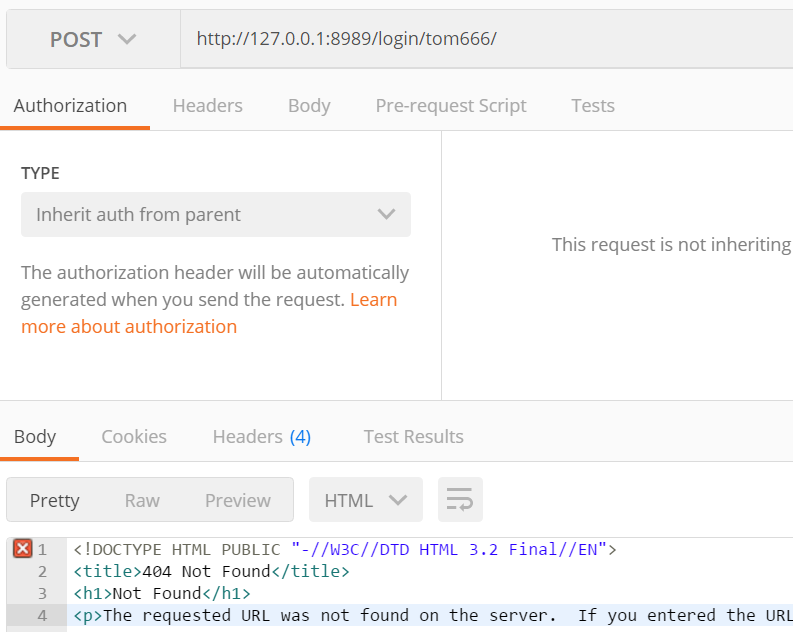
我们在上面绑定类视图和url地址时并没有给第一个地址的后面加上/,因此当我们访问——http://127.0.0.1:8989/login/tom666/ 会直接报错

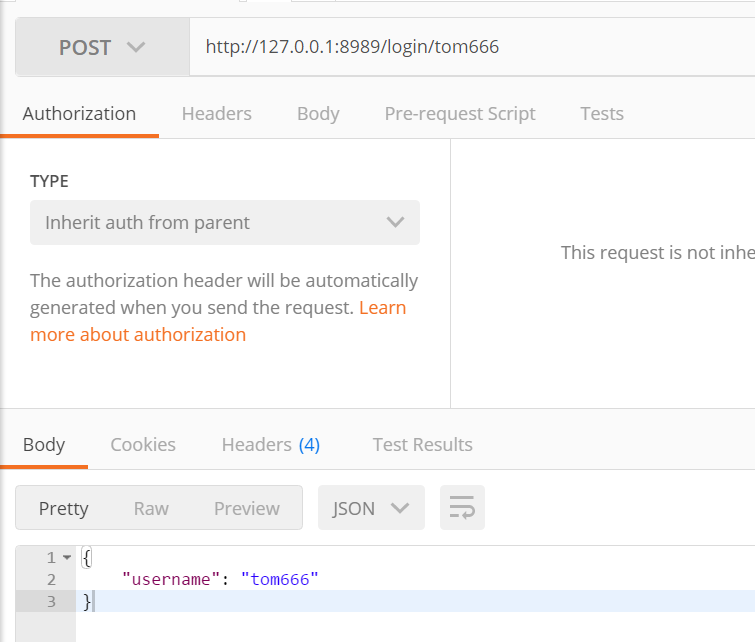
而访问http://127.0.0.1:8989/login/tom666 正常:

因此为了都能够正常访问,我们统一加上/。
api.add_resource(LoginView, '/login/<username>/', '/regist/', endpoint="login")


【推荐】国内首个AI IDE,深度理解中文开发场景,立即下载体验Trae
【推荐】编程新体验,更懂你的AI,立即体验豆包MarsCode编程助手
【推荐】抖音旗下AI助手豆包,你的智能百科全书,全免费不限次数
【推荐】轻量又高性能的 SSH 工具 IShell:AI 加持,快人一步
· 从 HTTP 原因短语缺失研究 HTTP/2 和 HTTP/3 的设计差异
· AI与.NET技术实操系列:向量存储与相似性搜索在 .NET 中的实现
· 基于Microsoft.Extensions.AI核心库实现RAG应用
· Linux系列:如何用heaptrack跟踪.NET程序的非托管内存泄露
· 开发者必知的日志记录最佳实践
· TypeScript + Deepseek 打造卜卦网站:技术与玄学的结合
· Manus的开源复刻OpenManus初探
· AI 智能体引爆开源社区「GitHub 热点速览」
· 从HTTP原因短语缺失研究HTTP/2和HTTP/3的设计差异
· 三行代码完成国际化适配,妙~啊~