基于Secret实现nginx的tls认证、私有仓库认证
tls证书加密
创建类型为tls的secret为nginx提供https证书访问
#创建ca公钥和私钥
openssl req -x509 -sha256 -newkey rsa:4096 -keyout ca.key -out ca.crt -days 3560 -nodes -subj '/CN=www.test.com'

#创建客户端公钥和私钥
openssl req -new -newkey rsa:4096 -keyout server.key -out server.csr -nodes -subj '/CN=www.test.com'

#ca签发客户端私钥生成证书
openssl x509 -req -sha256 -days 3650 -in server.csr -CA ca.crt -CAkey ca.key -set_serial 01 -out server.crt
创建secret
root@deploy:~/secret# kubectl create secret tls nginx-tls --cert=./server.crt --key=./server.key
查看secret,检查创建的私钥和公钥
root@deploy:~/secret# kubectl get secrets nginx-tls -o yaml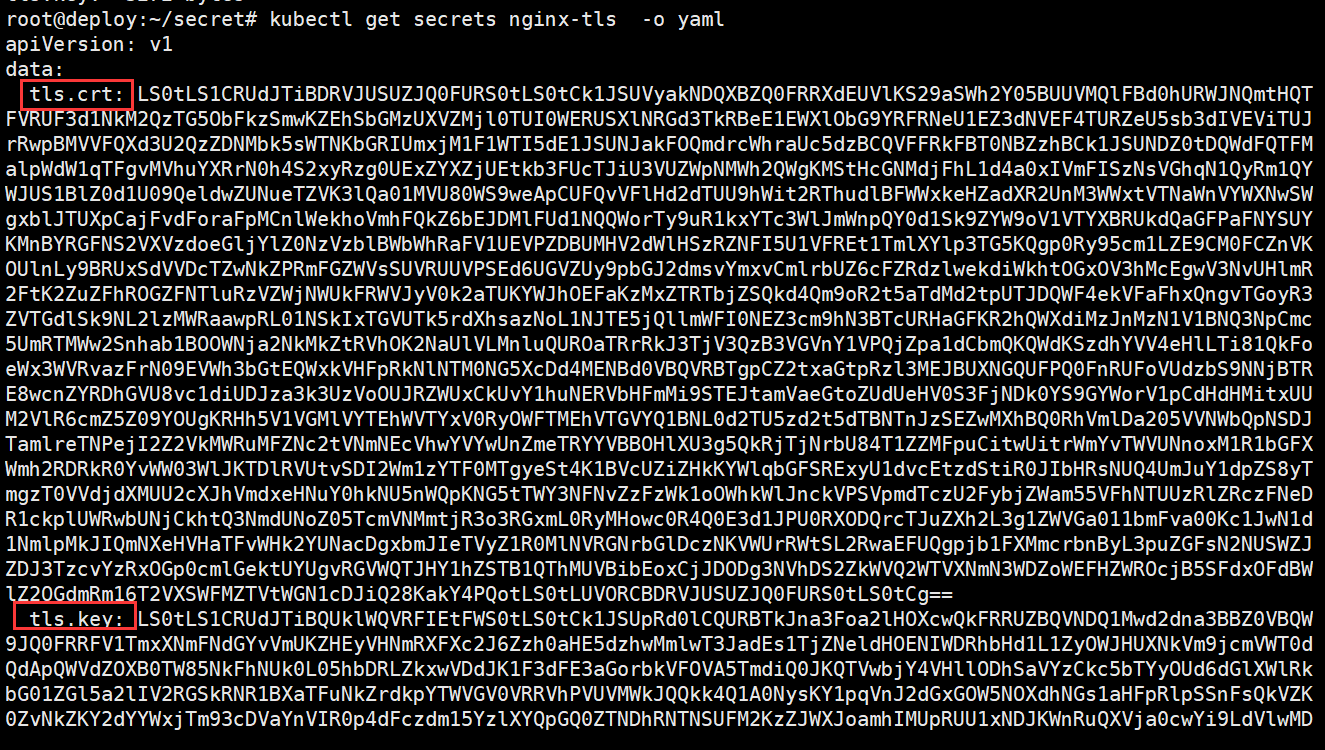
创建configmap添加nginx配置文件
root@deploy:~/secret# vim nginx-https.yaml
apiVersion: v1
kind: ConfigMap
metadata:
  name: nginx-config
data:
 https: |
    server {
       listen       80;
       server_name  www.test.com;

       listen 443 ssl;
       ssl_certificate /etc/nginx/conf.d/certs/tls.crt;
       ssl_certificate_key /etc/nginx/conf.d/certs/tls.key;

       location / {
           root /usr/share/nginx/html;
           index index.html;
           if ($scheme = http ){
              rewrite / https://www.test.com permanent;
           }

           if (!-e $request_filename) {
               rewrite ^/(.*) /index.html last;
           }
       }
    }

root@deploy:~/secret# kubectl apply -f nginx-https.yaml
创建应用和service,绑定configmap和secret
root@deploy:~/secret# vim deployment.yaml
apiVersion: apps/v1
kind: Deployment
metadata:
  labels:
    app: web
  name: web-deployment
  namespace: default
spec:
  replicas: 2
  selector:
    matchLabels:
      app: web
  template:
    metadata:
      labels:
        app: web
    spec:
      containers:
      - image: nginx
        name: nginx
        imagePullPolicy: IfNotPresent
        volumeMounts:
        - name: nginx-conf
          mountPath: "/etc/nginx/conf.d"
        - name: nginx-secret
          mountPath: "/etc/nginx/conf.d/certs"
      volumes:
      - name: nginx-conf
        configMap:
          name: nginx-config
          items:
            - key: https
              path: https.conf

      - name: nginx-secret
        secret:
          secretName: nginx-tls

---
apiVersion: v1
kind: Service
metadata:
  labels:
    app: web-svc
  name: web-svc
  namespace: default
spec:
  ports:
  - name: web1
    port: 80
    protocol: TCP
    targetPort: 80
    nodePort: 30080
  - name: web2
    port: 443
    protocol: TCP
    targetPort: 443
    nodePort: 30443
  selector:
    app: web
  type: NodePort

root@deploy:~/secret# kubectl apply -f deployment.yaml
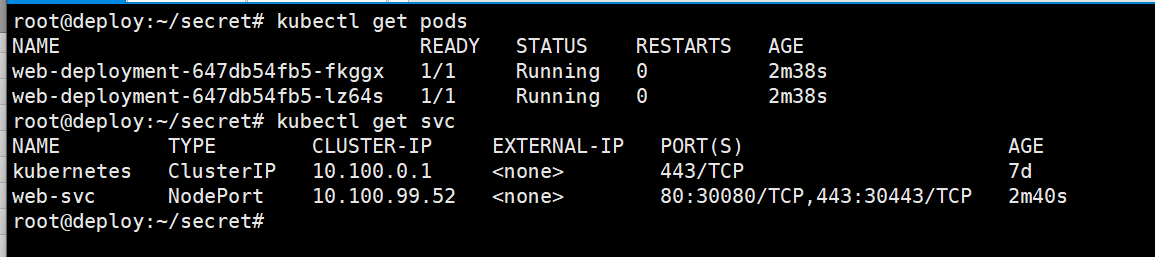
查看pod和svc
配置haproxy设置反向代理
root@haproxyA:~# vim /etc/haproxy/haproxy.cfg.
listen http
  bind 192.168.100.20:80
  mode tcp
  server node1 192.168.100.5:30080 check inter 3s fall 3 rise 3
  server node2 192.168.100.6:30080 check inter 3s fall 3 rise 3

listen https
  bind 192.168.100.20:443
  mode tcp
  server node1 192.168.100.5:30443 check inter 3s fall 3 rise 3
  server node2 192.168.100.6:30443 check inter 3s fall 3 rise 3

root@haproxyA:~# systemctl restart haproxy
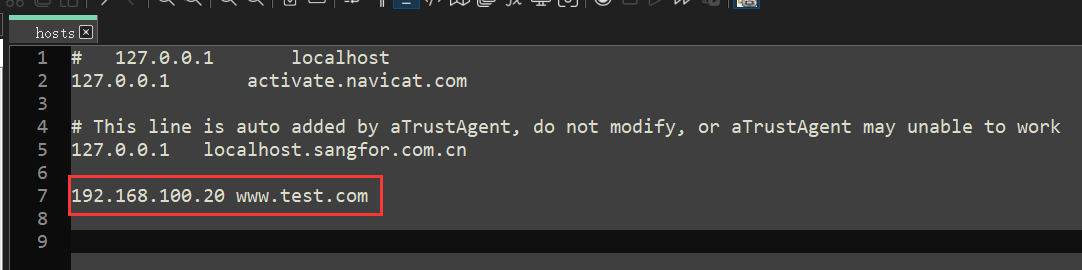
客户端配置hosts本地域名解析
服务器配置hosts解析curl测试
root@deploy:~/secret# grep 'www.test.com' /etc/hosts
192.168.100.20 www.test.com
root@deploy:~/secret# curl -k -L www.test.com
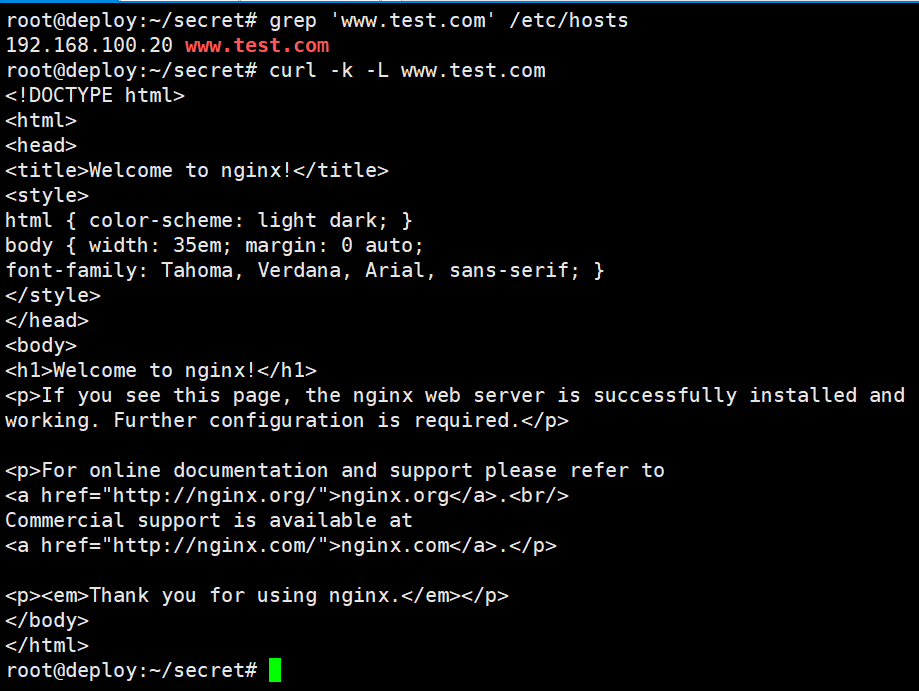
访问www.test.com

查看证书签发信息

dockercofnigjson类型
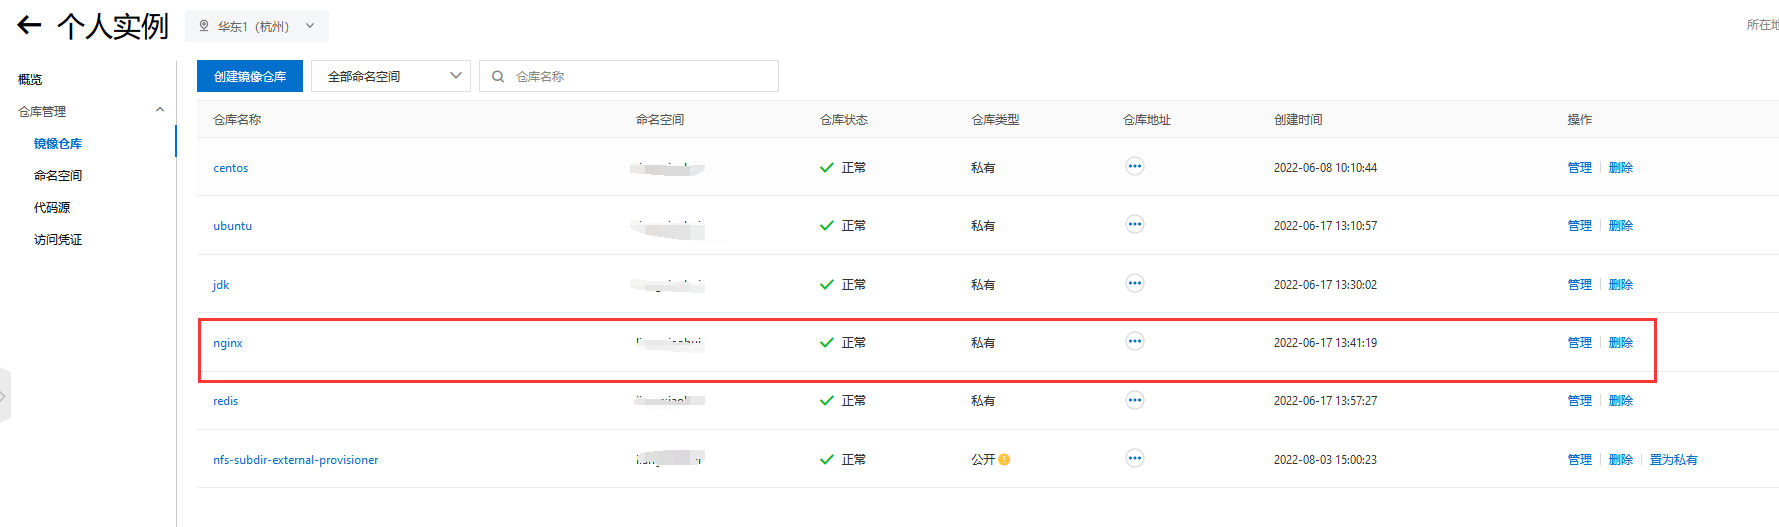
使用私有仓库需要进行仓库凭据,否则kubernetes集群会因权限拒绝访问无法拉取私有仓库镜像。

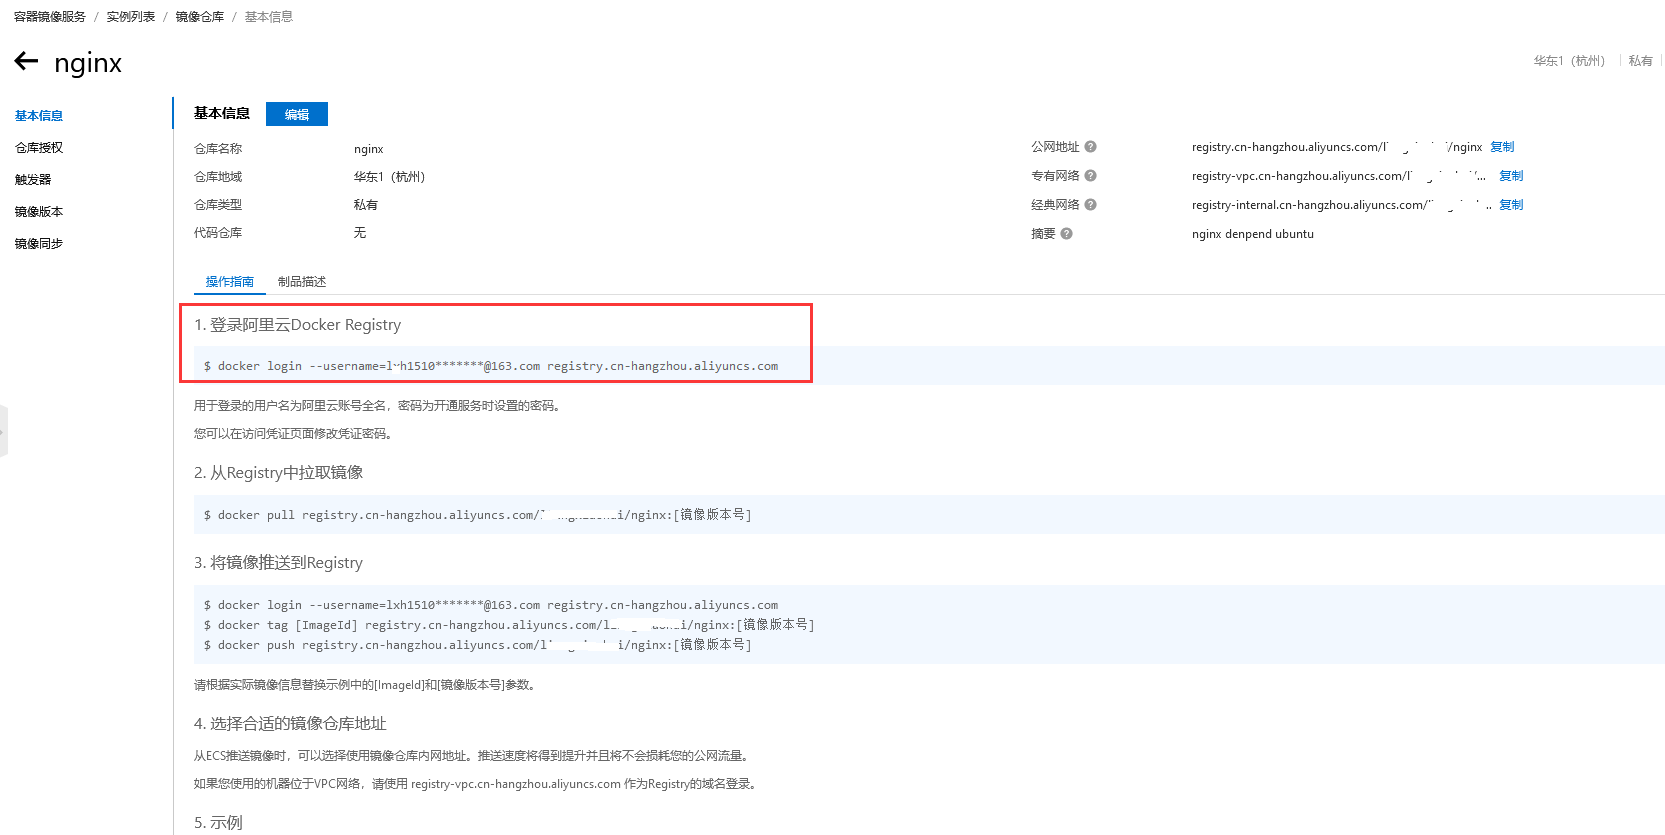
1、k8s首先手动登录私有镜像仓库,登录成功后,凭据文件会在/root/.docker/config.json
root@deploy:~/secret# docker login --username=lxh151*****2@163.com registry.cn-hangzhou.aliyuncs.com
2、创建dockerconfigjson类型secret
root@deploy:~/secret# kubectl create secret generic aliyun-credential \
--from-file=.dockerconfigjson=/root/.docker/config.json \
--type=kubernetes.io/dockerconfigjson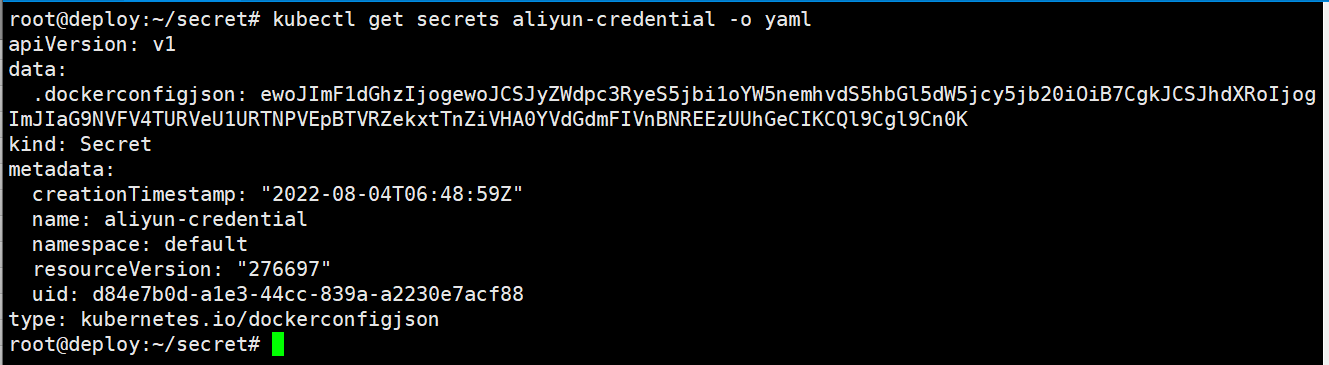
3、 创建configmap添加nginx配置文件
root@deploy:~/secret# vim nginx-https.yaml
apiVersion: v1
kind: ConfigMap
metadata:
  name: nginx-config
data:
 https: |
    server {
       listen       80;
       server_name  www.test.com;

       listen 443 ssl;
       ssl_certificate /etc/nginx/conf.d/certs/tls.crt;
       ssl_certificate_key /etc/nginx/conf.d/certs/tls.key;

       location / {
           root /usr/share/nginx/html;
           index index.html;
           if ($scheme = http ){
              rewrite / https://www.test.com permanent;
           }

           if (!-e $request_filename) {
               rewrite ^/(.*) /index.html last;
           }
       }
    }

root@deploy:~/secret# kubectl apply -f nginx-https.yaml
4、创建deployment和svc验证镜像发布访问
apiVersion: apps/v1
kind: Deployment
metadata:
  labels:
    app: aliyun-web
  name: aliyun-web-deployment
  namespace: default
spec:
  replicas: 2
  selector:
    matchLabels:
      app: aliyun-web
  template:
    metadata:
      labels:
        app: aliyun-web
    spec:
      imagePullSecrets:
      - name: aliyun-credential
      containers:
      - image: registry.cn-hangzhou.aliyuncs.com/liangxiaohui/nginx:1.21
        name: aliyun-nginx
        imagePullPolicy: Always
        volumeMounts:
        - name: nginx-conf
          mountPath: "/etc/nginx/conf.d"
        - name: nginx-secret
          mountPath: "/etc/nginx/conf.d/certs"
      volumes:
      - name: nginx-conf
        configMap:
          name: nginx-config
          items:
            - key: https
              path: https.conf

      - name: nginx-secret
        secret:
          secretName: nginx-tls

---
apiVersion: v1
kind: Service
metadata:
  labels:
    app: aliyun-web-svc
  name: aliyun-web-svc
  namespace: default
spec:
  ports:
  - name: web1
    port: 80
    protocol: TCP
    targetPort: 80
    nodePort: 30088
  - name: web2
    port: 443
    protocol: TCP
    targetPort: 443
    nodePort: 30643
  selector:
    app: aliyun-web
  type: NodePort
查看pod拉取结果
root@deploy:~/secret# kubectl get pods
root@deploy:~/secret# kubectl describe pods aliyun-web-deployment-668cb5f7b5-5rnqs
查看svc
root@deploy:~/secret# kubectl get svc
5、配置haproxy,设置pod反向代理访问
root@haproxyA:~# vim /etc/haproxy/haproxy.cfg
listen http
  bind 192.168.100.20:80
  mode tcp
  server node1 192.168.100.5:30088 check inter 3s fall 3 rise 3
  server node2 192.168.100.6:30088 check inter 3s fall 3 rise 3

listen https
  bind 192.168.100.20:443
  mode tcp
  server node1 192.168.100.5:30643 check inter 3s fall 3 rise 3
  server node2 192.168.100.6:30643 check inter 3s fall 3 rise 3

root@haproxyA:~# systemctl restart haproxy
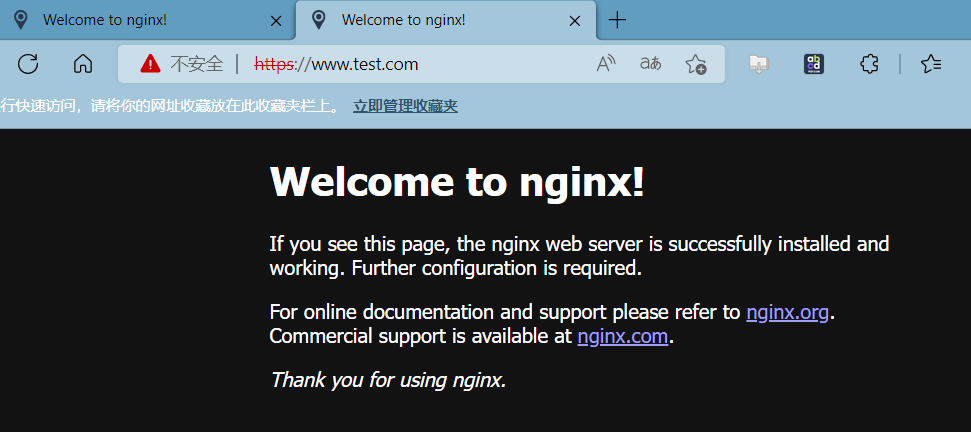
客户端浏览器访问
本文来自博客园,作者:PunchLinux,转载请注明原文链接:https://www.cnblogs.com/punchlinux/p/16551473.html

 浙公网安备 33010602011771号