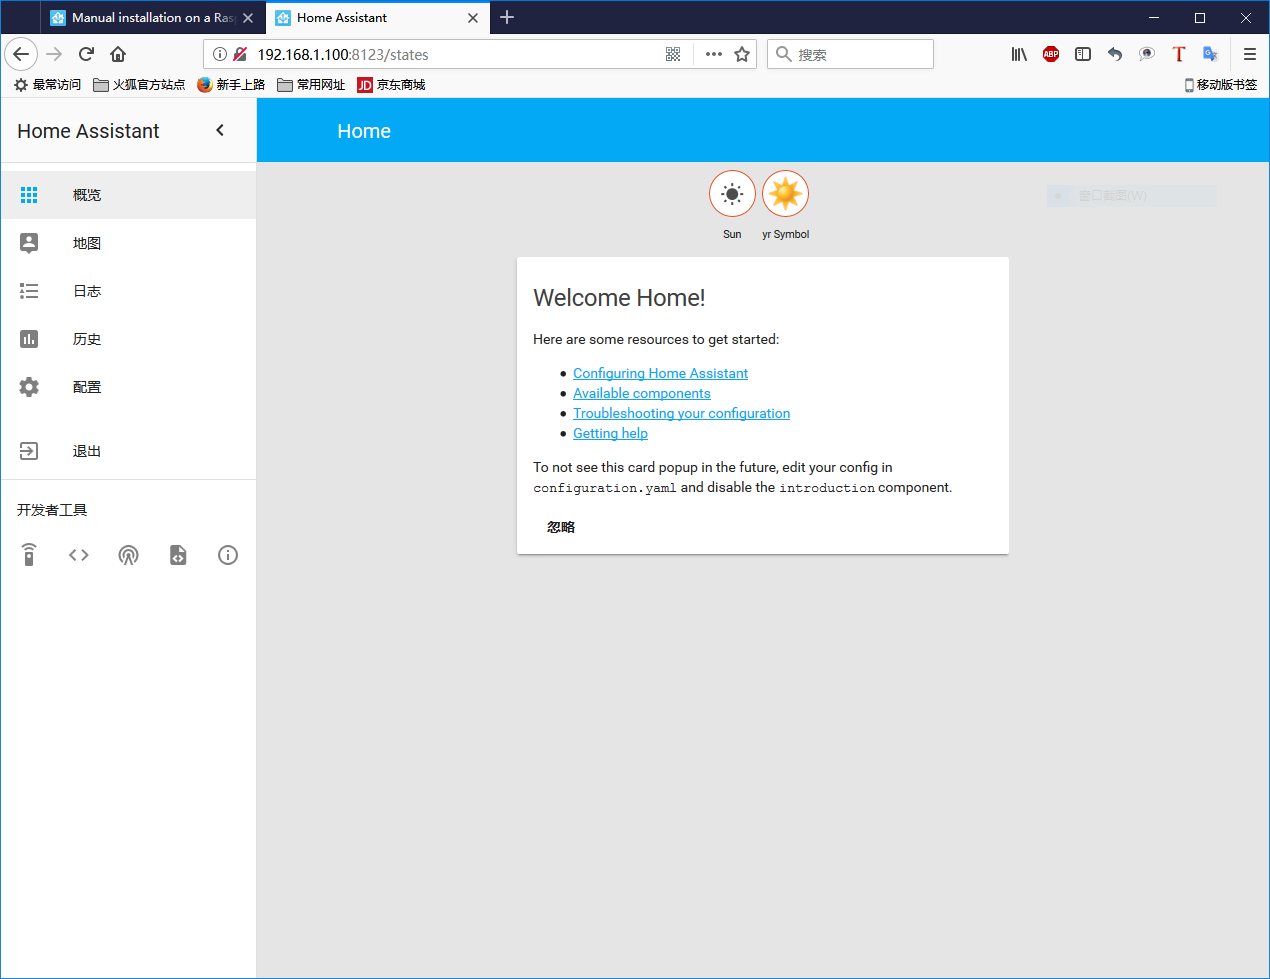
家庭助理(Home Assistant)是一款基于 Python 的智能家居开源系统,支持众多品牌的智能家居设备,可以轻松实现设备的语音控制、跟踪和控制家里的所有设备, 并自动化控制,能完美的运行在树莓派。在2017年,HomeAssistant因其出色,获得了开源界的Thomas-Krenn奖。正在有越来越多的用户在使用Home Assistant。
1、下载Raspberry Pi的系统镜像并烧写。
Raspbian预装了大量用于教育,编程和一般用途的软件。它有Python,Scratch,Sonic Pi,Java,Mathematica等等。烧写工具我们下载使用Etcher。

2、在SD卡上新建一个ssh空白文件,准备通过putty登录Raspberry Pi。如果打算使用WIFI连接网络,要在SD卡根目录下建立并编辑配置文件
wpa_supplicant.conf
#priority 是多个网络连接的优先级,值越大优先级越高,不能为负数
network={
ssid = "你的 WIRI ID"
psk = "你的 WIFI 密码"
priority = 5
}

network={
ssid = "你的 WIRI ID"
psk = "你的 WIFI 密码"
priority = 4
}
启动后,此文件将写入系统配置并由系统自动删除。
上面的配置对于jessie版来说,没有任何问题,如是新的stretch版本,还要用网线连接做如下的操作:
确认wpa_supplicant.conf文件的位置
sudo nano /etc/network/interfaces
在后面插入以下内容
allow-hotplug wlan0
iface wlan0 inet manual
wpa-conf /etc/wpa_supplicant/wpa_supplicant.conf
保存退出后,作如下操作
sudo systemctl enable wpa_supplicant.service
然后重新启动系统,你的无线网卡应该能正常连接了。
3、更改登录密码,然后设置时区。
pi@raspberrypi:~ $ passwd
Changing password for pi.
(current) UNIX password:
Enter new UNIX password:
Retype new UNIX password:
passwd: password updated successfully


pi@raspberrypi:~ $ sudo raspi-config
Current default time zone: 'Asia/Shanghai'
Local time is now: Fri May 4 10:35:40 CST 2018.
Universal Time is now: Fri May 4 02:35:40 UTC 2018.
4、更换国内的更新源。
sudo nano /etc/apt/sources.list

#将原内容注释掉并添加如下两行配置,注意raspbian的版本

deb http://mirrors.ustc.edu.cn/raspbian/raspbian/ stretch main non-free contrib rpi
deb-src http://mirrors.ustc.edu.cn/raspbian/raspbian/ stretch main non-free contrib rpi
如果在以后更新或安装软件的时候出现类似如下的错误:
W: Some index files failed to download. They have been ignored, or old ones used instead.
还要修改 注释掉/etc/apt/sources.list.d/ 下的raspi.list里面的相关条目。
更改pip的国内的源
默认路径下并不存在配置文件,需要新建,在linux默认的路径是 $HOME/.pip/pip.conf
sudo mkdir .pip
sudo nano .pip/pip.conf
然后在配置文件中写入
[global]
index-url = https://pypi.mirrors.ustc.edu.cn/simple/

[install]
trusted-host = pypi.mirrors.ustc.edu.cn
index-url即源地址,trusted-host为源地址的域名,由于国内的源镜像都未使用https协议,所以如果不添加信任域就会报警。
5、以上步骤顺利完成后,进入home-assistant的安装与配置阶段。
5.1 安装依赖关系
sudo apt-get install python3 python3-venv python3-pip
5.2 添加一个名为Home Assistant的帐户homeassistant。由于此帐户仅用于运行Home Assistant,因此添加额外参数-rm,以创建系统帐户并创建主目录。参数-G dialout将用户添加到dialout组中。这是使用Z-Wave和Zigbee控制器所必需的。
sudo useradd -rm homeassistant -G dialout
5.3 接下来,我们将创建一个安装Home Assistant的目录,并将所有者更改为该homeassistant帐户。
cd /srv
sudo mkdir homeassistant
sudo chown homeassistant:homeassistant homeassistant
5.4 接下来是创建并更改为Home Assistant的虚拟环境。这将作为homeassistant账户完成。
sudo su -s /bin/bash homeassistant
cd /srv/homeassistant
python3 -m venv .
source bin/activate
5.5 一旦你激活了虚拟环境(注意提示符改变为(homeassistant) homeassistant@raspberrypi:/srv/homeassistant $),你将需要运行以下命令来安装一个必需的python软件包。
python3 -m pip install wheel
5.6 一旦你安装了所需的Python包,现在就可以安装Home Assistant的了!
pip3 install homeassistant
通过以上的步骤,就完成了home-assistant的安装过程。直接输入命令,就会首次运行并自动下载安装和缓存必要的库/依赖项。
hass
您现在可以通过 http:// ipaddress:8123 上的Web界面在Raspberry Pi上访问您安装的home-assistant了。

第一次运行home-assistant时,程序将在.homeassistant目录中创建配置/home/homeassistant目录并将下载安装和缓存必要的库/依赖项。此过程可视网络情况而定可能需要5到30分钟。在此期间,访问Web界面时可能会出现“网站无法访问”错误,这时要多一点耐心。这只会在第一次发生,随后的重新启动将会更快。
因众所周知的原因,如果不能正常启动,可能是默认配置的模块要访问google 服务,编辑/home/homeassistant/.homeassistant/configuration.yaml文件,注释掉与google相关的服务能解决很多错误提示或提高网页访问速度。
5.7 更新
要更新到最新版本的Home Assistant,请按照以下简单步骤操作:
sudo su -s /bin/bash homeassistant
source /srv/homeassistant/bin/activate
pip3 install --upgrade homeassistant
一旦最后一个命令执行后,将重新启动home-assistant服务以应用最新的更新。还是要注意,某些更新可能需要较长时间才能启动。在此期间,访问Web界面时可能会出现“网站无法访问”错误。如果无法正常启动,请从发行说明检查重大更改。
以上内容是本人一步步实践后纪录,因个人的使用环境不同,会有些差异,如碰到问题,请查询官方网站或留言互动。
原创文章,转载请注明出处。


 浙公网安备 33010602011771号