AnyLabeling标定及转化成labelmaskID
一、标定工具
在进行分割任务时,对分割工具进行预研和验证,现在AI辅助标定已经成熟,目标则是利用sam进行辅助标定。调研的三款标定工具情况如下:
- labelme:可以加载sam,但是在进行辅助标定后,对图像质量要求较高,真心不好用。主要体现在辅助标定后,无法调整。
- cvat:本地部署手工标注成功了,但在部署辅助标定时,按照教程各种失败,最后放弃了。从宣传效果上看起来挺好用,尤其团队能工作分工合作。
- x-Anylabeling:部署简单,在Windows有执行程序,当然还支持加载自己的模型(此处需要源码安装)。在加载sam模型后,通过point+/point-等操作能细化调整标定框,真心好用。后续直接用anylabeling进行标注了。
另外在通用检测模型中,尝试了大部分模型有较大优化空间,当然希望集成按照label进行目标标定,而不是点击“run”后所有目标都进行标定。当然自己后续可以通过脚本处理也是没有问题的。
二、标定json文件转化为maskID
在训练时使用的时mmsegmention,模型输入是原始图片和maskID,为此需要将标定后的json文件转化为maskID。anylabeling是参考labelme的输出格式相同,当然在anylabeling中有脚本为:polygon_mask_conversion.py,其中的核心代码为:
    def polygon_to_mask(self, img_file, mask_file, json_file):

        with open(json_file, 'r') as f:
            data = json.load(f)
        polygons = []
        for shape in data['shapes']:
            points = shape['points']
            polygon = []
            for point in points:
                x, y = point
                polygon.append((x, y))
            polygons.append(polygon)

        image_width, image_height = self.get_image_size(img_file)
        image_shape = (image_height, image_width)
        binary_mask = np.zeros(image_shape, dtype=np.uint8)
        for polygon_points in polygons:
            np_polygon = np.array(polygon_points, np.int32)
            np_polygon = np_polygon.reshape((-1, 1, 2))
            #只是将区域内设置为255
            cv2.fillPoly(binary_mask, [np_polygon], color=255)
        cv2.imwrite(mask_file, binary_mask)
里面只是将poly区域内设置为255,则效果图为:
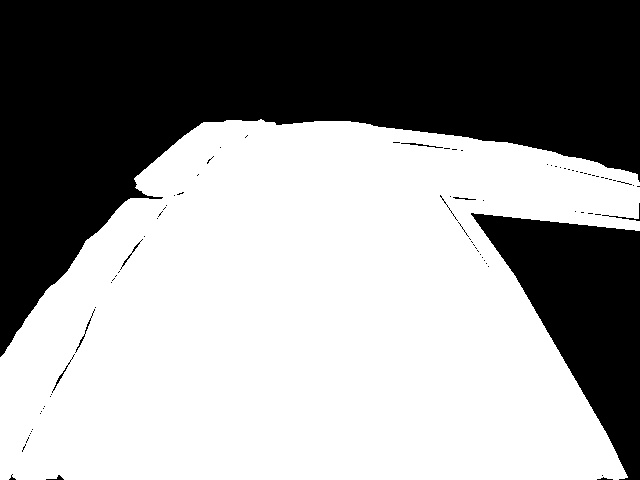
则不符合要求。
答案代码如下:
def main():
    parser = argparse.ArgumentParser(
        formatter_class=argparse.ArgumentDefaultsHelpFormatter
    )
    parser.add_argument("input_dir", help="input annotated directory")
    parser.add_argument("output_dir", help="output dataset directory")
     parser.add_argument("maskmap_dir", help="output dataset directory")
    args = parser.parse_args()

    if not osp.exists(args.output_dir):
        os.makedirs(args.output_dir)
    if not osp.exists(args.maskmap_dir):
        os.makedirs(args.maskmap_dir)

    label_name_to_value = {"_background_": 0}

    file_list = [i for i in os.listdir(args.input_dir) if i.endswith("json")]
    for file in file_list:
        file_name = os.path.join(args.input_dir, file)
        json_data = json.load(open(file_name))
        height, width = json_data["imageHeight"], json_data["imageWidth"]
        for shape in json_data['shapes']:
            label_name = shape["label"]
            if label_name not in label_name_to_value:
                label_value = len(label_name_to_value)
                label_name_to_value[label_name] = label_value

        lbl, _ = utils.shape.shapes_to_label([height, width], json_data['shapes'], label_name_to_value)
        out_file = osp.join(args.output_dir, '{}.png'.format(os.path.basename(file)))
        mask_map_file = osp.join(args.maskmap_dir, '{}.png'.format(os.path.basename(file)))
        lbl_pil = Image.fromarray(lbl.astype(np.uint8), mode="P")
        #保存maskID图片
        lbl_pil.save(out_file)
        #保存maskmap图片
        utils.lblsave(mask_map_file, lbl)
        print('Saved to: %s' % out_file)
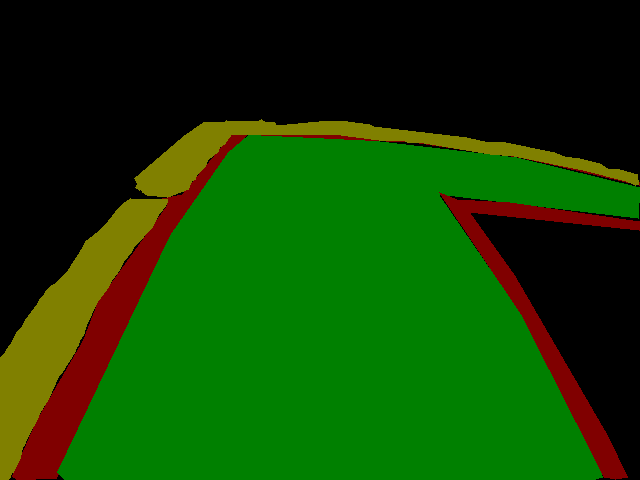
核心代码可以去labelme寻找答案。在保存后,maskID效果图如下:

为了更好的显示分割内容,进行colormap处理,调用的代码为:
在maskID中,如果调用
utils.lblsave(out_file, lbl)
里面的核心代码是:
def lblsave(filename, lbl):
    import imgviz

    if osp.splitext(filename)[1] != ".png":
        filename += ".png"
    # Assume label ranses [-1, 254] for int32,
    # and [0, 255] for uint8 as VOC.
    if lbl.min() >= -1 and lbl.max() < 255:
        lbl_pil = PIL.Image.fromarray(lbl.astype(np.uint8), mode="P")
        #增加了此处代码
        colormap = imgviz.label_colormap()
        lbl_pil.putpalette(colormap.flatten())
        lbl_pil.save(filename)
    else:
        raise ValueError(
            "[%s] Cannot save the pixel-wise class label as PNG. "
            "Please consider using the .npy format." % filename
        )
其结果为:
三、像素值打印在图片上
在打印上如果每个像素都打上数字,因为像素位置挨着近,数字小,则无法看出,此时需要进行临近区域处理,具体的代码为:
def check_mask():
    parser = argparse.ArgumentParser(
        formatter_class=argparse.ArgumentDefaultsHelpFormatter
    )
    parser.add_argument("input_dir", help="input annotated directory")
    args = parser.parse_args()
    file_list = [i for i in os.listdir(args.input_dir) if i.endswith("png")]
    file_name = os.path.join(args.input_dir, file_list[0])
    image = Image.open(file_name)
    image = image.convert("RGB")

    # 获取图片的像素数据
    pixels = list(image.getdata())

    # 创建一个可以在图像上绘制文本的对象
    draw = ImageDraw.Draw(image)

    # 设置字体和字体大小
    font = ImageFont.truetype("arial.ttf", size=12)  # 这里使用了Arial字体,你可以替换为其他字体

    # 设置绘制像素值的间隔(每隔多少个像素绘制一次)
    interval = 10

    # 合并像素值的范围(以此范围内的像素值取平均值并绘制)
    merge_range = 5

    # 在图像上绘制像素值
    for y in range(image.height):
        for x in range(image.width):
            if x % interval == 0 and y % interval == 0:
                # 计算合并范围内像素的平均值
                total= 0
                count = 0
                for i in range(-merge_range, merge_range + 1):
                    for j in range(-merge_range, merge_range + 1):
                        nx, ny = x + i, y + j
                        if 0 <= nx < image.width and 0 <= ny < image.height:
                            pixel = pixels[ny * image.width + nx]
                            total += pixel[0]
                            count += 1

                # 计算平均值
                if count > 0:
                    avg = total // count
                    if avg == 0:
                        continue
                    pixel_str = str(avg)  # 格式化平均像素值
                    draw.text((x, y), pixel_str, fill=(255, 0, 0), font=font)  # 在图像上绘制文本,使用黑色文本颜色

    output_path = "output_image.jpg"  # 保存的图片路径
    image.save(output_path, "JPEG")
效果图如下:
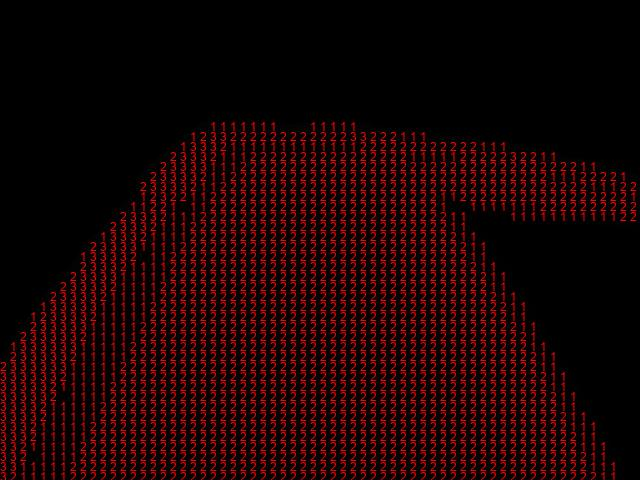
如此便将像素值打印在图片上了。
如果将colormap的效果打印图片上,效果为:
此时将像素打印在图片上结果是:


 浙公网安备 33010602011771号