(转)深入理解最强桌面地图控件GMAP.NET ---离线地图
这章会介绍GMAP.NET的核心功能之一:离线地图。这个功能可以满足很多政府项目、保密项目、或者由于种种原因不能上网的项目的需求。
本章主要分成三个方面介绍:演示、生成离线地图、Demo代码。
一.演示
地图显示
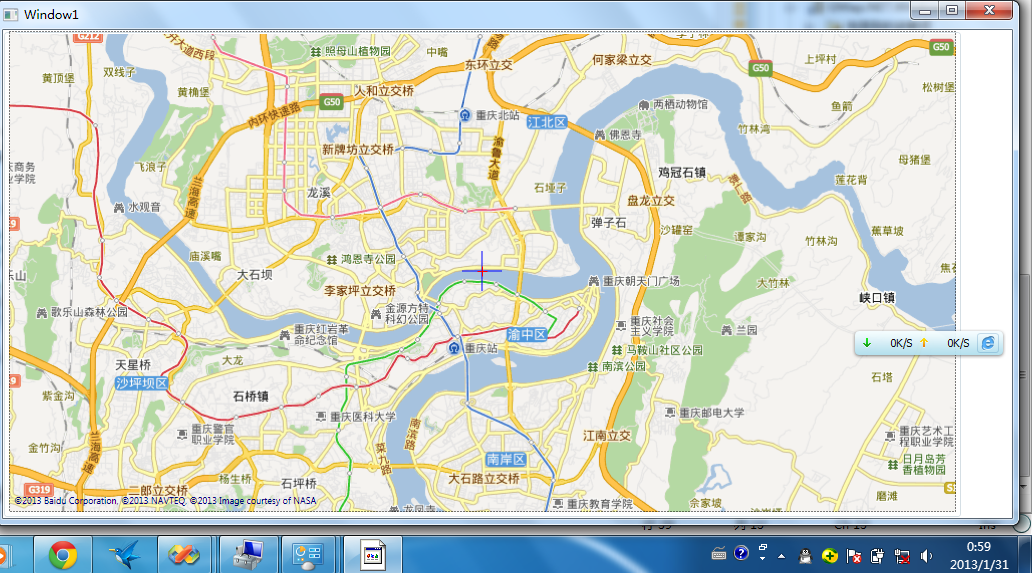
地图缩放后还可以显示
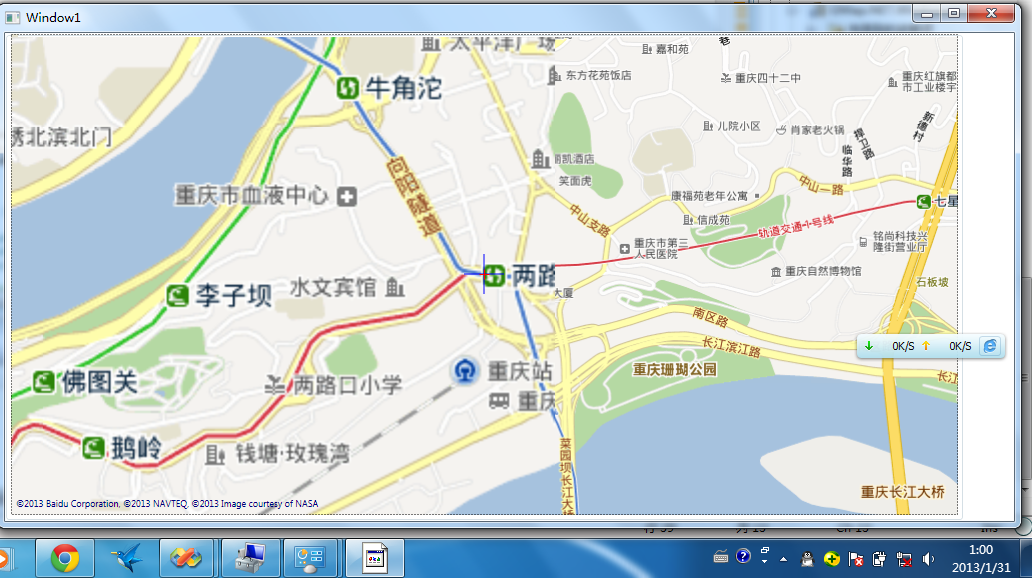
网络是断了的

二.生成离线地图
前面已经演示了Demo,这个部分说如何生成离线地图,也就是Data.gmdb。GMAP.NET提供了集中缓存方式,MySQL,SQLLite,MSSQL,Postgre等等,
默认是使用SQLLite的,这部分以后再分析。
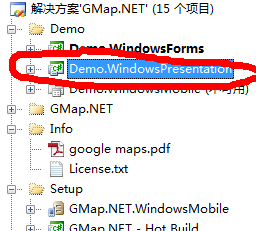
1. 启动Demo.WindowsPresentation项目作为生成工具,这个项目在svn或者Download中都有。
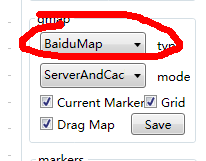
2. 选择一个地图厂商(例如百度),并定位你的位置(例如重庆)
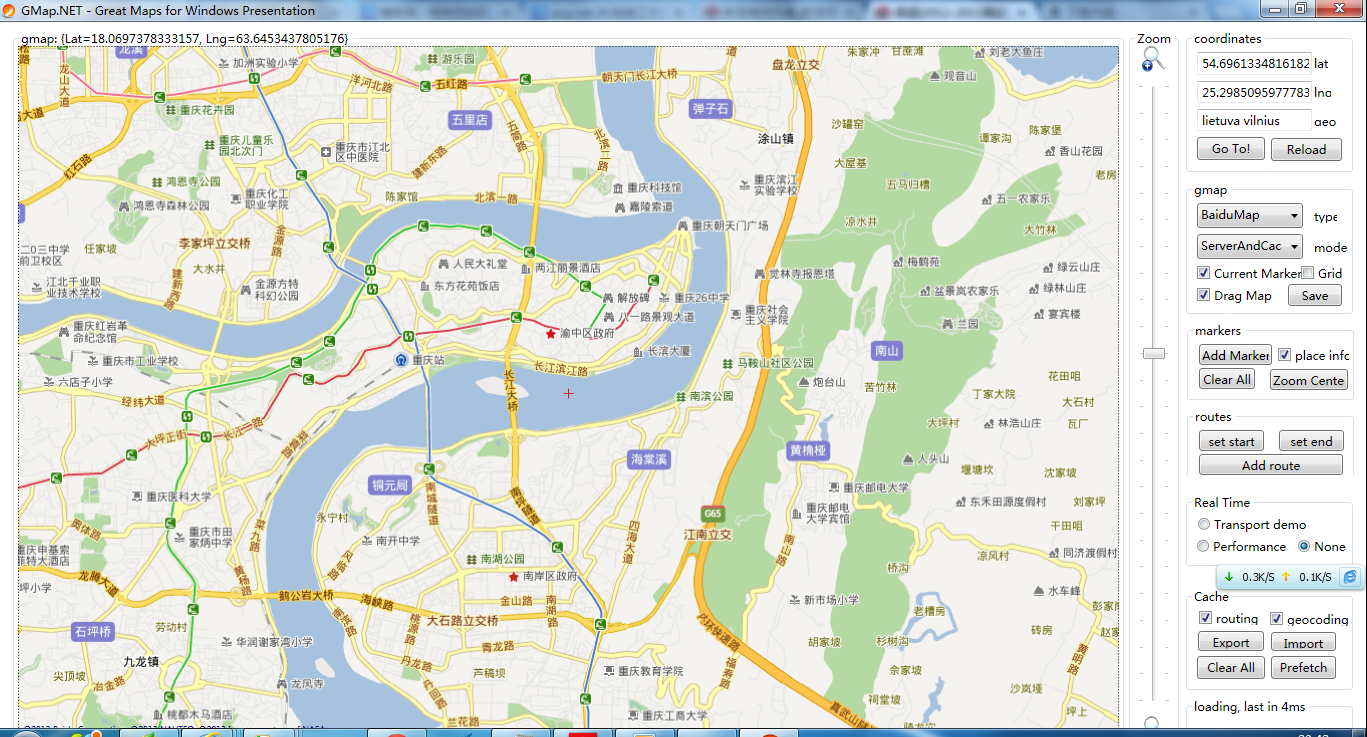
3. 按中Alt键并使用鼠标框选,会用蓝色区域表示,点击prefetch
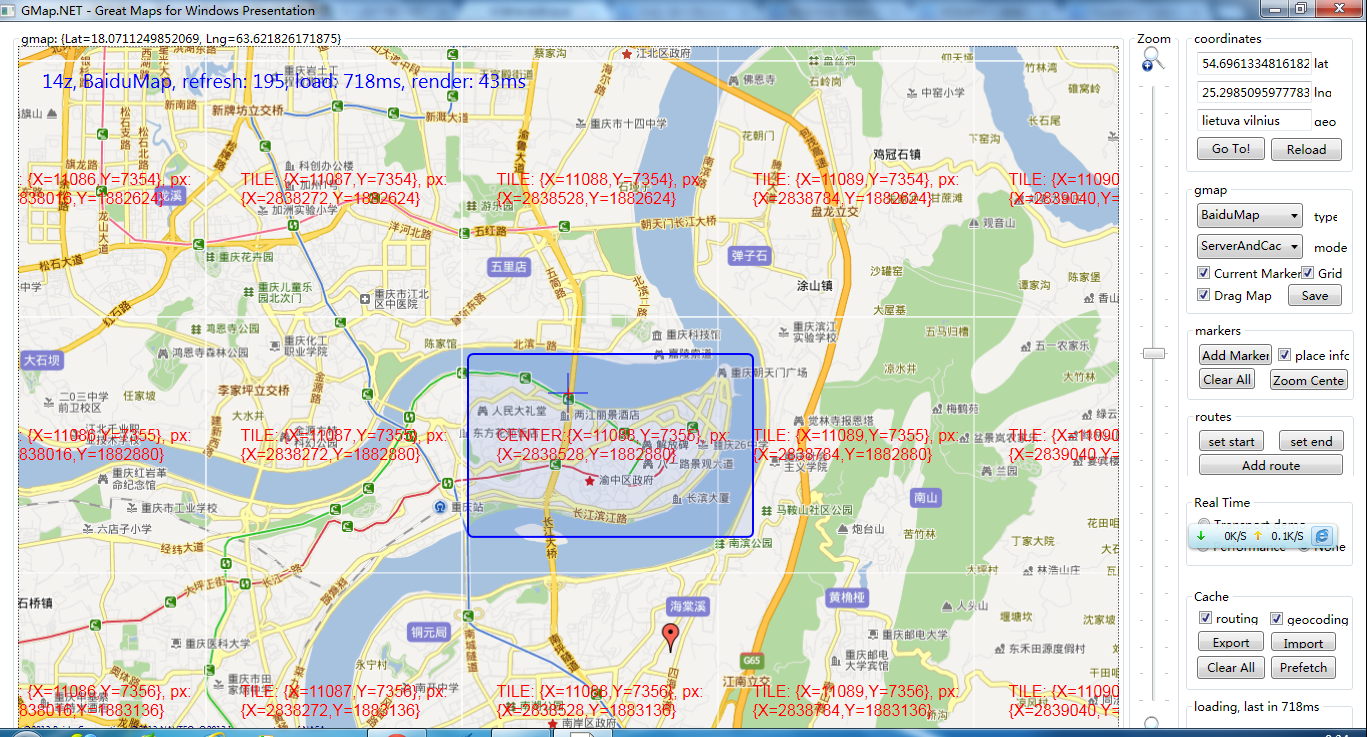
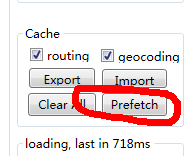
4. 然后开始生成了,是否生成下一层会提示你。

5. 最后生成的文件放在C:\Users\用户名<你的计算机用户名>\AppData\Local\GMap.NET\TileDBv5\en,那个Data.gmdb就是你的地图文件。

OK,整个离线地图就生成好了。
三.Demo代码
代码已经上传至http://code.google.com/p/ypmap/downloads/list:这里有点抱歉的地方,因为地图包实在太大了,上传又是龟速,因此没有上传地图包。
在运行Demo的时候,如果没有离线地图包会Crash掉,需要先生成离线地图包,并在App.Config中配置好,或者注释MapManagerLoader加载的代码。
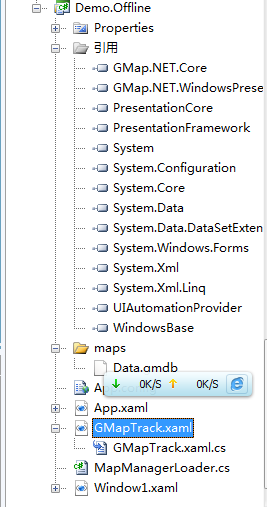
先看下目录结构,主要包括下面几个文件:
引用GMAP.NET.Core.dll和GMAP.NET.WindowsPresentaion
离线地图包maps\Data.gmdb:比较大,大概有140MB的样子,还只是重庆渝中区 18~22层的地图。
配置文件App.Config: 主要是配置了地图启动的中心点,地图文件的路径
封装的地图显示控件代码GMapTrack.xaml和GMapTrack.xaml.cs:主要逻辑在里面
地图包加载代码MapManagerLoader:做了下简单封装
GMapTrack.xaml
主要包括了GMapControl这个控件,并且放了个进度条ProgressBar,是为了在加载图片的时候显示。
<UserControl x:Class="Demo.Offline.GMapTrack"
    xmlns="http://schemas.microsoft.com/winfx/2006/xaml/presentation"
    xmlns:x="http://schemas.microsoft.com/winfx/2006/xaml"
             xmlns:gmap="clr-namespace:GMap.NET.WindowsPresentation;assembly=GMap.NET.WindowsPresentation">
    <Grid>

        <GroupBox Name="mapgroup" Margin="0,0,50,0"  VerticalContentAlignment="Stretch" HorizontalContentAlignment="Stretch">
            <gmap:GMapControl x:Name="MainMap"  MaxZoom="24" MinZoom="1">

            </gmap:GMapControl>
        </GroupBox>
        <GroupBox x:Name="progressBar" Header="正在载入" Height="50" HorizontalAlignment="Right" Margin="0,0,12,12"  VerticalAlignment="Bottom" Width="169">
            <Grid>
                <ProgressBar Margin="2"  IsIndeterminate="True" />
            </Grid>
        </GroupBox>
    </Grid>
</UserControl>
GMapTrack.cs
这里是关键, 仔细看:
1.首先从配置文件中读出地图中心点
this.MainMap.Position = new PointLatLng(lat,lng);
2.设置地图的显示区域,因为离线地图肯定是某个区域的,其他地方也显示不出来。
this.MainMap.BoundsOfMap = new RectLatLng(lat+2, lng+2, 2.765142, 4.120995);
3.设置地图的加载模式:缓存,并且设置地图为百度地图
this.MainMap.Manager.Mode = AccessMode.CacheOnly;
this.MainMap.MapProvider = GMapProviders.BaiduMap;
4.从配置文件中读取地图
MapManagerLoader.Instance.Load(ConfigurationManager.AppSettings["mapName"]);
 private void MainMap_Loaded(object sender, RoutedEventArgs e)
        {
            double lat = double.Parse(ConfigurationManager.AppSettings["defaultLat"]);
            double lng = double.Parse(ConfigurationManager.AppSettings["defaultLng"]);
            this.MainMap.Position = new PointLatLng(lat,lng);

           // this.MainMap.MapProvider.Area = new RectLatLng(30.981178, 105.351914, 2.765142, 4.120995);
            this.MainMap.BoundsOfMap = new RectLatLng(lat+2, lng+2, 2.765142, 4.120995);
            this.MainMap.Manager.Mode = AccessMode.CacheOnly;
            this.MainMap.MapProvider = GMapProviders.BaiduMap;
            this.MainMap.DragButton = MouseButton.Left;
            this.MainMap.Zoom = 13;
            this.MainMap.MinZoom = 8;
            this.MainMap.MaxZoom = 24;

            MapManagerLoader.Instance.Load(ConfigurationManager.AppSettings["mapName"]);
        }
下面是GMapTrack.cs的完整代码:
 View Code
 MapManagerLoader.cs
一个单例模式的地图加载器,主要看这个代码,启动了个线程,并且调用了GMaps.Instance.ImportFromGMDB函数
   public bool Load(string fileName)
        {
            if (!_isLoaded)
            {
                new Thread(() => GMaps.Instance.ImportFromGMDB(fileName)).Start();
                _isLoaded = true;
            }
            return _isLoaded;
        }
下面是MapManagerLoader.cs的完整代码:
 View Code
 其他代码没什么好讲的了,有WPF或C#基础的都应该很快能理解
原文链接:http://www.cnblogs.com/enjoyeclipse/archive/2013/01/29/2882254.html


