envoy wasm 进行GRPC调用
在一些业务中,对于客户端发送的请求,需要调用grcp服务来确认是否合规,这个时候可以在入口网关做些统一的处理。
之前写的用go来编写wasm,在编写grpc调用时发现由于tinygo的原因导致无法进行grpc请求,在找了一圈后决定使用proxy-wasm-rust-sdk来完成该部分功能。
一、创建项目
cargo new --lib grpc_call
二、安装依赖
cargo add proxy-wasm
rustup target add wasm32-unknown-unknown  --执行一次就好了,安装目标平台
三、定义protocol协议文件
syntax = "proto3";

package hello;

service HelloService {
    rpc Hello (HelloRequest) returns (HelloReply);
}

message HelloRequest {
    string name = 1;
}

message HelloReply{
    string message =1;
}
四、生成代码
4.1、安装protocol代码生成工具
cargo add protoc-rust --build
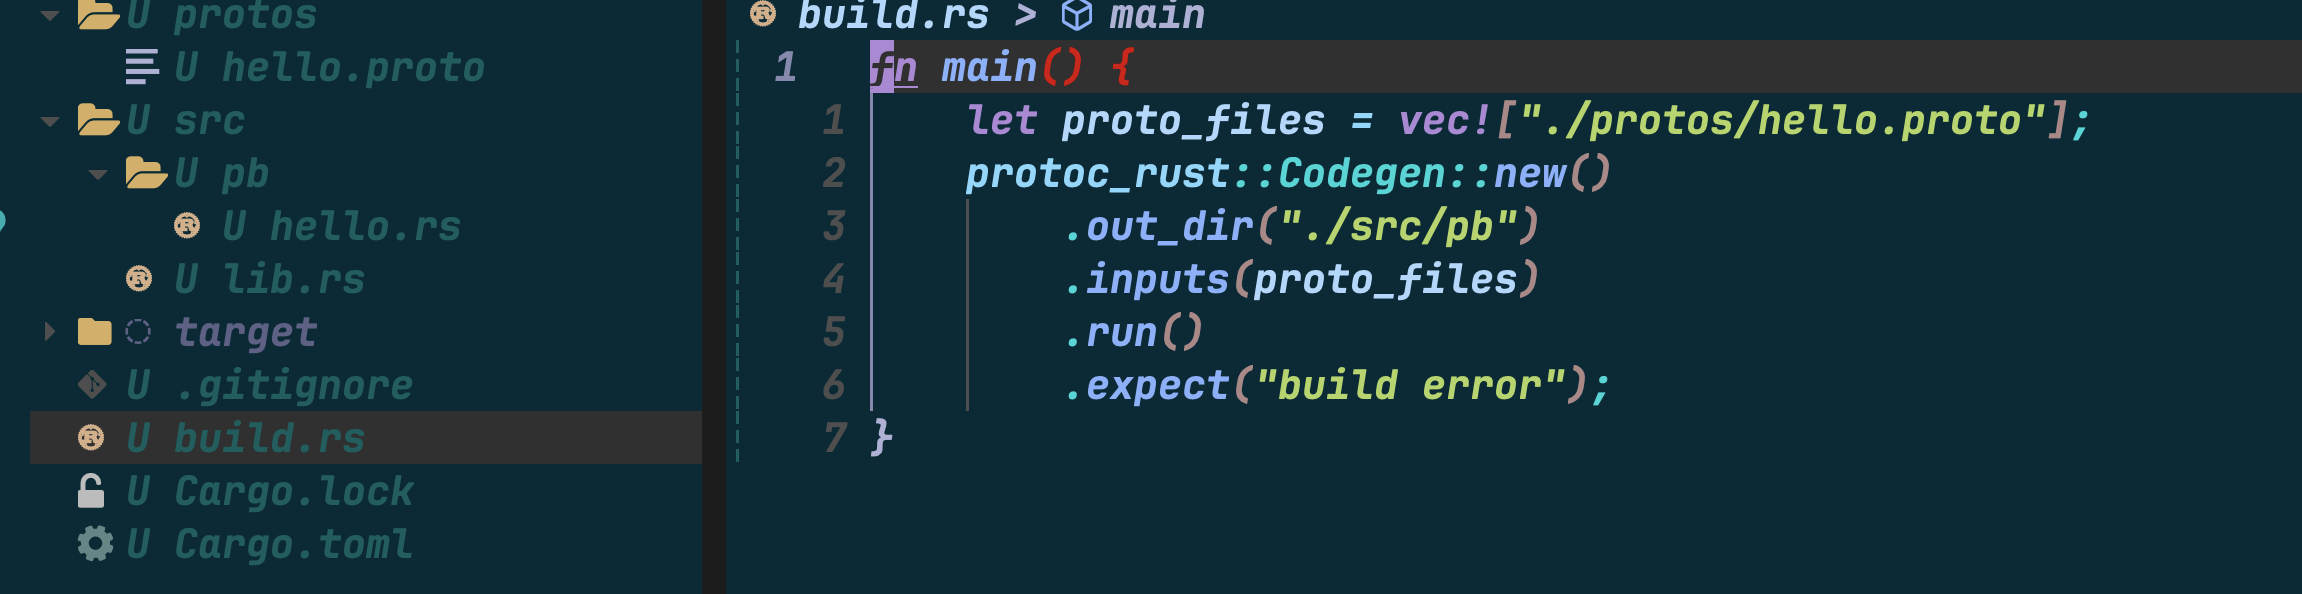
4.2、添加build.rs文件
fn main() {
    let proto_files = vec!["./protos/hello.proto"];
    protoc_rust::Codegen::new()
        .out_dir("./src/pb")
        .inputs(proto_files)
        .run()
        .expect("build error");
}
指定输入文件、输出目录。需要注意的是输出目录必须存在。
4.3、生成代码
cargo build
示例项目目录结构如下
五、配置文件定义
#[derive(Deserialize, Debug)]
struct VmConfig {
    cluster: String,
}
cluster参数 指定grpc服务后端集群,在envoy中必须要存在该cluster配置。
六、加载配置文件
impl RootContext for HttpHeadersRoot {
    fn get_type(&self) -> Option<ContextType> {
        Some(ContextType::HttpContext)
    }

    fn on_vm_start(&mut self, _vm_configuration_size: usize) -> bool {
        let vm_config = self.get_vm_configuration();
        match vm_config {
            Some(v) => unsafe {
                let d = v.as_slice();
                let result: Result<VmConfig, serde_json::Error> = serde_json::from_slice(d);
                if let Ok(vm_json) = result {
                    VM_CONFIG_GLBOAL = vm_json;
                }
            },
            None => {}
        }
        true
    }

    fn on_configure(&mut self, _: usize) -> bool {
        if let Some(config_bytes) = self.get_plugin_configuration() {
            self.header_content = String::from_utf8(config_bytes).unwrap()
        }
        true
    }

    fn create_http_context(&self, context_id: u32) -> Option<Box<dyn HttpContext>> {
        Some(Box::new(HttpHeaders { context_id }))
    }
}
代码中在vm_start 加载了配置文件,并将加载的值赋值给全局变量,在envoy配置中同样需要在vm节点配置配置项。
七、发送grpc请求
在HttpContext实现中编写代码
fn on_http_request_headers(&mut self, _: usize, _: bool) -> Action {
        let path = self.get_http_request_header(":path").unwrap_or_default();
        let grpc_name: &str;
        if !path.contains("name") {
            return Action::Continue;
        }
        let uparms_arr: Vec<&str> = path.split("name=").collect();
        if uparms_arr[1].contains("&") {
            let real_uparms: Vec<&str> = uparms_arr[1].split("&").collect();
            grpc_name = real_uparms[0];
        } else {
            grpc_name = uparms_arr[1]
        }
        if grpc_name.is_empty() {
            return Action::Continue;
        }
        let mut req = pb::hello::HelloRequest::new();
        req.set_name(grpc_name.to_string());
        let message = req.write_to_bytes().unwrap();
        unsafe {
            match self.dispatch_grpc_call(
                &VM_CONFIG_GLBOAL.cluster,
                "hello.HelloService",
                "Hello",
                Vec::<(&str, &[u8])>::new(),
                Some(message.as_slice()),
                Duration::from_millis(20),
            ) {
                Ok(_) => error!("grpc send success"),
                Err(e) => error!("grpc send error:{:?}", e),
            }
        }
        Action::Pause
    }
这里取url参数,如果有name参数,则发送grpc请求,调用grpc服务,注意cluster,是从配置文件中获取的,这里是个变量,其他的参数没变化,所以就写死了。
超时、grpc元数据也可以放在配置文件,示例不需要就没写。
八、接收grpc响应,并恢复请求
在Context实现中编写代码
impl Context for HttpHeaders {
    fn on_grpc_call_response(&mut self, _token_id: u32, _status_code: u32, response_size: usize) {
        if let Some(body) = self.get_grpc_call_response_body(0, response_size) {
            let mut hp = pb::hello::HelloReply::new();
            match hp.merge_from_bytes(body.as_slice()) {
                Ok(_) => {
                    let msg = hp.get_message();
                    error!("{}", msg);
                    self.set_http_request_header("hello", Some(&msg.to_string()));
                }
                Err(e) => {
                    error!("{}", e)
                }
            }
        }
        self.resume_http_request();
    }
}
主要就是解析返回
九、打包部署
9.1 打包
cargo build --release
在项目目录 target/wasm32-unknown-unknown/release 目录下找到生成的wasm文件,放到envoy可访问目录。
9.2 部署
http_filters:
          - name: envoy.filters.http.wasm
            typed_config:
              "@type": type.googleapis.com/envoy.extensions.filters.http.wasm.v3.Wasm
              config:
                name: "xxx"
                root_id: "xxx"
                configuration:
                  '@type': type.googleapis.com/google.protobuf.StringValue
                  value: {}
                vm_config:
                  runtime: "envoy.wasm.runtime.v8"
                  configuration:
                    '@type': type.googleapis.com/google.protobuf.StringValue
                    value: |
                      {
                        "cluster": "grpc_server"
                      }
                  code:
                    local:
                      filename: '/root/envoy/grpc_call.wasm'
          - name: envoy.filters.http.router
            typedConfig:
              "@type": type.googleapis.com/envoy.extensions.filters.http.router.v3.Router
这里在vm_config中设置的配置文件,与wasm 代码中保持一致
GitHub地址: https://github.com/pjjwpc/envoy_wasm_demo.git

 浙公网安备 33010602011771号