
【SpringMVC 从 0 开始】SpringMVC RESTFul 实战案例 - 访问首页
一、新建 index.html
在 webapp\WEB-INF\templates 下新建首页 index.html。
<!DOCTYPE html>
<html lang="en" xmlns:th="http://www.thymeleaf.org">
<head>
    <meta charset="UTF-8" >
    <title>Title</title>
</head>
<body>
<h1>首页</h1>
<a th:href="@{/employee}">查看员工信息</a>
</body>
</html>
二、配置视图控制器
在 springMVC.xml 配置文件里,配置首页的 view-controller。另外还要开启注解驱动。
<?xml version="1.0" encoding="UTF-8"?>
<beans xmlns="http://www.springframework.org/schema/beans"
       xmlns:xsi="http://www.w3.org/2001/XMLSchema-instance"
       xmlns:context="http://www.springframework.org/schema/context"
       xmlns:mvc="http://www.springframework.org/schema/mvc"
       xsi:schemaLocation="http://www.springframework.org/schema/beans http://www.springframework.org/schema/beans/spring-beans.xsd
                           http://www.springframework.org/schema/context http://www.springframework.org/schema/context/spring-context.xsd
                           http://www.springframework.org/schema/mvc http://www.springframework.org/schema/mvc/spring-mvc.xsd">
    <!-- 自动扫描包 -->
    <context:component-scan base-package="com.pingguo.rest"></context:component-scan>

    <!-- 配置Thymeleaf视图解析器 -->
    <bean id="viewResolver" class="org.thymeleaf.spring5.view.ThymeleafViewResolver">
        <property name="order" value="1"/>
        <property name="characterEncoding" value="UTF-8"/>
        <property name="templateEngine">
            <bean class="org.thymeleaf.spring5.SpringTemplateEngine">
                <property name="templateResolver">
                    <bean class="org.thymeleaf.spring5.templateresolver.SpringResourceTemplateResolver">

                        <!-- 视图前缀 -->
                        <property name="prefix" value="/WEB-INF/templates/"/>

                        <!-- 视图后缀 -->
                        <property name="suffix" value=".html"/>
                        <property name="templateMode" value="HTML5"/>
                        <property name="characterEncoding" value="UTF-8" />
                    </bean>
                </property>
            </bean>
        </property>
    </bean>

    <!--
        path:设置处理的请求地址
        view-name:设置请求地址所对应的视图名称
    -->
    <mvc:view-controller path="/" view-name="index"></mvc:view-controller>

    <!--开启 mvc 的注解驱动-->
    <mvc:annotation-driven />

</beans>
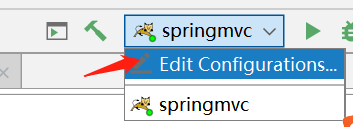
三、Idea 部署配置
点击 配置。
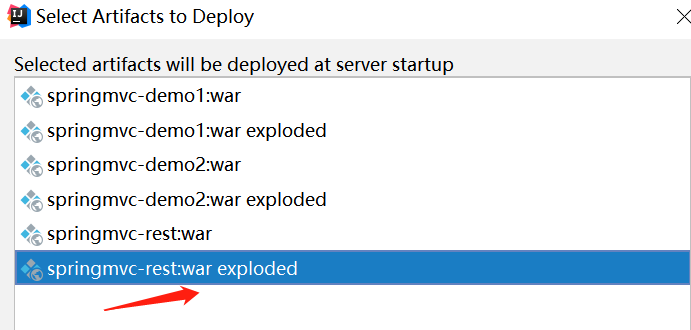
继续按照顺序点击配置。

选择要部署的 war 包,点击确定。
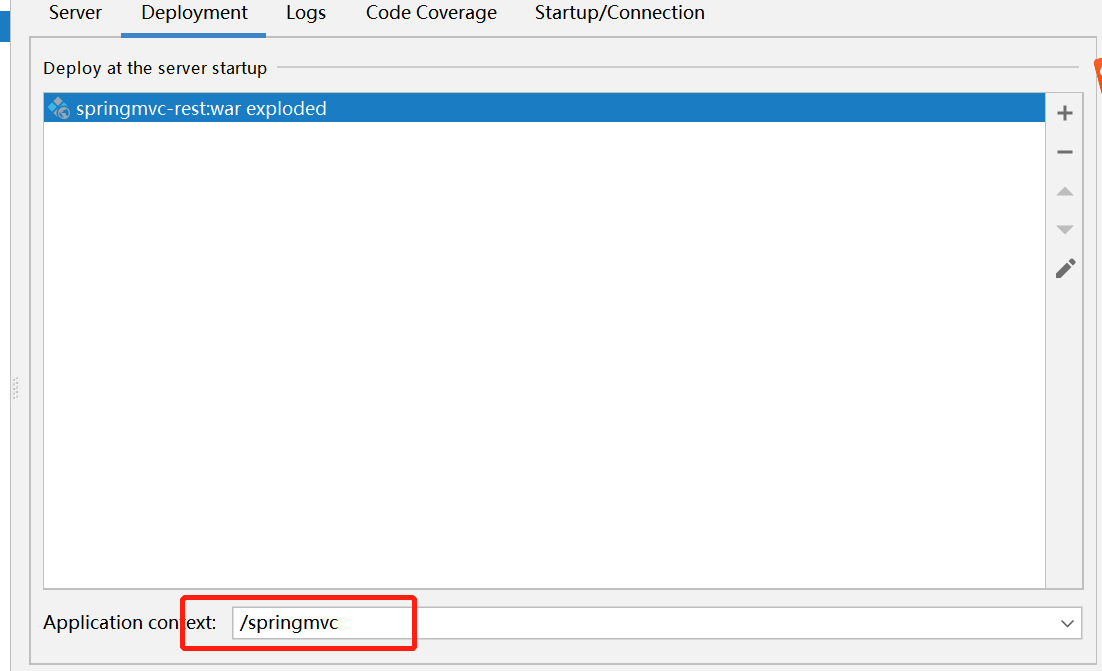
最后为了方便访问,修改下上下文(不改也可以)。
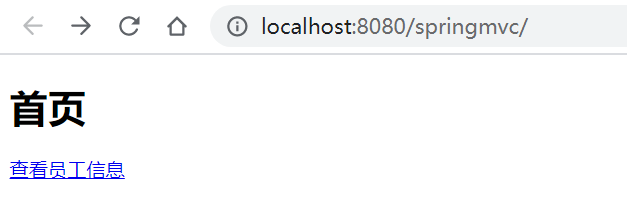
点击部署,成功后自动打开首页。
感谢《尚硅谷》的学习资源。
--不要用肉体的勤奋,去掩盖思考的懒惰--

 浙公网安备 33010602011771号