【HttpRunner v3.x】笔记 ——5. 测试用例-config
上一篇中,我们了解到了config,在配置中,我们可以配置测试用例级级别的一些设置,比如基础url、验证、变量、导出。
我们一起来看,官方给出的一个例子:
from httprunner import HttpRunner, Config, Step, RunRequest, RunTestCase


class TestCaseRequestWithFunctions(HttpRunner):
    config = (
        Config("request methods testcase with functions")
        .variables(
            **{
                "foo1": "config_bar1",
                "foo2": "config_bar2",
                "expect_foo1": "config_bar1",
                "expect_foo2": "config_bar2",
            }
        )
        .base_url("http://demo.qa.com")
        .verify(False)
        .export(*["foo3"])
    )

    teststeps = [
        Step(
            RunRequest("get with params")
            .with_variables(
                **{"foo1": "bar11", "foo2": "bar21", "sum_v": "${sum_two(1, 2)}"}
            )
            .get("/get")
            .with_params(**{"foo1": "$foo1", "foo2": "$foo2", "sum_v": "$sum_v"})
            .with_headers(**{"User-Agent": "HttpRunner/${get_httprunner_version()}"})
            .extract()
            .with_jmespath("body.args.foo2", "foo3")
            .validate()
            .assert_equal("status_code", 200)
            .assert_equal("body.args.foo1", "bar11")
            .assert_equal("body.args.sum_v", "3")
            .assert_equal("body.args.foo2", "bar21")
        ),
        Step(
            RunRequest("post form data")
            .with_variables(**{"foo2": "bar23"})
            .post("/post")
            .with_headers(
                **{
                    "User-Agent": "HttpRunner/${get_httprunner_version()}",
                    "Content-Type": "application/x-www-form-urlencoded",
                }
            )
            .with_data("foo1=$foo1&foo2=$foo2&foo3=$foo3")
            .validate()
            .assert_equal("status_code", 200)
            .assert_equal("body.form.foo1", "$expect_foo1")
            .assert_equal("body.form.foo2", "bar23")
            .assert_equal("body.form.foo3", "bar21")
        ),
    ]


if __name__ == "__main__":
    TestCaseRequestWithFunctions().test_start()
一、name(必填)
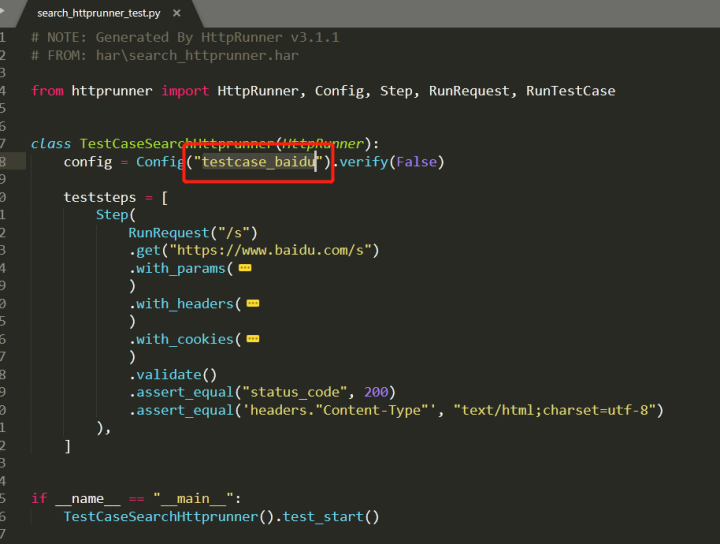
即用例名称,这是一个必填参数。测试用例名称,将显示在执行日志和测试报告中。比如,我在之前的百度搜索的case里,加入name。

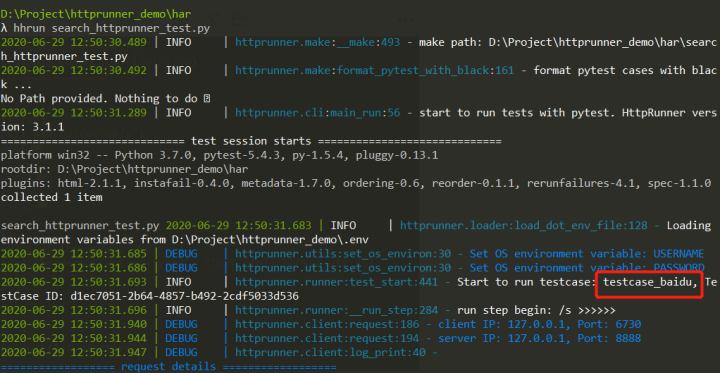
运行后,在debug日志里,可以看的用例名称被展示出来。

二、base_url(选填)
其实这个配置一般在多环境切换中最常用。
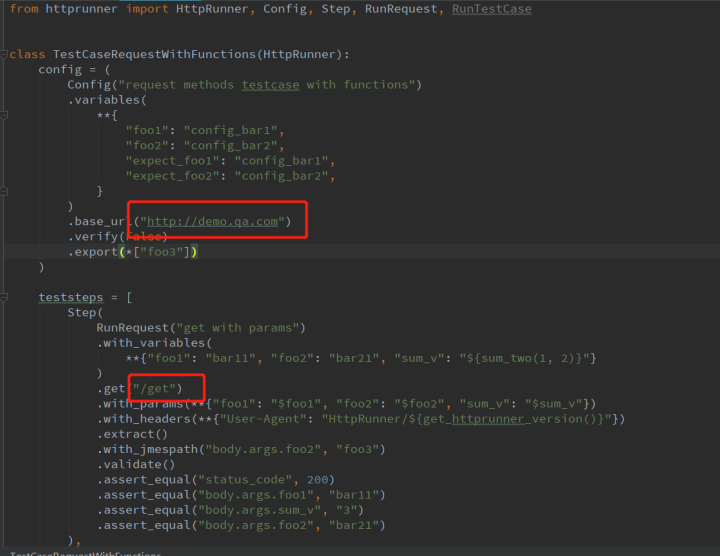
比如你的这套测试用例在qa环境,uat环境都要使用,那么就可以把基础地址(举例http://demo.qa.com),设置进去。在后面的teststep中,只需要填上接口的相对路径就好了(举例 /get)。
这样的话,切换环境运行,只需要修改base_url即可。

三、variables(选填)
变量,这里可以存放一些公共的变量,可以在测试用例里引用。这里大家可以记住这个“公共”的词眼,因为在后面的Step中,还会有步骤变量。
比如说,我的接口有个传参是不变的,比如用户名username,而且后面的没个Step都会用到这个传参,那么username就可以放在config的公共变量里。
另外,Step里的变量优先级是比config里的变量要高的,如果有2个同名的变量的话,那么引用的时候,是优先引用步骤里的变量的。
四、verify(选填)
用来决定是否验证服务器TLS证书的开关。
通常设置为False,当请求https请求时,就会跳过验证。如果你运行时候发现抛错SSLError,可以检查一下是不是verify没传,或者设置了True。
五、export(选填)
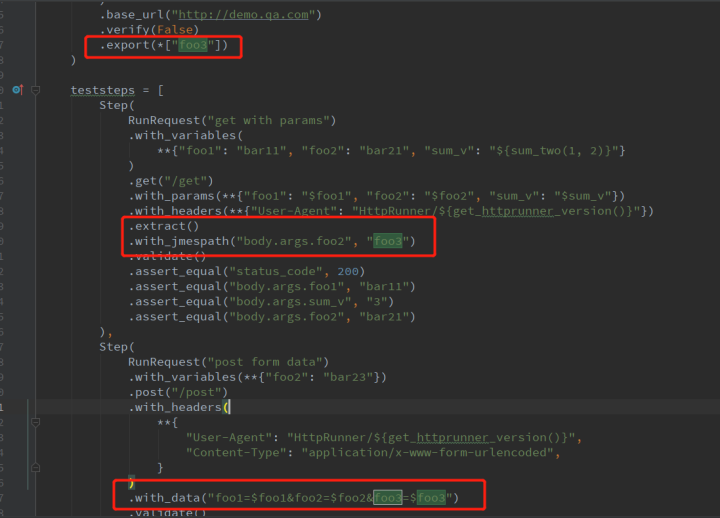
导出的变量,主要是用于Step之间参数的传递。还是以上面的官方代码为例:

- 在config中配置export“foo3”这个变量。
- 在第一个Step中,.extract() 提取了"body.args.foo2"给变量“foo3”。
- 在第二个Step中,引用变量"foo3"。
像参数传递,提取这些点,会放在后面单独讲解,前面还是以熟悉框架为主。
--不要用肉体的勤奋,去掩盖思考的懒惰--


 浙公网安备 33010602011771号