Ubuntu Server QT开发
平台:Ubuntu 18.04 server.
文件:qt-everywhere-src-5.12.12.tar.xz
1.安装环境
1.1 通用环境
$ sudo apt install build-essential vim bc flex bison gawk libncurses5-dev texinfo curl wget unzip python
1.2 专用环境
$ sudo apt install libx11-dev libxext-dev libxtst-dev libgl1-mesa-dev libglu1-mesa-dev libxkbcommon-x11-dev
2.QT源码编译
2.1 下载QT源码
下载qt源码(http://download.qt.io/), 我下载的是:
[https://download.qt.io/archive/qt/5.12/5.12.12/single/qt-everywhere-src-5.12.12.tar.xz]
2.2 配置QT源码
$ tar -xvf qt-everywhere-src-5.12.12.tar.xz
$ cd qt-everywhere-src-5.12.12/
做如下配置:
$ ./configure \
    -platform linux-g++-64 \
    -opensource \
    -release \
    -confirm-license \
    -qt-xcb \
    -nomake tests \
    -nomake examples
2.3 编译安装
$ make -j4
$ sudo make install
查看是否安装成功:
$ ls /usr/local/Qt-5.12.12/
bin  doc  include  lib  mkspecs  phrasebooks  plugins  qml  translations
如上所示,安装成功。
3.设置环境变量
在shell中执行:
export QTDIR=/usr/local/Qt-5.12.12
export PATH=$QTDIR/bin:$PATH
export MANPATH=$QTDIR/man:$MANPATH
export LD_LIBRARY_PATH=$QTDIR/lib:$LD_LIBRARY_PATH
[这里的环境变量只是临时生效,关闭shell后就不起作用了,想要永久有效,可以把这几句写到/etc/profile中去(文件最下面即可)]。
4.编写测试代码
$ mkdir -p demo/hello
$ cd demo/hello/
$ vim hello_gui.cpp
hello_gui.cpp填写如下内容:
 1 #include <QApplication>
 2 #include <QLabel>
 3
 4
 5 int main(int argc, char **argv)
 6 {
 7         QApplication app(argc, argv);
 8
 9         QLabel label("hello world");
10
11         label.resize(100, 50);
12
13         label.show();
14
15         return app.exec();
16 }
执行:
$ qmake -project
会生成一个hello.pro的文件,在该文件末尾添加如下内容:
greaterThan(QT_MAJOR_VERSION, 4): QT += widgets
执行:
$ qmake
$ make
顺利的话,会生成一个名为"hello"的可执行文件。
5.测试验证
方式1:
MobaXterm通过ssh连接Ubuntu Server,然后在MobaXterm中执行:
$ ./hello
效果图:

方式2:
在Ubuntu的操作界面执行如下操作:
$ ./hello -platform vnc
QVncServer created on port 5900
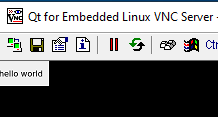
然后用VNC客户端连接到vnc:192.168.xxx.xxx:5900,就可以看到效果了:

方式3:
在Ubuntu的操作界面执行如下操作:
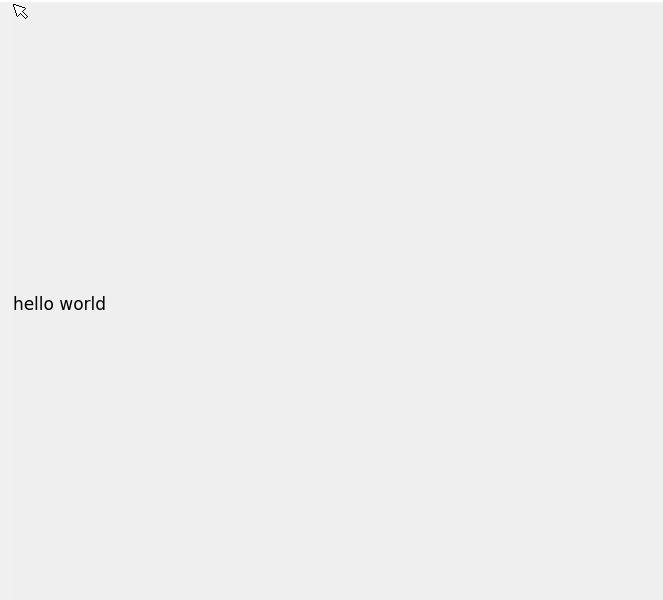
$ sudo ./hello -platform linuxfb
效果图:


【推荐】国内首个AI IDE,深度理解中文开发场景,立即下载体验Trae
【推荐】编程新体验,更懂你的AI,立即体验豆包MarsCode编程助手
【推荐】抖音旗下AI助手豆包,你的智能百科全书,全免费不限次数
【推荐】轻量又高性能的 SSH 工具 IShell:AI 加持,快人一步
· 震惊!C++程序真的从main开始吗?99%的程序员都答错了
· 别再用vector<bool>了!Google高级工程师:这可能是STL最大的设计失误
· 单元测试从入门到精通
· 【硬核科普】Trae如何「偷看」你的代码?零基础破解AI编程运行原理
· 上周热点回顾(3.3-3.9)