
springboot 整合rabbitMQ 实现生产者与消费者实例【入门级】
一、什么是Exchange
RabbitMQ 是 AMQP(高级消息队列协议)的标准实现:
从 AMQP 协议可以看出,Queue、Exchange 和 Binding 构成了 AMQP 协议的核心
-
Producer:消息生产者,即投递消息的程序。
-
Broker:消息队列服务器实体。
-
Exchange:消息交换机,它指定消息按什么规则,路由到哪个队列。
-
Binding:绑定,它的作用就是把 Exchange 和 Queue 按照路由规则绑定起来。
-
Queue:消息队列载体,每个消息都会被投入到一个或多个队列。
-
-
Consumer:消息消费者,即接受消息的程序。
二、Exchange的类型
RabbitMQ常用的Exchange Type有fanout、direct、topic、headers这四种,本文主要通过direct方式,实现生产者与消费者实例
三、具体操作步骤
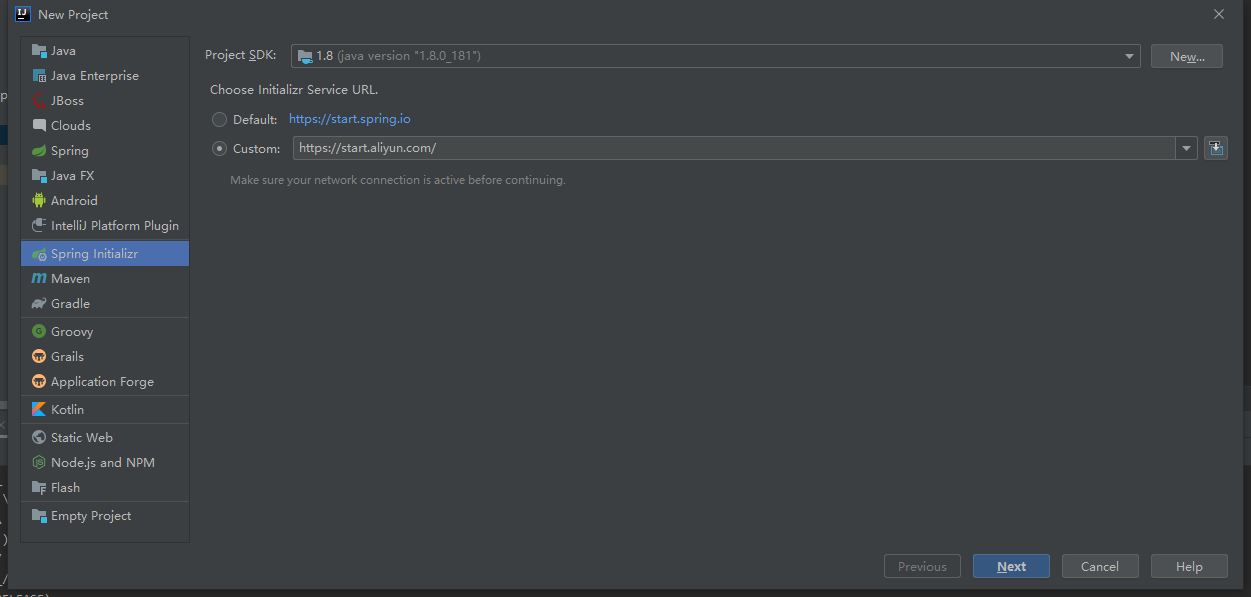
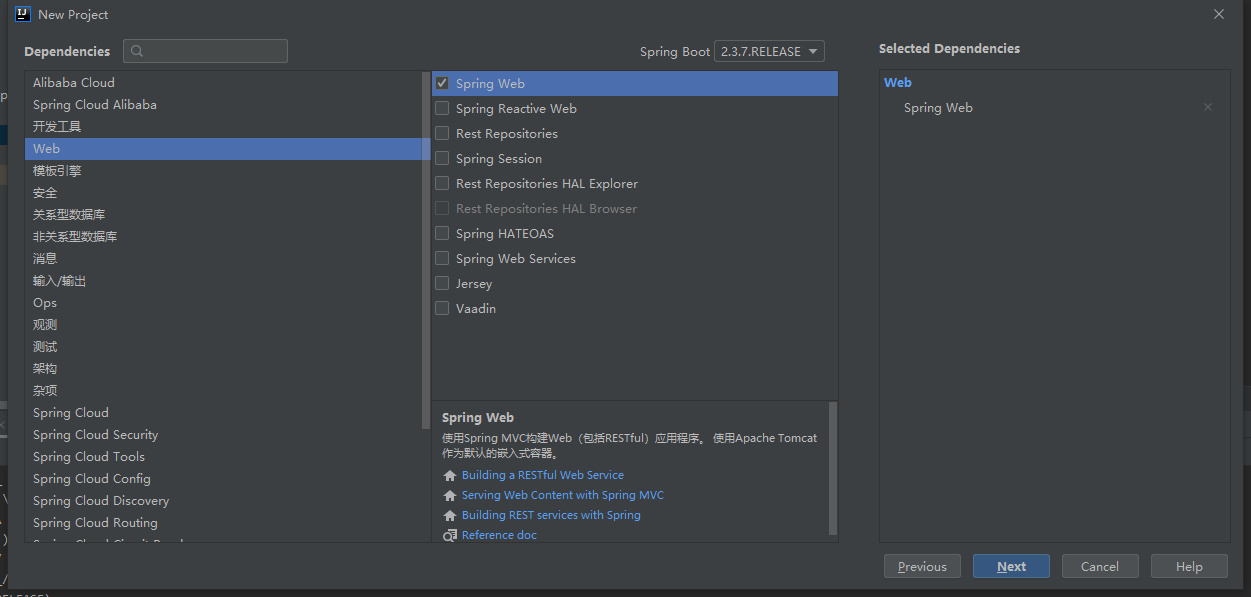
- 创建生产者 新建springboot web项目,file->new->project
- 在pom.xml文件添加引用
1 2 3 4 5 6 7 8 9 10 11 12 | <!-- 添加springboot对amqp的支持 --> <dependency> <groupId>org.springframework.boot</groupId> <artifactId>spring-boot-starter-amqp</artifactId> </dependency> <!-- SLf4j 日志记录--> <dependency> <groupId>org.projectlombok</groupId> <artifactId>lombok</artifactId> <optional>true</optional> <version>1.18.12</version> </dependency> |
- 在application.properties文件中添加连接MQ配置,注意端口是5672,不是15672,15672是web浏览端口
1 2 3 4 5 6 7 | # 应用名称spring.application.name=springboot-rabbitmq-receivespring.rabbitmq.host=127.0.0.1spring.rabbitmq.port=5672spring.rabbitmq.username=guestspring.rabbitmq.password=guest |
- 创建RabbitMQ配置类,注意添加的注解是Configuration
1 2 3 4 5 6 7 8 9 10 11 12 13 14 15 16 | package com.howdy.common.config;import org.springframework.amqp.core.Queue;import org.springframework.context.annotation.Bean;import org.springframework.context.annotation.Configuration;@Configuration //注意 这个地方不是 Configurablepublic class RabbitMQConf { @Bean public Queue helloQueue() { // 第一个参数是创建的queue的名字,第二个参数是是否支持持久化 return new Queue("hello_queue_test", true); }} |
- 创建发送消息服务类
1 2 3 4 5 6 7 8 9 10 11 12 13 14 15 16 17 18 19 20 | package com.howdy.common.service;import lombok.extern.slf4j.Slf4j;import org.springframework.amqp.core.AmqpTemplate;import org.springframework.beans.factory.annotation.Autowired;import org.springframework.stereotype.Service;@Service@Slf4jpublic class HelloSender { @Autowired private AmqpTemplate template; public void Send() { String msg = "hello rabbitmq..."; template.convertAndSend("hello_queue_test", msg); log.info("hello_queue_test队列发送消息:" + msg); }} |
- 创建测试方法类
1 2 3 4 5 6 7 8 9 10 11 12 13 14 15 16 17 18 19 20 21 22 23 24 25 | package com.howdy.common.controller;import com.howdy.common.service.HelloSender;import org.junit.Test;import org.junit.runner.RunWith;import org.springframework.beans.factory.annotation.Autowired;import org.springframework.web.bind.annotation.GetMapping;import org.springframework.web.bind.annotation.RequestMapping;import org.springframework.web.bind.annotation.RestController;@RestController@RequestMapping("/test")public class TestRabbitMQ { @Autowired private HelloSender helloSender; @GetMapping("/testRabbit") public String testRabbit(){ helloSender.Send(); return "消息发送成功"; }} |
- 生产者 完整目录结构

2、创建消费者项目,大部分与生产者相同,下面我只列出不同的地方
- 创建消费端,消费方法
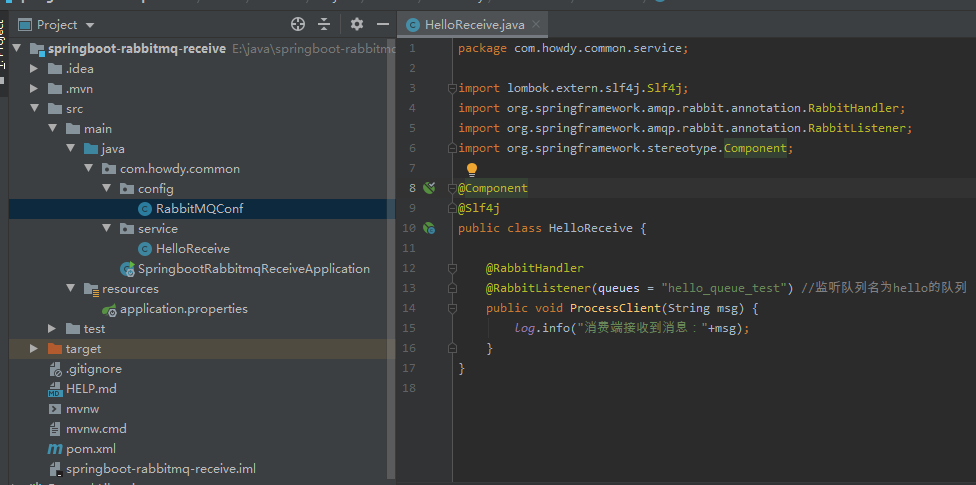
1 2 3 4 5 6 7 8 9 10 11 12 13 14 15 16 17 | package com.howdy.common.service;import lombok.extern.slf4j.Slf4j;import org.springframework.amqp.rabbit.annotation.RabbitHandler;import org.springframework.amqp.rabbit.annotation.RabbitListener;import org.springframework.stereotype.Component;@Component@Slf4jpublic class HelloReceive { @RabbitHandler @RabbitListener(queues = "hello_queue_test") //监听队列名为hello的队列 public void ProcessClient(String msg) { log.info("消费端接收到消息:"+msg); }} |
- 完整目录结构
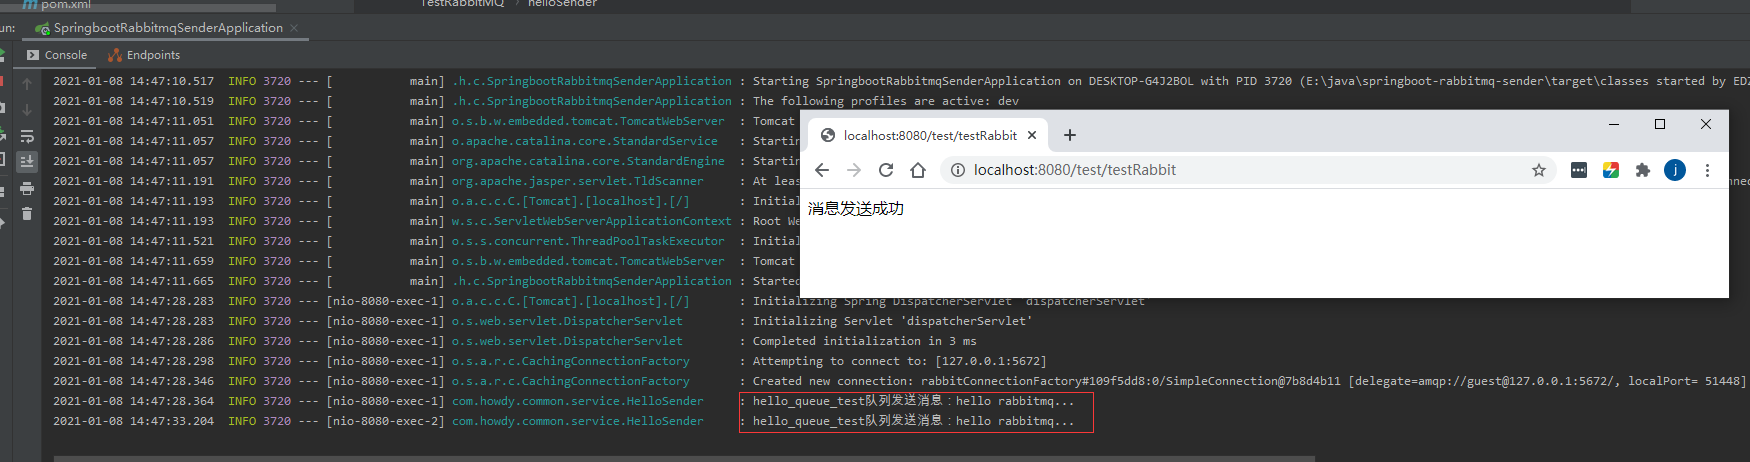
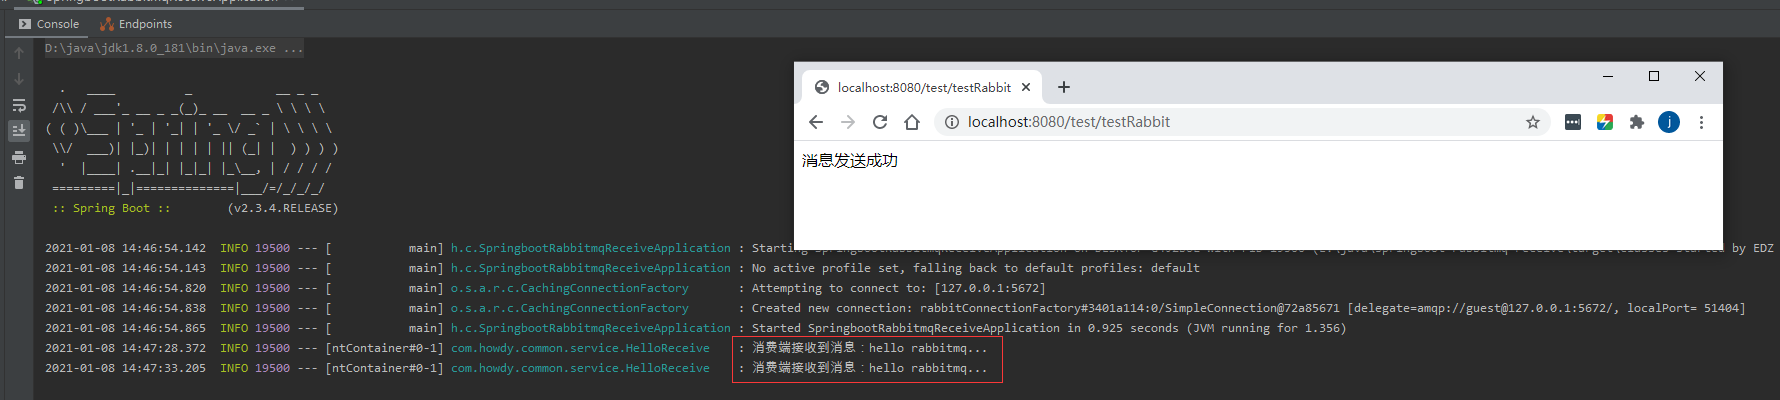
- 最后测试结果,如图:


【推荐】国内首个AI IDE,深度理解中文开发场景,立即下载体验Trae
【推荐】编程新体验,更懂你的AI,立即体验豆包MarsCode编程助手
【推荐】抖音旗下AI助手豆包,你的智能百科全书,全免费不限次数
【推荐】轻量又高性能的 SSH 工具 IShell:AI 加持,快人一步
· AI与.NET技术实操系列:向量存储与相似性搜索在 .NET 中的实现
· 基于Microsoft.Extensions.AI核心库实现RAG应用
· Linux系列:如何用heaptrack跟踪.NET程序的非托管内存泄露
· 开发者必知的日志记录最佳实践
· SQL Server 2025 AI相关能力初探
· 震惊!C++程序真的从main开始吗?99%的程序员都答错了
· 【硬核科普】Trae如何「偷看」你的代码?零基础破解AI编程运行原理
· 单元测试从入门到精通
· 上周热点回顾(3.3-3.9)
· winform 绘制太阳,地球,月球 运作规律