
How to Install Visual Studio Code on Ubuntu 20.04
https://code.visualstudio.com/download
https://visualstudio.microsoft.com/zh-hans/free-developer-offers/
How to Install Visual Studio Code on Ubuntu 20.04
Posted May 1, 2020
•3 min read
Visual Studio Code is cross-platform, available on Windows, Linux, and macOS.
This guide shows two ways of installing Visual Studio Code on Ubuntu 20.04. VS Code can be installed as a snap package via the Snapcraft store or as a deb package from Microsoft repositories.
Choose the installation method that is most appropriate for your environment.
Installing Visual Studio Code as a Snap Package
Visual Studio Code snap package is distributed and maintained by Microsoft.
Snaps are self-contained software packages that include the binary all dependencies needed to run the application. Snap packages are easy to upgrade and secure. Unlike the standard deb packages, snaps have a larger disk footprint and longer application startup time.
Snap packages can be installed from either the command-line or via the Ubuntu Software application.
To install the VS Code snap, open your terminal (Ctrl+Alt+T) and run the following command:
sudo snap install --classic codeThat’s it. Visual Studio Code has been installed on your Ubuntu machine.
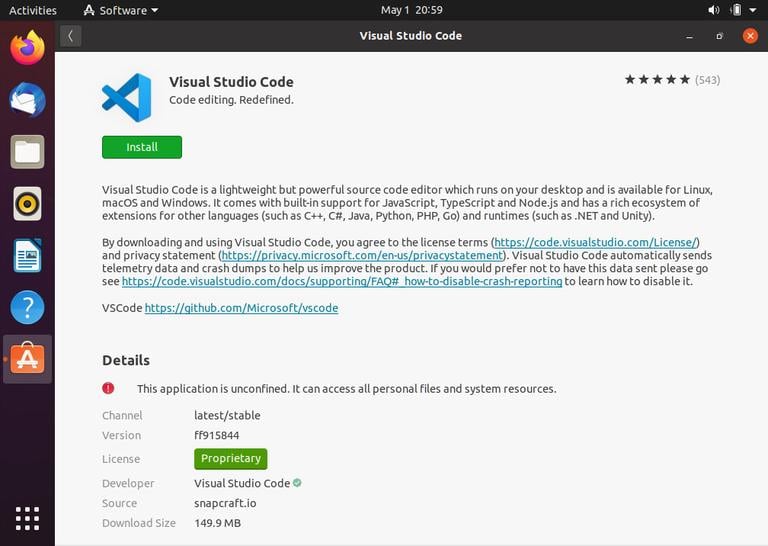
If you prefer using a GUI, open Ubuntu Software, search for “Visual Studio Code” and install the application:
Whenever a new version is released, Visual Studio Code package will be automatically updated in the background.
Installing Visual Studio Code with apt
Visual Studio Code is available from the official Microsoft Apt repositories. To install it, follow the steps below:
-
Update the packages index and install the dependencies by running the following command as a user with sudo privileges :
sudo apt updatesudo apt install software-properties-common apt-transport-https wget -
Import the Microsoft GPG key using the following
wgetcommand :wget -q https://packages.microsoft.com/keys/microsoft.asc -O- | sudo apt-key add -And enable the Visual Studio Code repository by typing:
sudo add-apt-repository "deb [arch=amd64] https://packages.microsoft.com/repos/vscode stable main" -
Once the apt repository is enabled , install the Visual Studio Code package:
sudo apt install code
When a new version is released you can update the Visual Studio Code package through your desktop standard Software Update tool or by running the following commands in your terminal:
sudo apt updatesudo apt upgrade
Starting Visual Studio Code
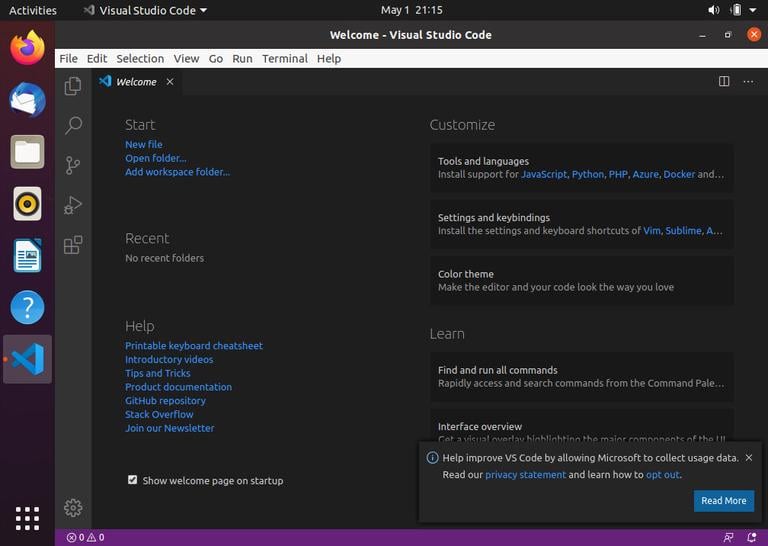
In the Activities search bar type “Visual Studio Code” and click on the icon to launch the application.
When you start VS Code for the first time, a window like the following should appear:
You can now start installing extensions and configuring VS Code according to your preferences.
VS Code can also be launched from the command line by typing
code.
Conclusion
We’ve explained how to install VS Code on Ubuntu 20.04.
You can now start installing new extensions and customizing your workspace. To learn more about VS Code visit their official documentation page.
If you have any questions, please leave a comment below.

 浙公网安备 33010602011771号