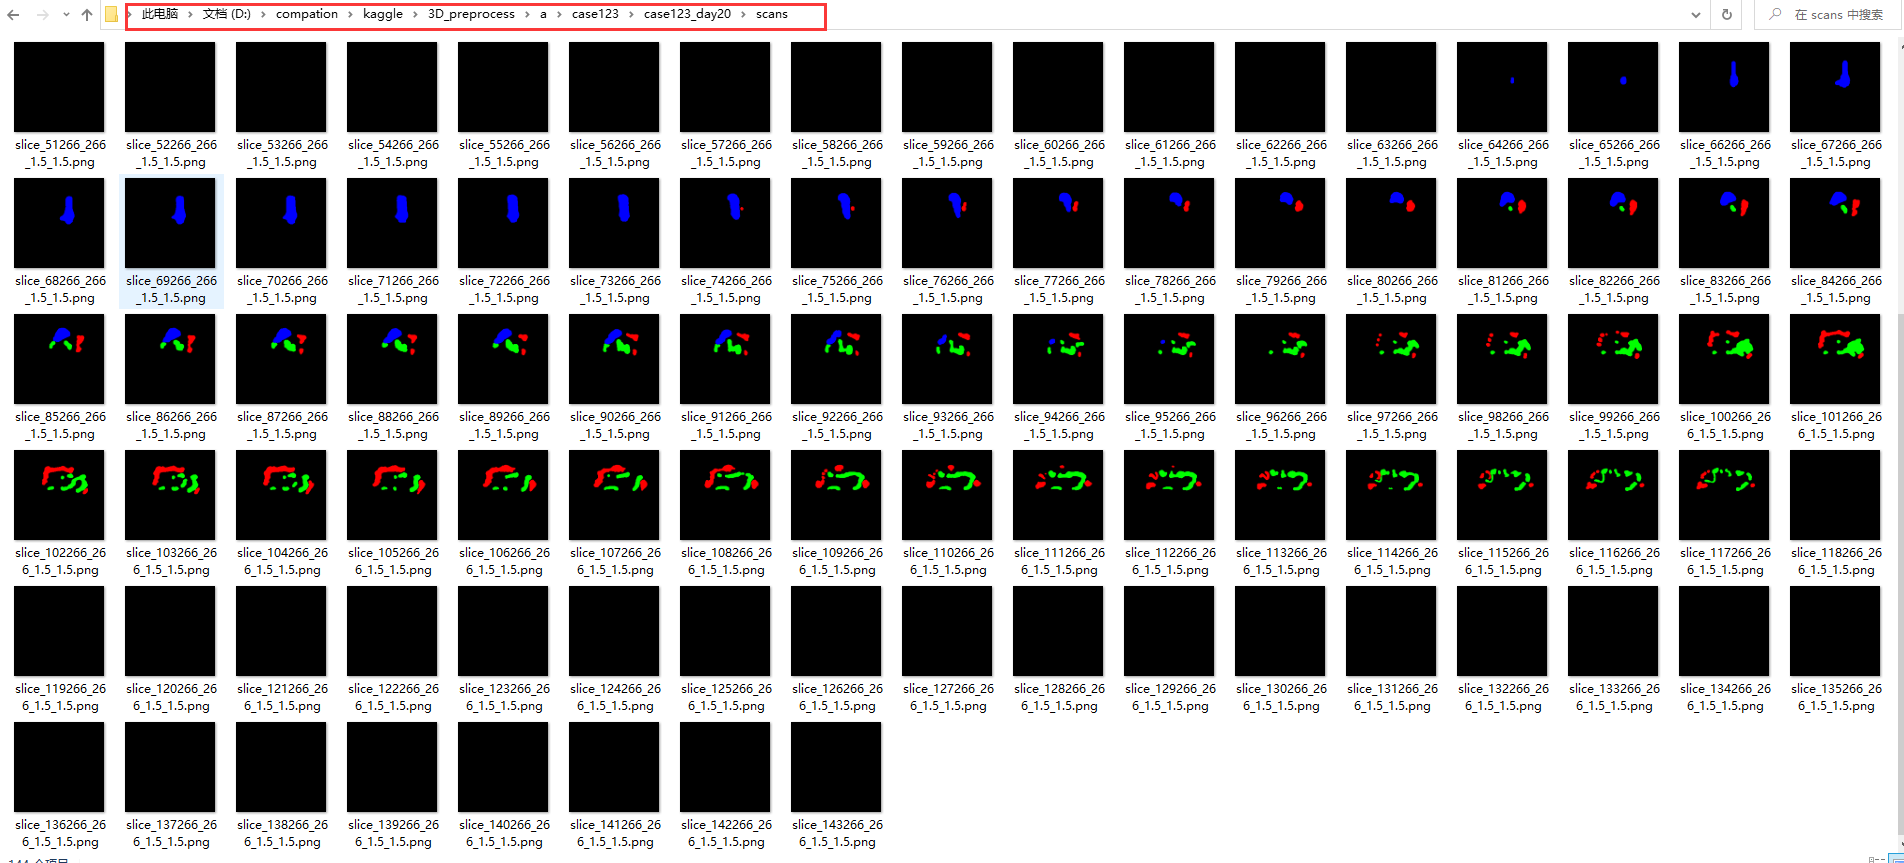
利用3Dnii标签文件,生成png图片
为了便于直观的看到2D标签,通常会将其转化为png图像,具体代码如下:
# coding:utf-8
from glob import glob
import os
import SimpleITK as sitk
from pathlib import Path
import numpy as np
import imageio
path = glob(r"D:\compation\kaggle\3D_preprocess\a\*") # 获取到该文件夹下所有的标签(3D nii文件)
save = Path(r"D:\compation\kaggle\3D_preprocess\a")  # 保存路径
for i in range(len(path)):
    file = path[i]
    file_name = file.split("\\")[-1].split("_seg")[0]
    case = file_name.split("_")[0]
    print("case:{}, file_name:{}".format(case, file_name))
    seg = sitk.ReadImage(file)
    seg = sitk.GetArrayFromImage(seg)
    for j in range(seg.shape[0]):
        # png = np.zeros((seg.shape[1:]))
        # print("j:",j)
        save_path = save / case / file_name /"scans"
        name = "slice_"+str(j)+str(seg.shape[1]) +"_"+str(seg.shape[2])+"_"+str(1.5)+"_"+str(1.5)
        output = seg[j, ...]
        Snapshot_img = np.zeros(shape=(seg.shape[1],seg.shape[2],3), dtype=np.uint8)  # png设置为3通道
        Snapshot_img[:, :, 0][np.where(output == 1)] = 255   #我们也有3个标签,其中值分别为1,2,3,所以我们需要给每个标签都赋予不同的通道
        Snapshot_img[:, :, 1][np.where(output == 2)] = 255
        Snapshot_img[:, :, 2][np.where(output == 3)] = 255


        os.makedirs(save_path, exist_ok=True)
        imageio.imwrite(os.path.join(save_path, name + '.png'), Snapshot_img[:, :, :])
结果: