使用GrabCut做分割
主要完成了界面化设计,代码如下
import cv2 as cv
import numpy as np
import sys
from PyQt5.Qt import *
class MyWediget(QWidget):
    def __init__(self):
        super().__init__()
        self.setWindowTitle("分割烟草")
        self.setWindowIcon(QIcon("2.jpg"))
        self.setFixedSize(800, 430)
        self.setup_ui()
        self.arg = ""
    def setup_ui(self):
        def test():
            fd = QFileDialog(window, "选择一个文件", "../", "All(*.*);;Images(*.png *.jpg);;Python文件(*.py)")
            fd.move(200,0)
            fd.setLabelText(QFileDialog.FileName, "我的文件")
            fd.setLabelText(QFileDialog.Accept, "接受")

            fd.setLabelText(QFileDialog.Reject, "拒绝")
            fd.setFileMode(QFileDialog.ExistingFiles)
            def path(val):
                inputPath.setText(val)
                self.segmentation(val)
            fd.fileSelected.connect(path)
            fd.open()
        inputPath = QLineEdit(self)
        inputPath.resize(300,30)
        btn = QPushButton(self)
        btn.setText("选择文件")
        def click():
            btn.isDefault()
        if len(inputPath.text()) > 0:
            evt = QKeyEvent()
            if evt.modifiers() == Qt.EnterKeyGo:
                btn.pressed.connect(click)
        btn.move(300,0)
        btn.clicked.connect(test)

    def segmentation(self,val):
        windows = QWidget(self)
        windows.resize(400,400)
        windows.move(0,30)

        w2 = QWidget(self)
        w2.move(400,30)
        w2.resize(400,400)

        self.arg = val
        inputPath = QLineEdit(self)
        inputPath.setText(self.arg)

        src = cv.imread(self.arg)
        print(src.shape)
        w = int(src.shape[1])
        h = int(src.shape[0])

        if w>1000 or h>800:
            w = int(w/2)
            h = int(h/2)
        # print(w+"  "+h)
        src = cv.resize(src, (w, h), interpolation=cv.INTER_CUBIC)
        r = cv.selectROI('Draw a rectangle', src, False)  # 返回 (x_min, y_min, w, h)\

        roi = src[int(r[1]):int(r[1] + r[3]), int(r[0]):int(r[0] + r[2])]

        # 原图mask
        mask = np.zeros(src.shape[:2], dtype=np.uint8)

        # 矩形roi
        rect = (int(r[0]), int(r[1]), int(r[2]), int(r[3]))  # 包括前景的矩形,格式为(x,y,w,h)

        bgdmodel = np.zeros((1, 65), np.float64)  # bg模型的临时数组
        fgdmodel = np.zeros((1, 65), np.float64)  # fg模型的临时数组

        cv.grabCut(src, mask, rect, bgdmodel, fgdmodel, 11, mode=cv.GC_INIT_WITH_RECT)

        # 提取前景和可能的前景区域
        mask2 = np.where((mask == 1) + (mask == 3), 255, 0).astype('uint8')

        print(mask2.shape)

        result = cv.bitwise_and(src, src, mask=mask2)
        cv.imwrite('result.jpg', result)
        cv.imwrite('roi.jpg', roi)

        print("over")
        w2.setStyleSheet("border-image:url(roi.jpg)")
        windows.setStyleSheet("border-image:url(result.jpg)")

        w2.show()
        windows.show()


if __name__ == '__main__':
    app = QApplication(sys.argv)
    window = MyWediget()
    window.show()
    sys.exit(app.exec_())
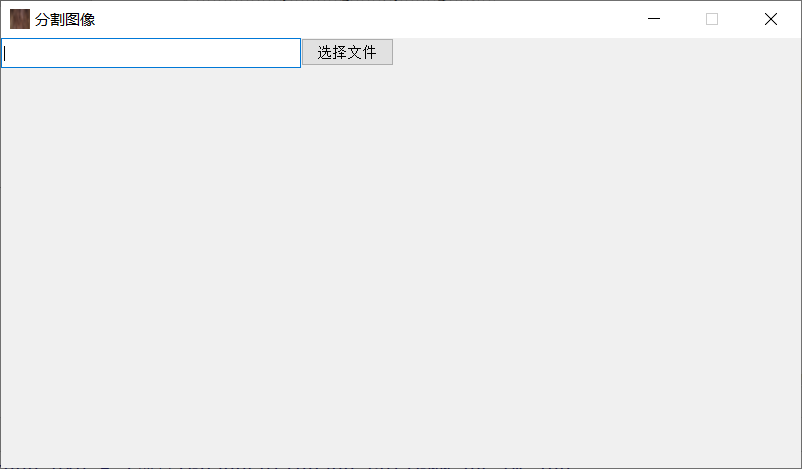
第一、选择图像文件
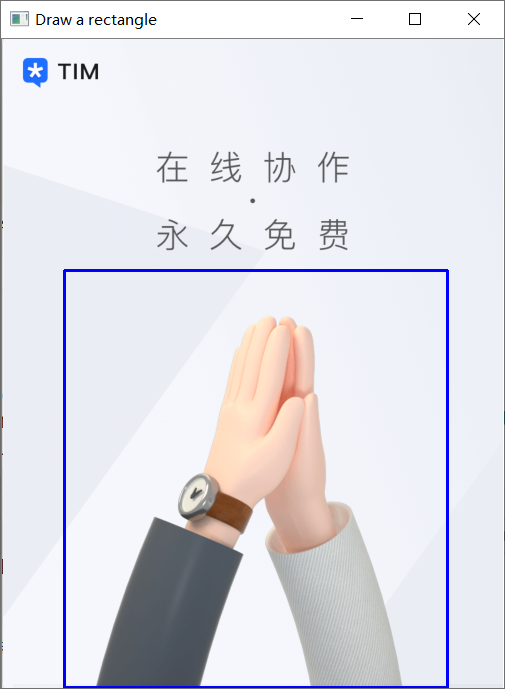
第二、画出矩形框
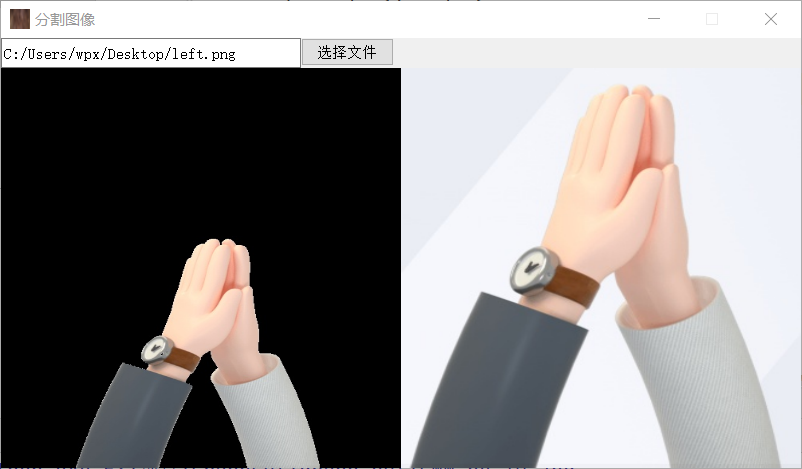
第三、回车得到分割结果
如果想要生成exe文件,就需要配置.spec文件。请访问我的github。

 浙公网安备 33010602011771号