Eclipse下SSM整合之环境搭建
一、导入所需jar包
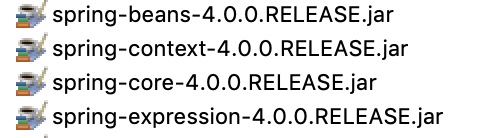
1、spring的ioc核心4个
2、spring的aop包 5个


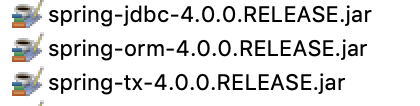
3、spring的jdbc模块3个
4、springmvc模块2个

5、spring运行依赖的日志包1个
![]()
6、mybatis包1个

7、数据库驱动包1个

8、spring与mybatis整合中间适配包1个

9、jstl标签2个

10、数据源c3p0一个

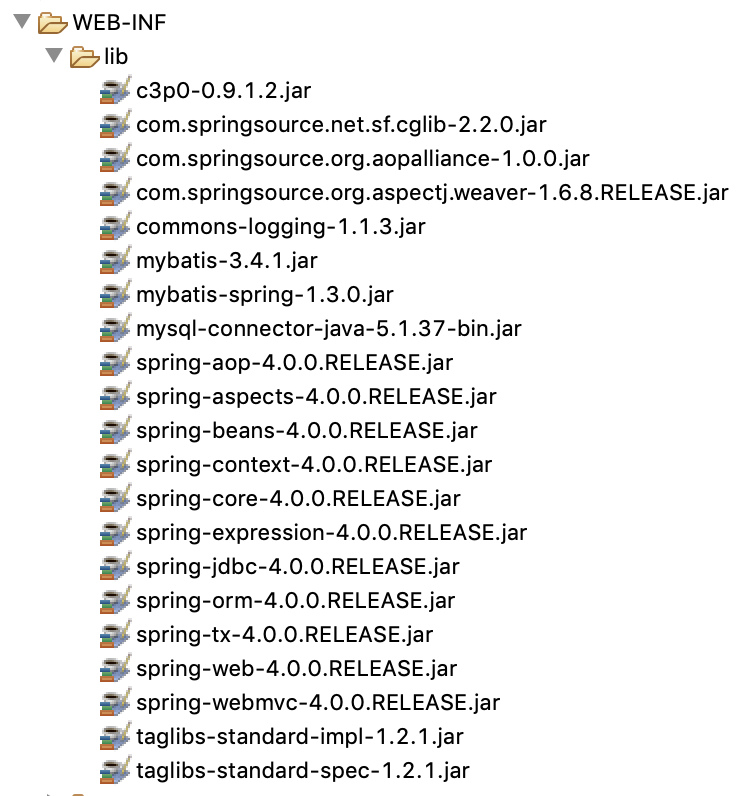
整体截图 21个,当然有些包并不是必须,大家根据需要灵活变动、更换,但是核心的几个包必须有
二、写配置
1、web.xml
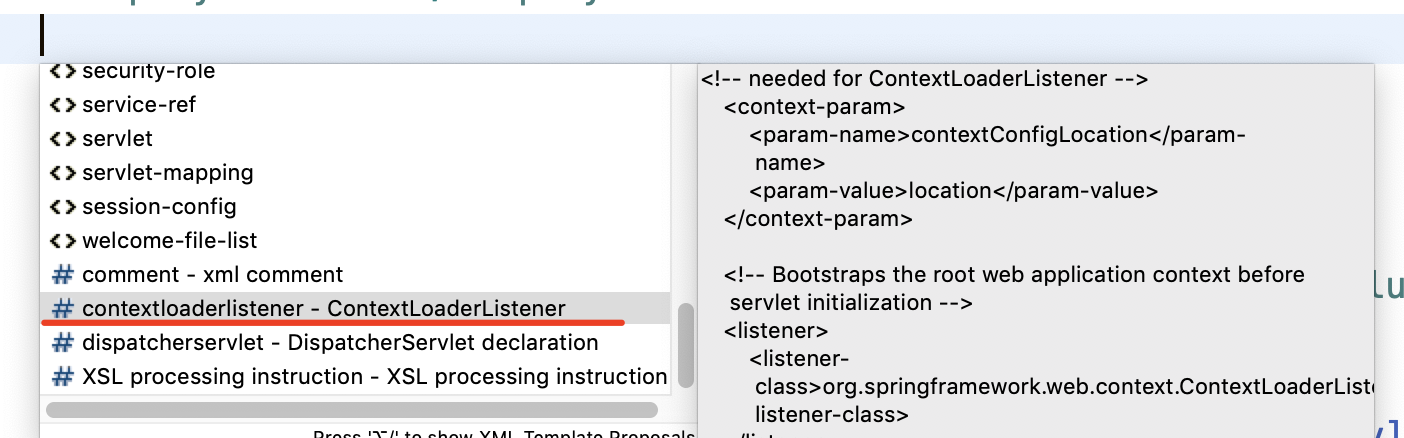
(1)Spring配置,ContextLoaderListener监听器
(2)SpringMVC 的前端控制器 DispatcherServlet
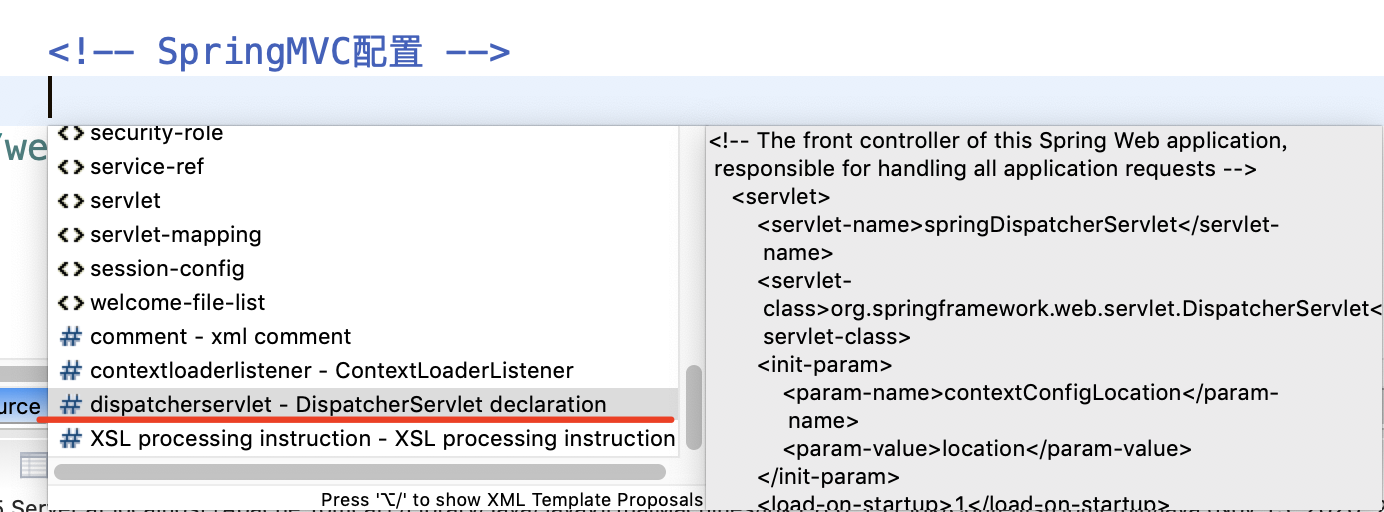
<?xml version="1.0" encoding="UTF-8"?>
<web-app xmlns:xsi="http://www.w3.org/2001/XMLSchema-instance" xmlns="http://java.sun.com/xml/ns/javaee" xsi:schemaLocation="http://java.sun.com/xml/ns/javaee http://java.sun.com/xml/ns/javaee/web-app_2_5.xsd" id="WebApp_ID" version="2.5">
  <display-name>SSM</display-name>

      <!-- Spring配置 -->
      <!-- needed for ContextLoaderListener -->
    <context-param>
        <param-name>contextConfigLocation</param-name>
        <param-value>classpath:applicationContext.xml</param-value>
    </context-param>

    <!-- Bootstraps the root web application context before servlet initialization -->
    <listener>
        <listener-class>org.springframework.web.context.ContextLoaderListener</listener-class>
    </listener>

    <!-- SpringMVC配置 -->
    <!-- The front controller of this Spring Web application, responsible for handling all application requests -->
    <servlet>
        <servlet-name>springDispatcherServlet</servlet-name>
        <servlet-class>org.springframework.web.servlet.DispatcherServlet</servlet-class>
        <load-on-startup>1</load-on-startup>
    </servlet>

    <!-- Map all requests to the DispatcherServlet for handling -->
    <servlet-mapping>
        <servlet-name>springDispatcherServlet</servlet-name>
        <url-pattern>/</url-pattern>
    </servlet-mapping>
</web-app>
2、springDispatcherServlet-servlet.xml
在WEB-INF下,和web.xml同级目录下创建 springDispatcherServlet-servlet.xml,(注意命名规范 XXX-servlet.xml)并配置如下
<?xml version="1.0" encoding="UTF-8"?>
<beans xmlns="http://www.springframework.org/schema/beans"
    xmlns:xsi="http://www.w3.org/2001/XMLSchema-instance"
    xmlns:context="http://www.springframework.org/schema/context"
    xmlns:mvc="http://www.springframework.org/schema/mvc"
    xsi:schemaLocation="http://www.springframework.org/schema/mvc http://www.springframework.org/schema/mvc/spring-mvc-4.0.xsd
        http://www.springframework.org/schema/beans http://www.springframework.org/schema/beans/spring-beans.xsd
        http://www.springframework.org/schema/context http://www.springframework.org/schema/context/spring-context-4.0.xsd">
    <!-- 只扫描控制器,SpringMVC只控制网站跳转逻辑-->
    <context:component-scan base-package="com.yunlong" use-default-filters="false">
        <context:include-filter type="annotation" expression="org.springframework.stereotype.Controller"/>
    </context:component-scan>
    <!-- 视图解析器 -->
    <bean id="" class="org.springframework.web.servlet.view.InternalResourceViewResolver">
        <property name="prefix" value="/WEB-INF/pages/"></property>
        <property name="suffix" value=".jsp"></property>
    </bean>
    <!-- 设置配置方案 -->
    <!--<mvc:annotation-driven>会自动注册RequestMappingHandlerMapping与RequestMappingHandlerAdapter两个Bean,
    这是Spring MVC为@Controller分发请求所必需的,并且提供了数据绑定支持,@NumberFormatannotation支持,
    @DateTimeFormat支持,@Valid支持读写XML的支持(JAXB)和读写JSON的支持(默认Jackson)等功能。  -->
    <mvc:annotation-driven></mvc:annotation-driven>
    <!-- 使用默认的Servlet来响应静态文件 -->
    <mvc:default-servlet-handler/>
</beans>
三、applicationContext.xml
<?xml version="1.0" encoding="UTF-8"?>
<beans xmlns="http://www.springframework.org/schema/beans"
    xmlns:xsi="http://www.w3.org/2001/XMLSchema-instance"
    xmlns:context="http://www.springframework.org/schema/context"
    xmlns:tx="http://www.springframework.org/schema/tx"
    xmlns:mybatis-spring="http://mybatis.org/schema/mybatis-spring"
    xsi:schemaLocation="http://mybatis.org/schema/mybatis-spring http://mybatis.org/schema/mybatis-spring-1.2.xsd
        http://www.springframework.org/schema/beans http://www.springframework.org/schema/beans/spring-beans.xsd
        http://www.springframework.org/schema/context http://www.springframework.org/schema/context/spring-context-4.0.xsd
        http://www.springframework.org/schema/tx http://www.springframework.org/schema/tx/spring-tx-4.0.xsd">
    <!-- Spring希望管理所有的业务逻辑组件,但是不包含Controller,因为被SpringMVC拦截了 -->
    <context:component-scan base-package="com.yunlong">
        <context:exclude-filter type="annotation" expression="org.springframework.stereotype.Controller"/>
    </context:component-scan>
    <!--引入数据库的配置文件 -->
    <context:property-placeholder location="classpath:dbconfig.properties"/>
    <!-- Spring用来控制业务逻辑。数据源、事务控制、aop等 -->
    <bean id="dataSource" class="com.mchange.v2.c3p0.ComboPooledDataSource">
        <property name="jdbcUrl" value="${jdbc.url}"></property>
        <property name="driverClass" value="${jdbc.driver}"></property>
        <property name="user" value="${jdbc.username}"></property>
        <property name="password" value="${jdbc.password}"></property>
    </bean>
    <!-- spring事务管理器 -->
    <bean id="dataSourceTransactionManager" class="org.springframework.jdbc.datasource.DataSourceTransactionManager">
        <property name="dataSource" ref="dataSource"></property>
    </bean>
    <!-- 开启基于注解的事务 -->
    <tx:annotation-driven transaction-manager="dataSourceTransactionManager"/>
    <!-- 整合mybatis -->
    <!-- 创建SqlSessionFactory对象 -->
    <bean id="sqlSessionFactoryBean" class="org.mybatis.spring.SqlSessionFactoryBean">
        <property name="dataSource" ref="dataSource"></property>
        <!-- configLocation指定全局配置文件的位置 -->
        <property name="configLocation" value="classpath:mybatis-config.xml"></property>
        <!--mapperLocations: 指定mapper文件的位置-->
        <property name="mapperLocations" value="classpath:mybatis/mapper/*.xml"></property>
    </bean>
    <!-- 扫描所有的mapper接口的实现,让这些mapper能够自动注入;
    base-package:指定mapper接口的包名
     -->
     <mybatis-spring:scan base-package="com.yunlong.dao"/>
</beans>
在sqlSessionFactoryBean中指定的mybatis全局配置文件mybatis-config.xml可没有,也可以结合使用。好了至此环境就已经搭建完成了,可以进入具体的业务编写了。

 浙公网安备 33010602011771号