


k8s部署yearning
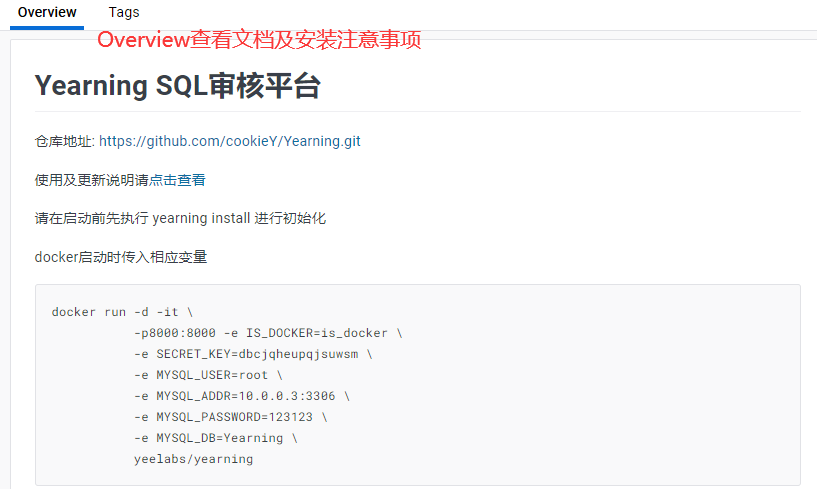
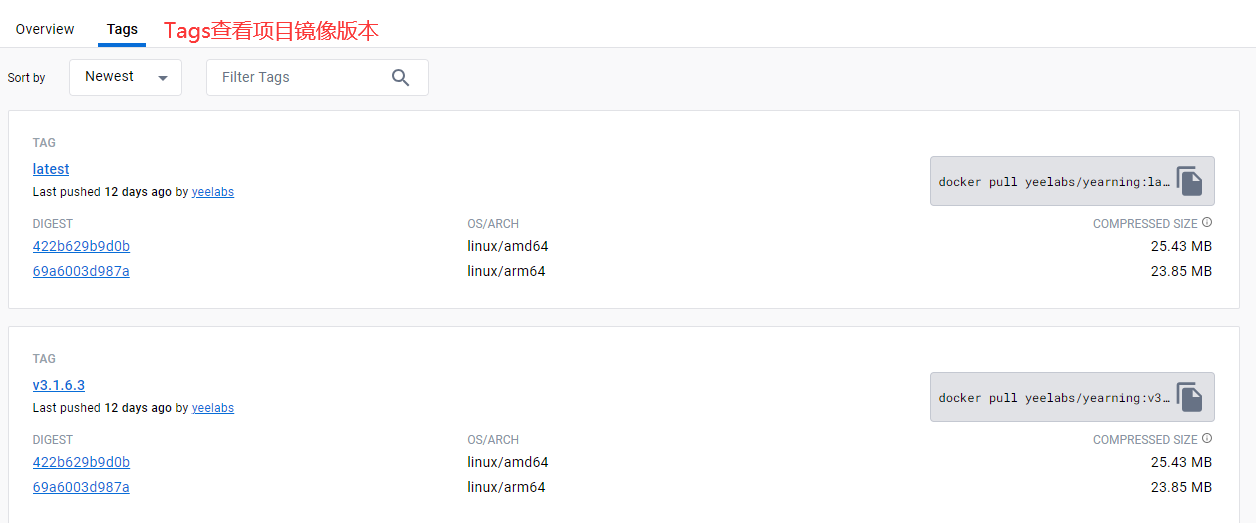
1.查看镜像地址及版本
https://hub.docker.com/r/yeelabs/yearning
2.创建数据库及用户并授权
CREATE DATABASE `yearning` /*!40100 DEFAULT CHARACTER SET utf8mb4 */;
CREATE USER 'yearning_db'@'%' IDENTIFIED BY 'Yd4NsQ_93eL2';
GRANT ALL PRIVILEGES ON yearning.* TO 'yearning_db'@'%';
flush privilege;
3.编写及应用yaml文件

apiVersion: apps/v1
kind: Deployment
metadata:
  labels:
    app: yearning
  name: yearning
  namespace: ops-share
spec:
  replicas: 1
  selector:
    matchLabels:
      app: yearning
  template:
    metadata:
      labels:
        app: yearning
    spec:
      containers:
      - env:
        - name: MYSQL_USER         #根据实际情况填写MySQL相关配置信息
          value: yearning_db
        - name: MYSQL_ADDR
          value: xxxxx.rds.aliyuncs.com:3307
        - name: MYSQL_PASSWORD
          value: xxxxx
        - name: MYSQL_DB
          value: yearning
        - name: SECRET_KEY
          value: dbcjqheuxxjsuwsm    #自定义
        image: yeelabs/yearning:v3.1.6.3
        name: yearning
        ports:
        - containerPort: 8000
          name: http-8000
          protocol: TCP
        resources:
          limits:
            memory: 256Mi
          requests:
            memory: 256Mi
---
apiVersion: v1
kind: Service
metadata:
  labels:
    app: yearning
  name: yearning
  namespace: ops-share  #注意和deployment保持一致
spec:
  ports:
  - name: http-8000
    port: 8000
    protocol: TCP
    targetPort: 8000 注意和pod端口保持一致
  selector:
    app: yearning
应用YAML文件
kubectl create -f yearning.yaml
4.初始化管理员用户
use yearning;
INSERT INTO `core_accounts` (`username`,`password`,`department`,`real_name`,`email`,`is_recorder`) VALUES ('admin','pbkdf2_sha256$120000$LwSop65y17f4$AgXGkzmZLF7Lw3K1gToLkOBHqziBC0Wpf3bBIHoWA5Q=','DBA','超级管理员','',0);

INSERT INTO `core_global_configurations` (`authorization`,`ldap`,`message`,`other`,`stmt`,`audit_role`,`board`) VALUES ('global','{"url":"","user":"","password":"","type":"(\u0026(objectClass=organizationalPerson)   (sAMAccountName=%s))","sc":"","ldaps":false,"map":"","test_user":"","test_password":""}','{"web_hook":"","host":"","port":25,"user":"","password":"","to_user":"","mail":false,"ding":false,"ssl":false,"push_type":false,"key":""}','{"limit":1000,"idc":["Aliyun","AWS"],"query":false,"register":false,"export":false,"ex_query_time":60}',0,'{"DMLAllowLimitSTMT":false,"DMLInsertColumns":false,"DMLMaxInsertRows":10,"DMLWhere":false,"DMLAllowInsertNull":false,"DMLOrder":false,"DMLSelect":false,"DMLInsertMustExplicitly":false,"DDLEnablePrimaryKey":false,"DDLCheckTableComment":false,"DDlCheckColumnComment":false,"DDLCheckColumnNullable":false,"DDLCheckColumnDefault":false,"DDLEnableAcrossDBRename":false,"DDLEnableAutoincrementInit":false,"DDLEnableAutoIncrement":false,"DDLEnableAutoincrementUnsigned":false,"DDLEnableDropTable":false,"DDLEnableDropDatabase":false,"DDLEnableNullIndexName":false,"DDLIndexNameSpec":false,"DDLMaxKeyParts":5,"DDLMaxKey":5,"DDLMaxCharLength":10,"MaxTableNameLen":10,"MaxAffectRows":1000,"MaxDDLAffectRows":0,"SupportCharset":"","SupportCollation":"","CheckIdentifier":false,"MustHaveColumns":"","DDLMultiToCommit":false,"DDLPrimaryKeyMust":false,"DDLAllowColumnType":false,"DDLImplicitTypeConversion":false,"DDLAllowPRINotInt":false,"DDLEnableForeignKey":false,"DDLTablePrefix":"","DDLColumnsMustHaveIndex":"","DDLAllowChangeColumnPosition":false,"DDLCheckFloatDouble":false,"IsOSC":false,"OSCExpr":"","OscSize":0,"AllowCreateView":false,"AllowCrateViewWithSelectStar":false,"AllowCreatePartition":false,"AllowSpecialType":false,"PRIRollBack":false}','');

INSERT INTO `core_graineds` (`username`,`group`) VALUES ('admin','["admin"]');
5.创建ingress
apiVersion: networking.k8s.io/v1   #根据实际情况替换下吗的host tls ingress名称和namespace
kind: Ingress
metadata:
  labels:
    ingress-controller: nginx  #根据实际情况填写
  name: yearning.xxx.com  #自定义
  namespace: ops-share
spec:
  ingressClassName: nginx-intranet  #根据实际情况填写ingress名称
  rules:
  - host: yearning.xxx.com  #自定义,yearning访问域名
    http:
      paths:
      - backend:
          service:
            name: yearning
            port:
              number: 8000
        path: /
        pathType: ImplementationSpecific
  tls:  #证书配置,不使用可以删除
  - hosts:
    - yearning.xxx.com
    secretName: xxx.com
创建ingress
kubectl apply -f yearning-ingress.yaml
6.访问yearning
重启pod
kubectl delete pods -n ops-share yearning-579d867488-mgcfn #直接删除重建
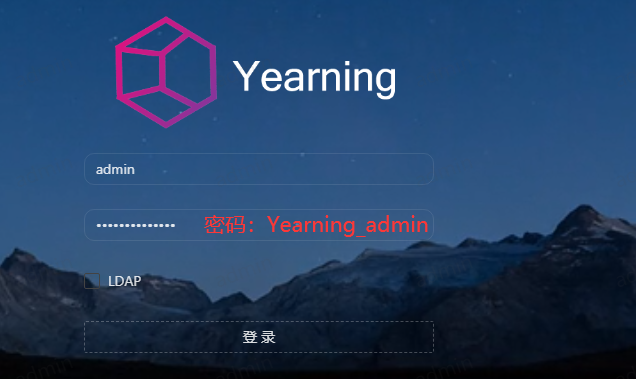
访问yearning,地址为第5步骤中配置的host域名,用户名密码: admin/Yearning_admin
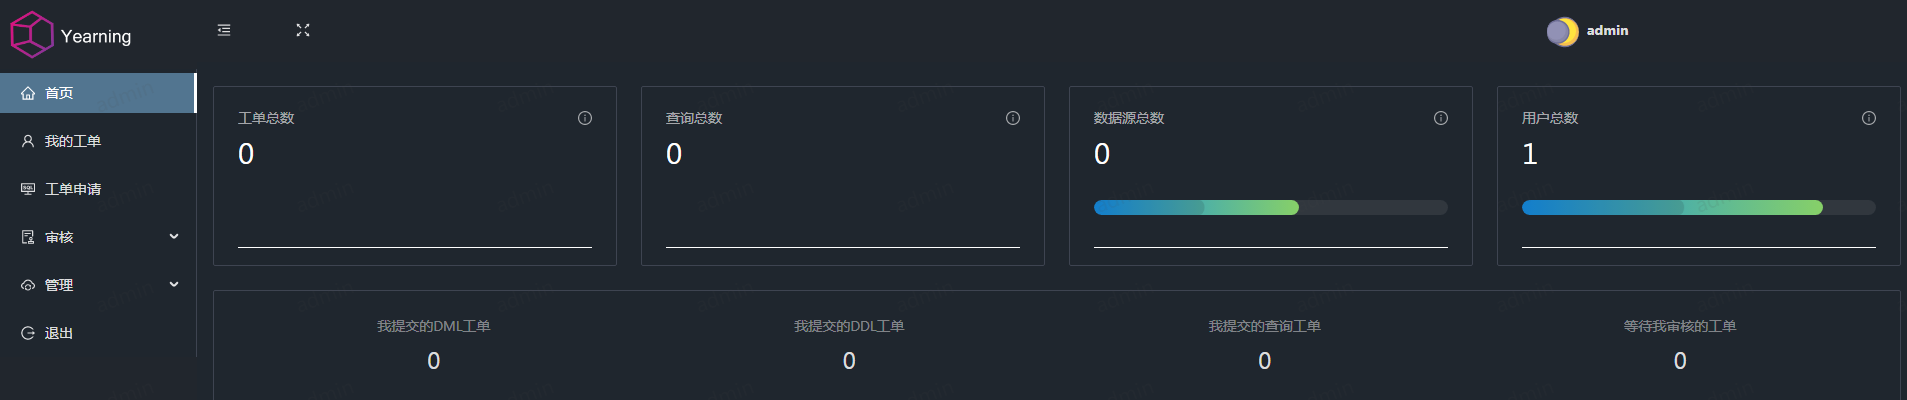
7.使用流程
1.管理--设置中添加自定义环境并开启用户注册,其他设置根据实际环境需要配置或启用/关闭
2.管理--流程中创建审核流程
3.管理--审核规则中根据实际情况开启或关闭审核规则
4.创建数据源
5.创建权限组,并添加对应的权限
6.给对应的用户绑定权限组
"一劳永逸" 的话,有是有的,而 "一劳永逸" 的事却极少


【推荐】国内首个AI IDE,深度理解中文开发场景,立即下载体验Trae
【推荐】编程新体验,更懂你的AI,立即体验豆包MarsCode编程助手
【推荐】抖音旗下AI助手豆包,你的智能百科全书,全免费不限次数
【推荐】轻量又高性能的 SSH 工具 IShell:AI 加持,快人一步
· winform 绘制太阳,地球,月球 运作规律
· TypeScript + Deepseek 打造卜卦网站:技术与玄学的结合
· AI 智能体引爆开源社区「GitHub 热点速览」
· Manus的开源复刻OpenManus初探
· 写一个简单的SQL生成工具