


jenkins学习笔记之十八:nexus制品获取及晋级
一、制品获取
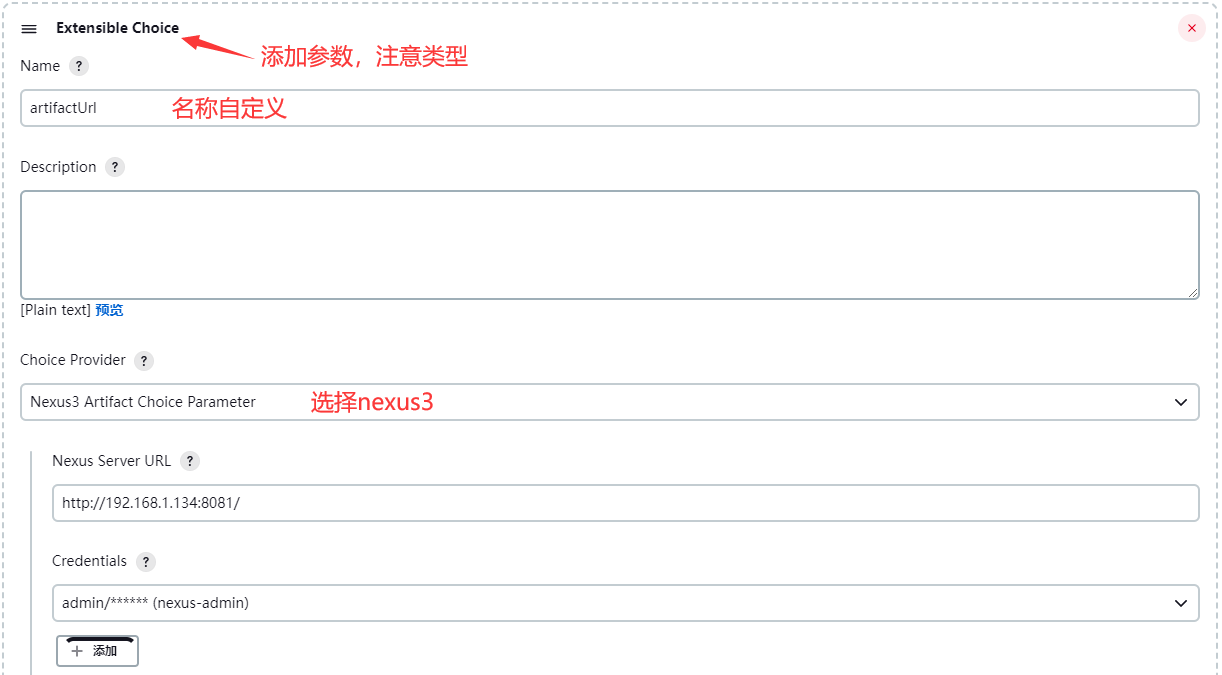
1.安装及配置插件
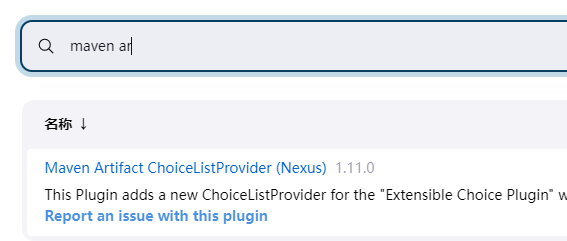
配置插件(jenkins项目中)
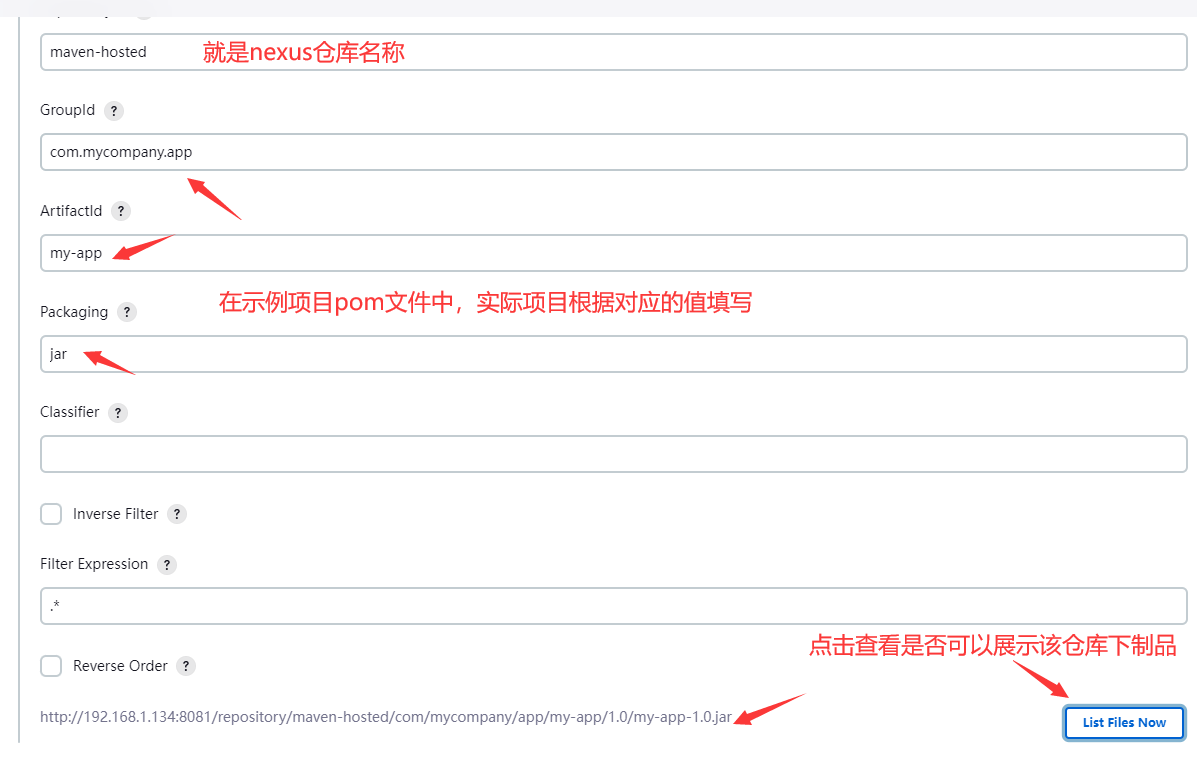
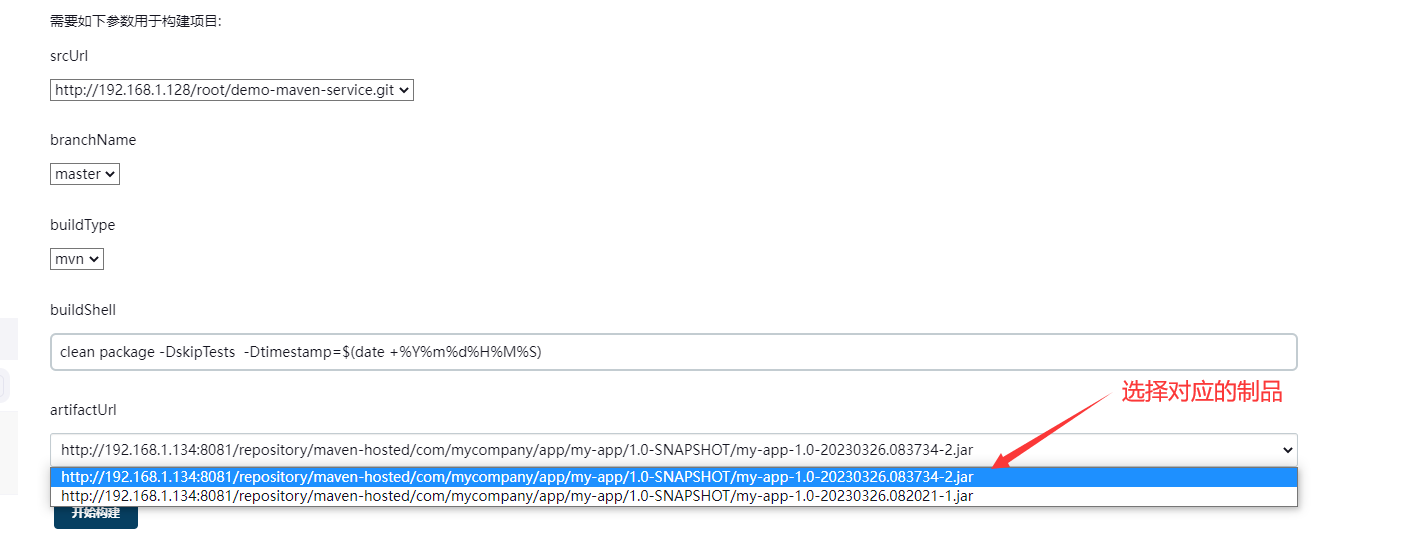
2.选择对应的制品
3.修改jenkins file

// 新增以下代码
String artifactUrl = "${env.artifactUrl}"


// 下载制品,当前需要制品匿名用户可访问,后续可以通过shell或者ansible salt分发到应用服务器
sh " wget ${artifactUrl} && ls "

// 使用指定用户
// sh " wget --user=admin --password=Qwer@123 ${artifactUrl} && ls "

//使用指定用户并隐藏用户名及密码
/* vim ~/.wgetrc
user=admin
password=Qwer@123
chmod 600 ~/.wgetrc

*/
二、制品晋级
1.新建releases仓库

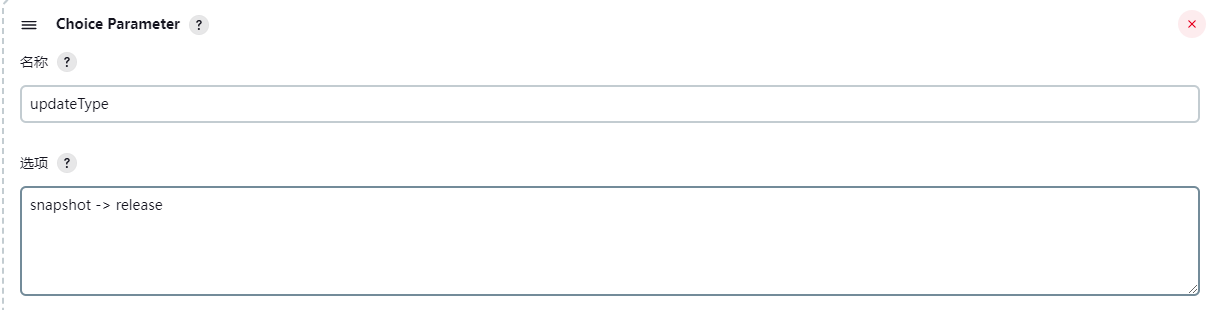
2.编写jekinsfile及sharelibrary
nexus.groovy
def NexusUpload(){
    //use nexus plugin
    nexusArtifactUploader artifacts: [[artifactId: "${pomArtifact}",
                                        classifier: '',
                                        file: "${filePath}",
                                        type: "${pomPackaging}"]],
                            credentialsId: 'nexus-admin',
                            groupId: "${pomGroupId}",
                            nexusUrl: '192.168.1.134:8081',
                            nexusVersion: 'nexus3',
                            protocol: 'http',
                            repository: "${repoName}",
                            version: "${pomVersion}"
}


//制品晋级
def ArtifactUpdate(updateType,artifactUrl){

    //晋级策略
    if ("${updateType}" == "snapshot -> release"){
        println("snapshot -> release")

        //下载原始制品,如果仓库没有允许匿名用户访问,需要给wget配置认证信息,具体方法上面有
        sh "  rm -fr updates && mkdir updates && cd updates && wget ${artifactUrl} && ls -l "

        //获取artifactID

        artifactUrl = artifactUrl -  "http://192.168.1.134:8081/repository/maven-hosted/"
        artifactUrl = artifactUrl.split("/").toList()

        println(artifactUrl.size())
        env.jarName = artifactUrl[-1]
        env.pomVersion = artifactUrl[-2].replace("SNAPSHOT","RELEASE")
        env.pomArtifact = artifactUrl[-3]
        pomPackaging = artifactUrl[-1]
        pomPackaging = pomPackaging.split("\\.").toList()[-1]
        env.pomPackaging = pomPackaging[-1]
        env.pomGroupId = artifactUrl[0..-4].join(".")
        println("${pomGroupId}##${pomArtifact}##${pomVersion}##${pomPackaging}")
        env.newJarName = "${pomArtifact}-${pomVersion}.${pomPackaging}"

        //更改名称
        sh " cd updates && mv ${jarName} ${newJarName} "

        //上传制品
        env.repoName = "maven-releases"
        env.filePath = "updates/${newJarName}"
        NexusUpload()
    }
}
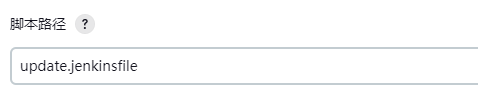
update.jenkinsfile
#!groovy

@Library("jenkinslibrary@master") _

def nexus = new org.devops.nexus()

String updateType = "${env.updateType}"
String artifactUrl = "${env.artifactUrl}"


pipeline{
    agent any

    stages{

        stage("UpdateArtifact"){
            steps{
                script{
                   nexus.ArtifactUpdate(updateType,artifactUrl)

                }

            }

        }
    }
}
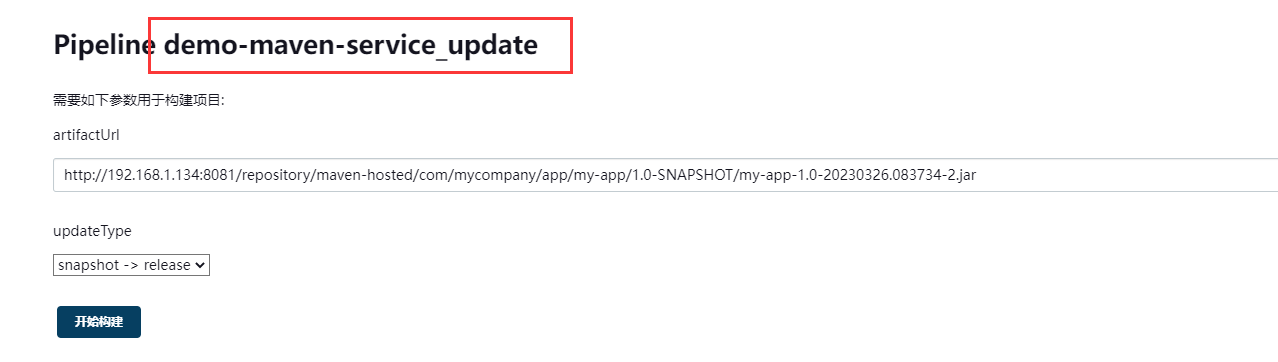
3.新建jenkins pipeline
可以直接拷贝demo-maven-service
执行界面
4.执行结果


"一劳永逸" 的话,有是有的,而 "一劳永逸" 的事却极少
分类:
jenkins


【推荐】国内首个AI IDE,深度理解中文开发场景,立即下载体验Trae
【推荐】编程新体验,更懂你的AI,立即体验豆包MarsCode编程助手
【推荐】抖音旗下AI助手豆包,你的智能百科全书,全免费不限次数
【推荐】轻量又高性能的 SSH 工具 IShell:AI 加持,快人一步
· winform 绘制太阳,地球,月球 运作规律
· TypeScript + Deepseek 打造卜卦网站:技术与玄学的结合
· AI 智能体引爆开源社区「GitHub 热点速览」
· Manus的开源复刻OpenManus初探
· 写一个简单的SQL生成工具
2018-03-28 Hadoop简介
2018-03-28 Hadoop2.6.5集群搭建