jenkins学习笔记之十:配置Gitlab提交流水线
一、添加测试Maven项目
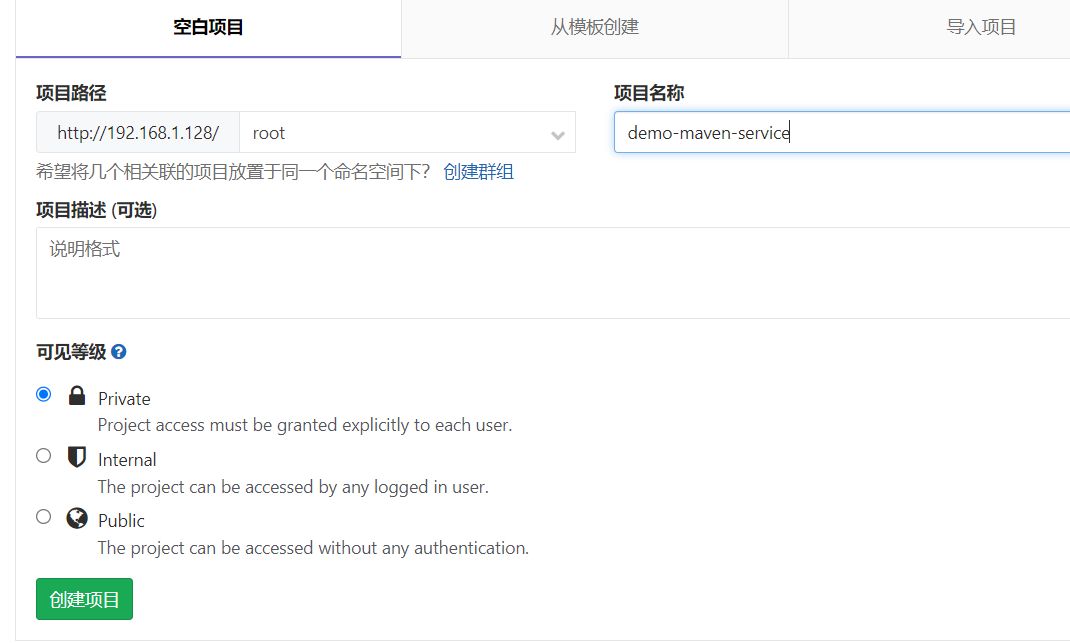
1.新建一个gitlab项目
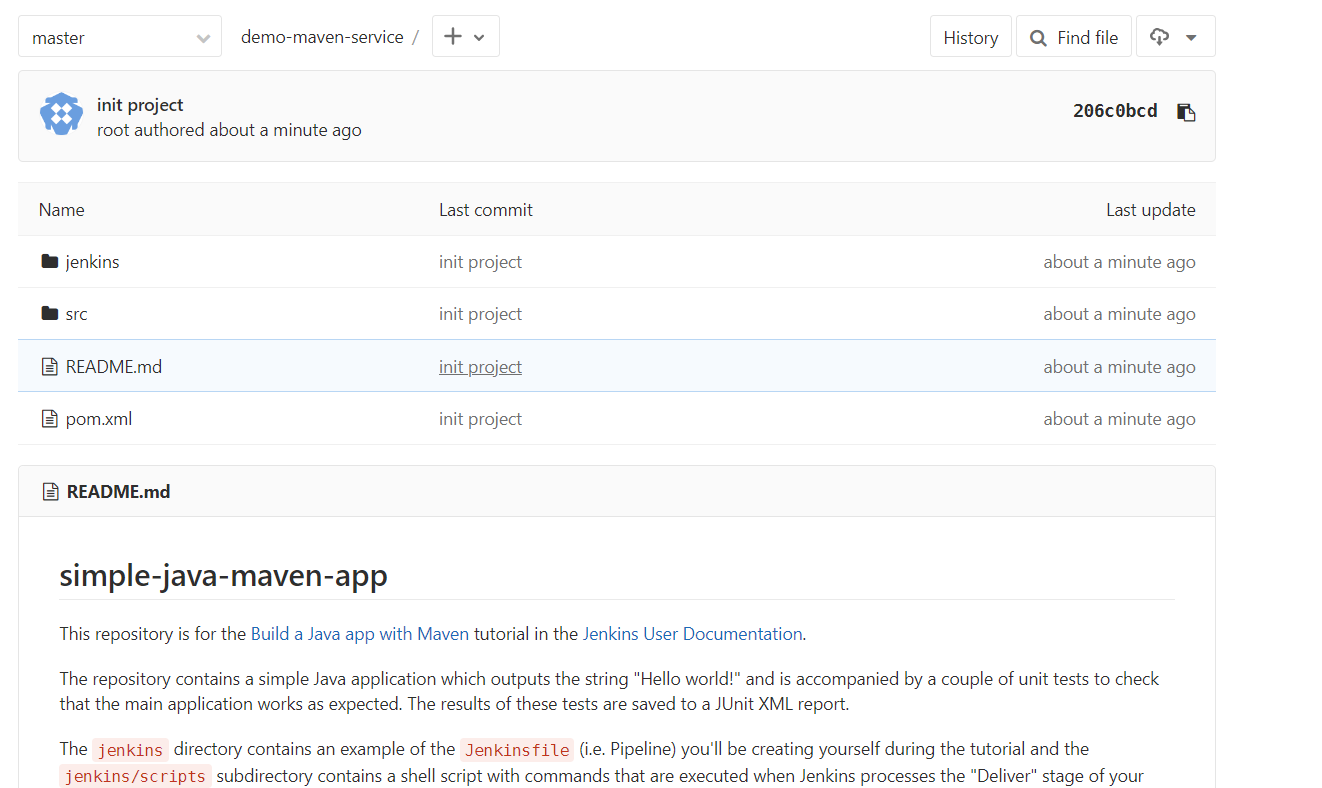
2.导入simple-java-maven-app仓库代码(可以去github或者Gittree上都有)
3.配置mvn 国内源
参考:https://developer.aliyun.com/article/1039874
二、创建并配置测试流水线
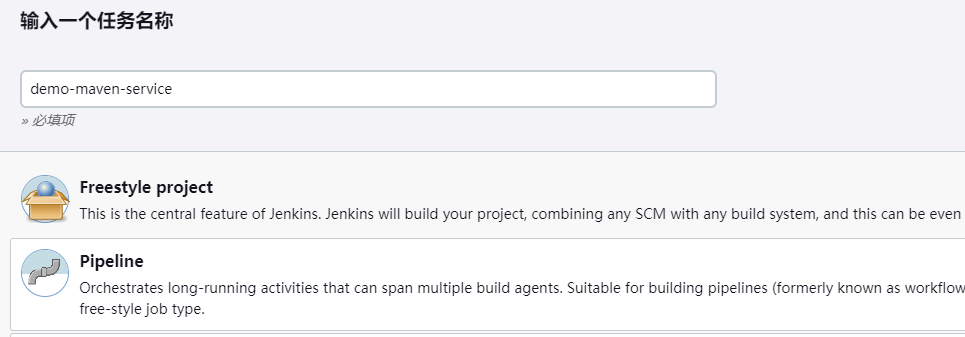
1.新建流水线
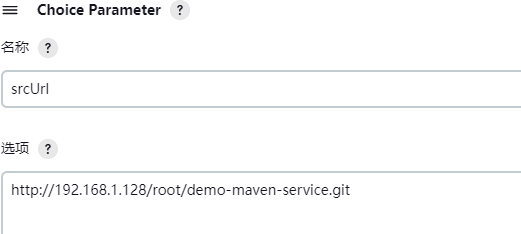
2.添加选项参数
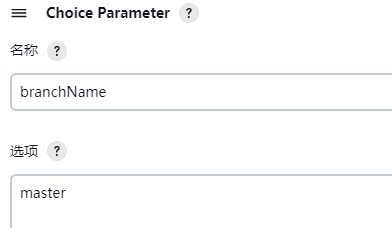
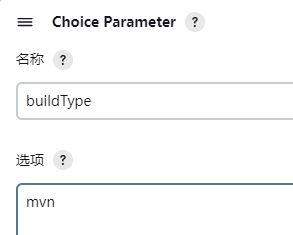
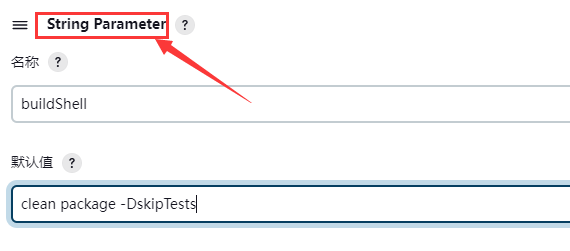
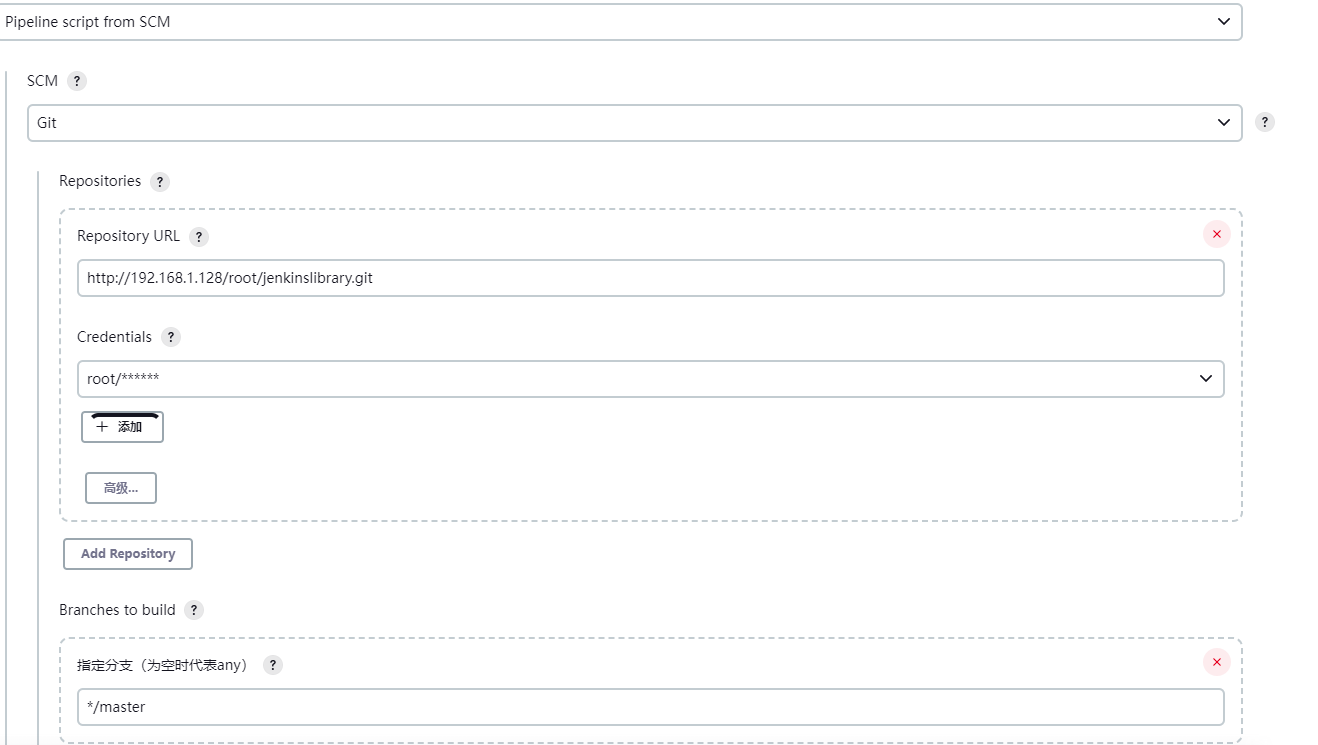
3.配置pipeline
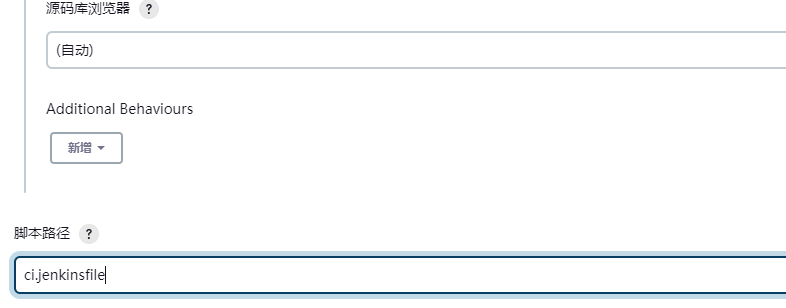
三、编写测试jenkinsfile
1.jenkinsfile
ci.jenkinsfile
#!groovy

@Library('jenkinslibrary@master') _

// shareLibrary 函数
def build = new org.devops.build()
def tools = new org.devops.tools()

// jenkins 配置参数
String srcUrl = "${env.srcUrl}"
String branchName = "${env.branchName}"
String buildType = "${env.buildType}"
String buildShell = "${env.buildShell}"


pipeline {
    agent any

    stages {
        stage("CheckOut"){
            steps{
                script{
                    tools.PrintMes("获取代码","green")
                    // 具体使用可以查看流水线语法
                    checkout scmGit(branches: [[name: "${branchName}"]], extensions: [], userRemoteConfigs: [[credentialsId: 'e7054d0e-275e-48ca-8188-e69da2faffb8', url: "${srcUrl}"]])
                }
            }
        }
        stage("Build"){
            steps{
                script {
                    tools.PrintMes("编译打包","blue")
                    build.Build(buildType,buildShell)
                }
            }
        }

    }
}
2.shareLibrary
src/org/devops/build.groovy
package org.devops

// 构建类型

def Build(buildType,buildShell){

    // M3 ANT等值都是配置相关全局工具是定义的名称
    def buildTools = ["mvn":"M3","ant":"ANT","gradle":"GRADLE","npm":"NPM"]

    println("当前选择的构建类型为:${buildType}")
    buildHome = tool buildTools[buildType]

    sh "${buildHome}/bin/${buildType}  ${buildShell}"
}
src/org/devops/tools.groovy
package  org.devops


//格式化输出
def PrintMes(value,color){
    colors = ['red'   : "\033[40;31m >>>>>>>>>>>${value}<<<<<<<<<<< \033[0m",
              'blue'  : "\033[47;34m ${value} \033[0m",
              'green' : "\033[40;32m >>>>>>>>>>>${value}<<<<<<<<<<< \033[0m" ]
    ansiColor('xterm') {
        println(colors[color])
    }
}
四、验证以上配置
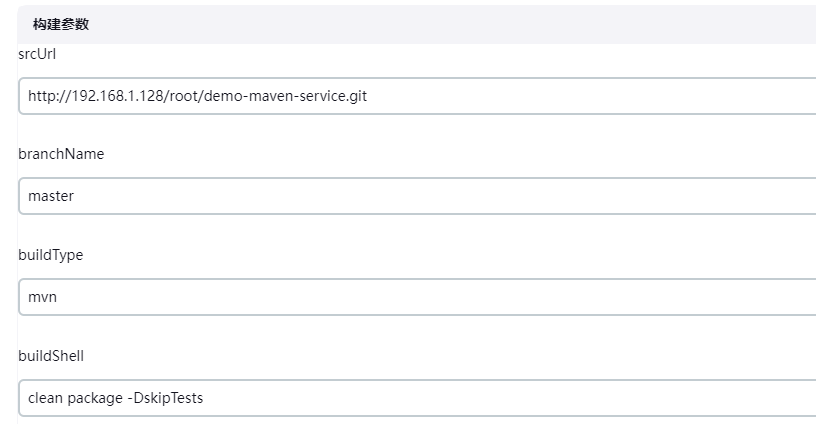
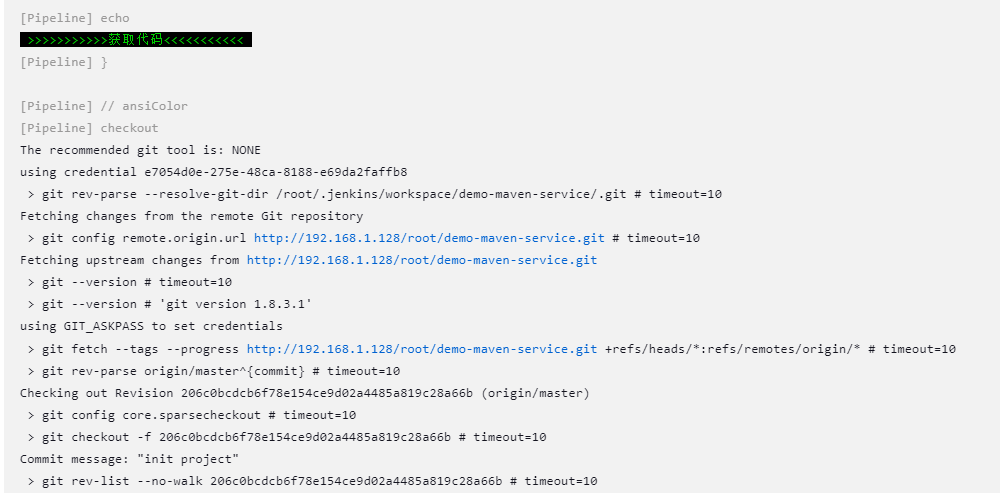

五、配置gitlab提交流水线
1.安装通用触发器插件

2.配置触发器
选择触发器
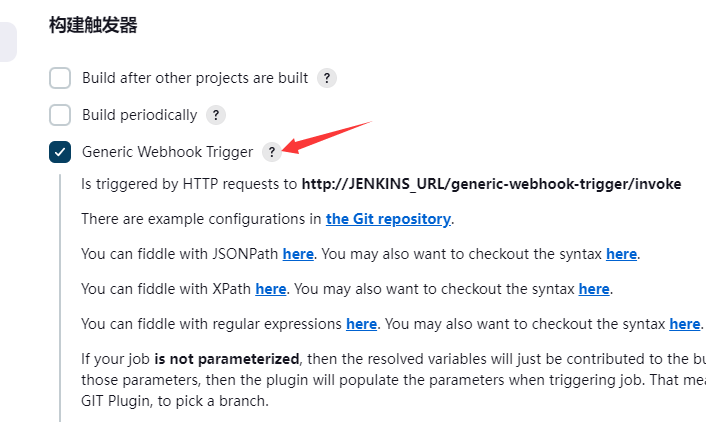
3.为触发器添加相关参数


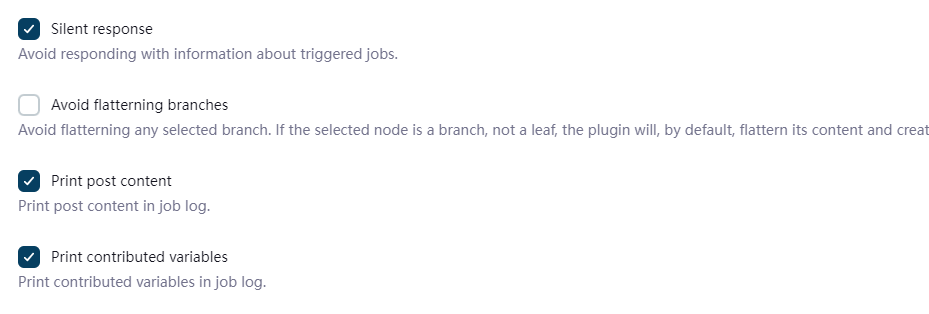
4.配置gitlab 项目webhook
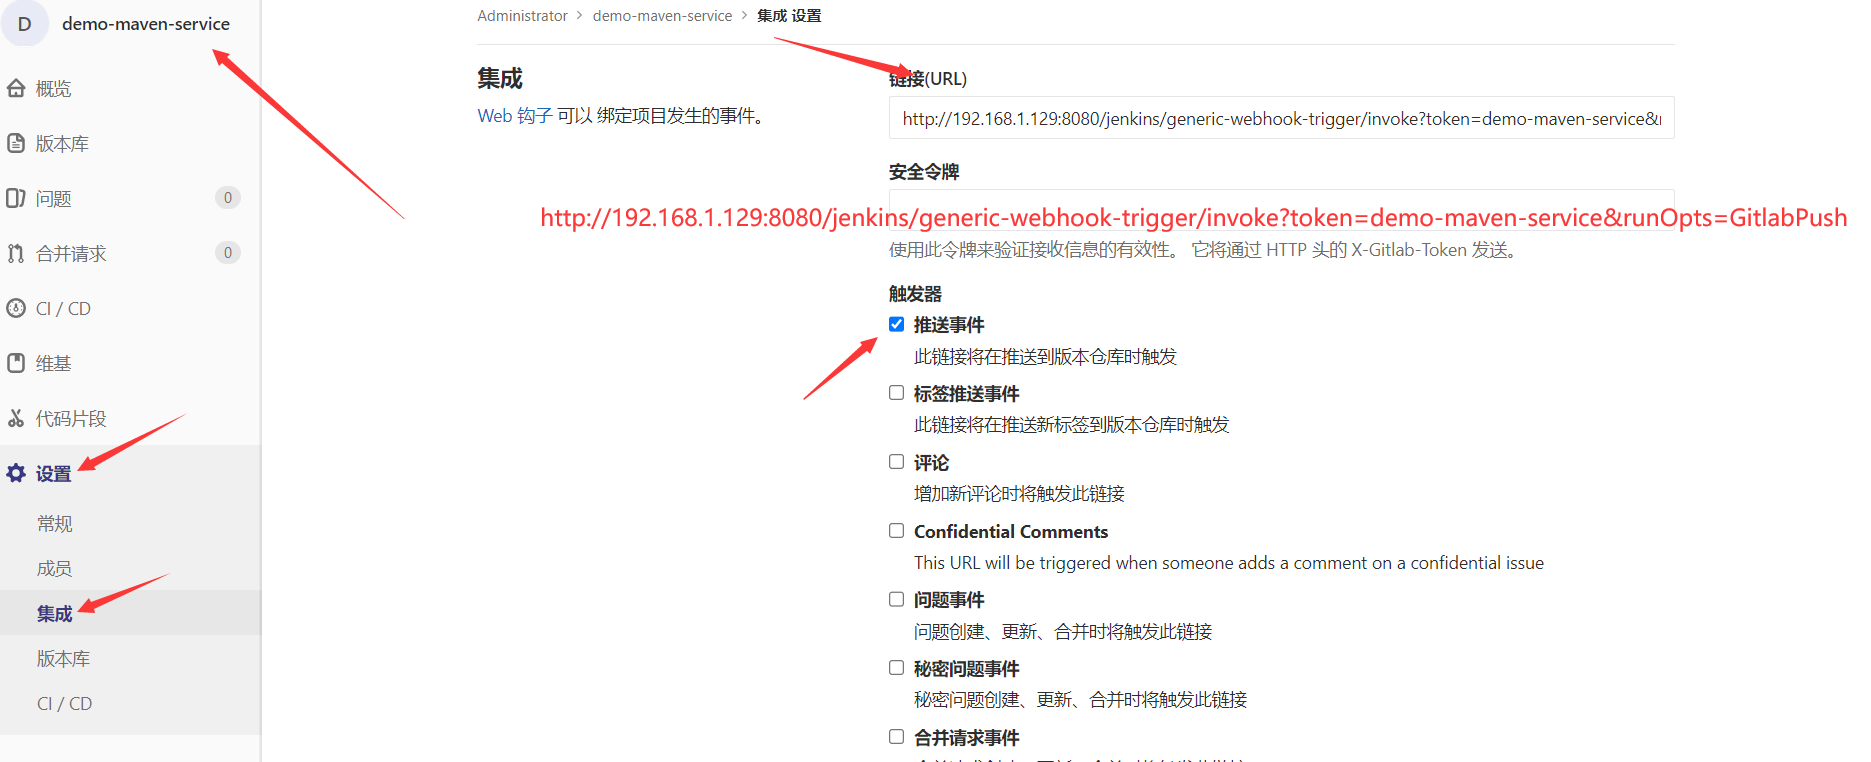
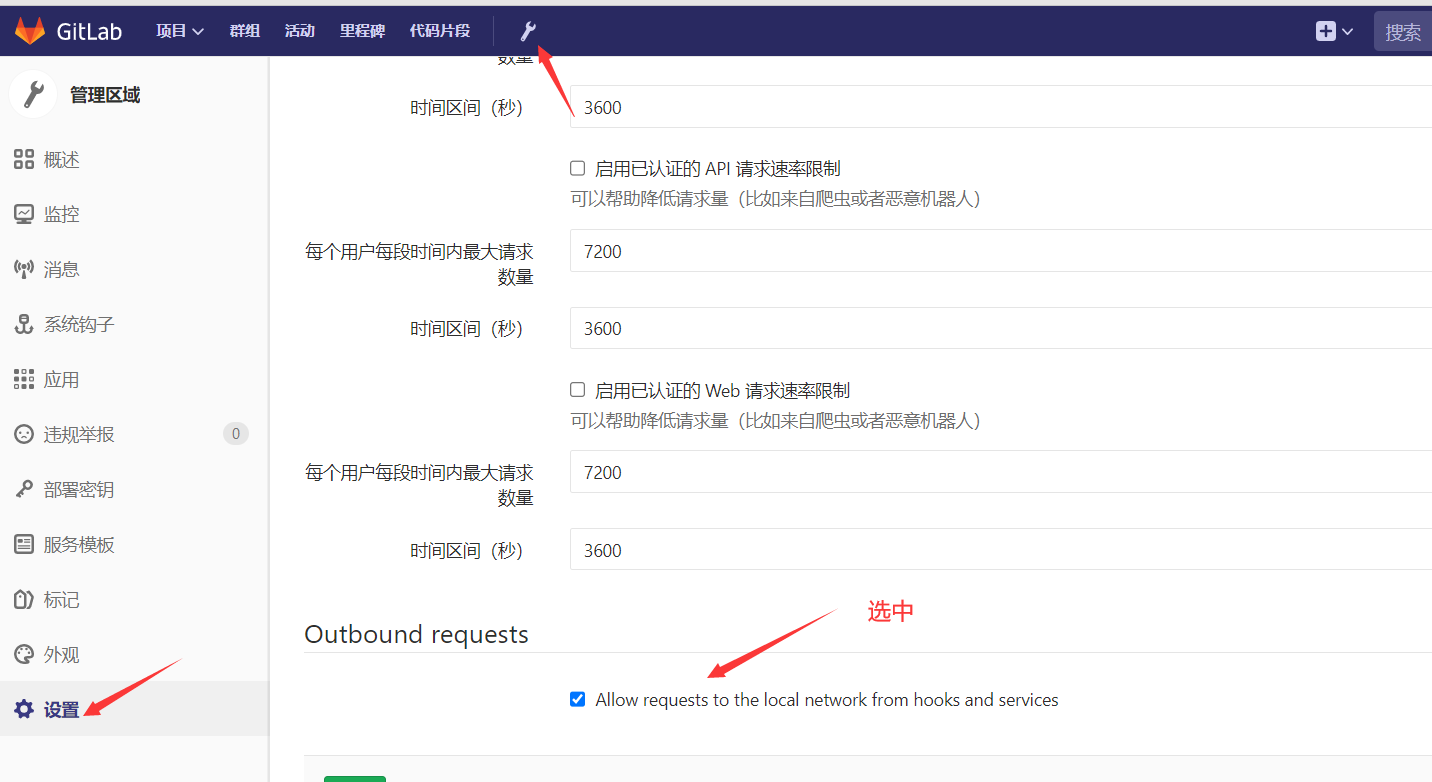
5. 验证钩子是否生效,确保状态码200,并且查看jenkins是否运行流水线


六、查看Generic Webhook插件打印信息

"一劳永逸" 的话,有是有的,而 "一劳永逸" 的事却极少




【推荐】国内首个AI IDE,深度理解中文开发场景,立即下载体验Trae
【推荐】编程新体验,更懂你的AI,立即体验豆包MarsCode编程助手
【推荐】抖音旗下AI助手豆包,你的智能百科全书,全免费不限次数
【推荐】轻量又高性能的 SSH 工具 IShell:AI 加持,快人一步
· winform 绘制太阳,地球,月球 运作规律
· TypeScript + Deepseek 打造卜卦网站:技术与玄学的结合
· AI 智能体引爆开源社区「GitHub 热点速览」
· Manus的开源复刻OpenManus初探
· 写一个简单的SQL生成工具