博客园改背景教程
博客背景图修改教程
在我们浏览博客学习的时候,总会碰到一些背景制作精美的博客,让我们心情瞬间变得舒畅了许多,突发奇想,自己也想跟着模仿做一个。下面,简单介绍一下制作博客园背景图教程的步骤:
第一步:开通博客-->申请开通博客-->申请开通JS
注意:申请填写礼貌尽量一些;
第二步:找代码,找背景图。
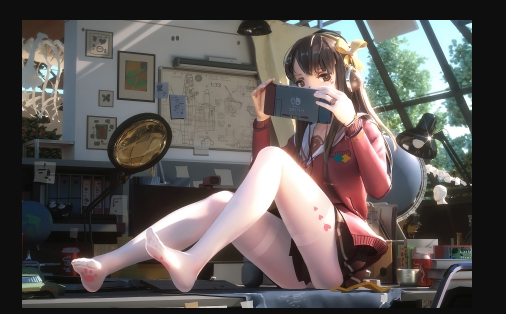
图片:此法需要用到图片的链接地址,放到自己的博客相册也行,我的如下图。


参考CSS代码如下:
/*simplememory*/
#google_ad_c1, #google_ad_c2 {display:none;}
.syntaxhighlighter a, .syntaxhighlighter div, .syntaxhighlighter code, .syntaxhighlighter table, .syntaxhighlighter table td, .syntaxhighlighter table tr, .syntaxhighlighter table tbody, .syntaxhighlighter table thead, .syntaxhighlighter table caption, .syntaxhighlighter textarea {
font-size: 14px!important;
}
#home {
opacity: 0.80;
margin: 0 auto;
width: 85%;
min-width: 950px;
background-color: #fff;
padding: 30px;
margin-top: 30px;
margin-bottom: 50px;
box-shadow: 0 2px 6px rgba(100, 100, 100, 0.3);
}
#blogTitle h1 {
font-size: 30px;
font-weight: bold;
font-family: "Comic Sans MS";
line-height: 1.5em;
margin-top: 20px;
color: #515151;
}
#navList a:hover {
color: #4C9ED9;
text-decoration: none;
}
#navList a {
display: block;
width: 5em;
height: 22px;
float: left;
text-align: center;
padding-top: 18px;
}
#navigator {
font-size: 15px;
border-bottom: 1px solid #ededed;
border-top: 1px solid #ededed;
height: 50px;
clear: both;
margin-top: 25px;
}
.catListTitle {
margin-top: 21px;
margin-bottom: 10.5px;
text-align: left;
border-left: 10px solid rgba(82, 168, 236, 0.8);
padding: 10px 0 14px 10px;
background-color: #f5f5f5;
}
#ad_under_post_holder #google_ad_c1,#google_ad_c2{
display: none !important;
}
body {
color: #000;
background: url(https://images.cnblogs.com/cnblogs_com/pan-wang/1827914/o_4335033223233136-1596814296f308.jpg
) fixed;
background-size: 100%;
background-repeat: no-repeat;
font-family: "Helvetica Neue",Helvetica,Verdana,Arial,sans-serif;
font-size: 12px;
min-height: 101%;
}
#topics .postTitle {
border: 0px;
font-size: 200%;
font-weight: bold;
float: left;
line-height: 1.5;
width: 100%;
padding-left: 5px;
}

div.commentform p{
margin-bottom:10px;
}
.comment_btn {
padding: 5px 10px;
height: 35px;
width: 90px;
border: 0 none;
border-radius: 5px;
background: #ddd;
color: #999;
cursor:pointer;
font-family: "Lato", Helvetica Neue, Helvetica, Microsoft Yahei, 宋体, Arial, sans-serif;
text-shadow: 0 0 1px #fff;
display: inline !important;
}
.comment_btn:hover{
padding: 5px 10px;
height: 35px;
width: 90px;
border: 0 none;
border-radius: 5px;
background: #258fb8;
color: white;
cursor:pointer;
font-family: "Lato", Helvetica Neue, Helvetica, Microsoft Yahei, 宋体, Arial, sans-serif;
text-shadow: 0 0 1px #fff;
display: inline !important;
}
#commentform_title {
background-image:none;
background-repeat:no-repeat;
margin-bottom:10px;
padding:0;
font-size:24px;
}
#commentbox_opt,#commentbox_opt + p {
text-align:center;
}
.commentbox_title {
width: 100%;
}
#tbCommentBody {
font-family:'Microsoft Yahei', Microsoft Yahei, 宋体, sans-serif;
margin-top:10px;
max-width:100%;
min-width:100%;
background:white;
color:#333;
border:2px solid #fff;
box-shadow:inset 0 0 8px #aaa;
// padding:10px;
height:250px;
font-size:14px;
min-height:120px;
}
.feedbackItem {
font-size:14px;
line-height:24px;
margin:10px 0;
padding:20px;
background:#F2F2F2;
box-shadow:0 0 5px #aaa;
}
.feedbackListSubtitle {
font-weight:normal;
}

#blog-comments-placeholder, #comment_form {
padding: 20px;
background: #fff;
-webkit-box-shadow: 1px 2px 3px #ddd;
box-shadow: 1px 2px 3px #ddd;
margin-bottom: 50px;
}
.feedback_area_title {
margin-bottom: 15px;
font-size: 1.8em;
}
.feedbackItem {
border-bottom: 1px solid #CCC;
margin-bottom: 10px;
padding: 5px;
background: rgb(248, 248, 248);
}
.color_shine {background: rgb(226, 242, 255);}
.feedbackItem:hover {-webkit-animation-name: color_shine;-webkit-animation-duration: 2s;-webkit-animation-iteration-count: infinite;}
#comment_form .title {
font-weight: normal;
margin-bottom: 15px;
}
第三步:改图片链接地址;
找到 body{ }这个部分,把url()里面的链接地址(url)换成你想设置的图片的地址即可,然后点击保存。
body {
color: #000;
background: url(https://images.cnblogs.com/cnblogs_com/pan-wang/1827914/o_434223233136-1596814296f308.jpg
) fixed;
background-size: 100%;
background-repeat: no-repeat;
font-family: "Helvetica Neue",Helvetica,Verdana,Arial,sans-serif;
font-size: 12px;
min-height: 101%;
}
第四步:设置一个较透明的博客皮肤;
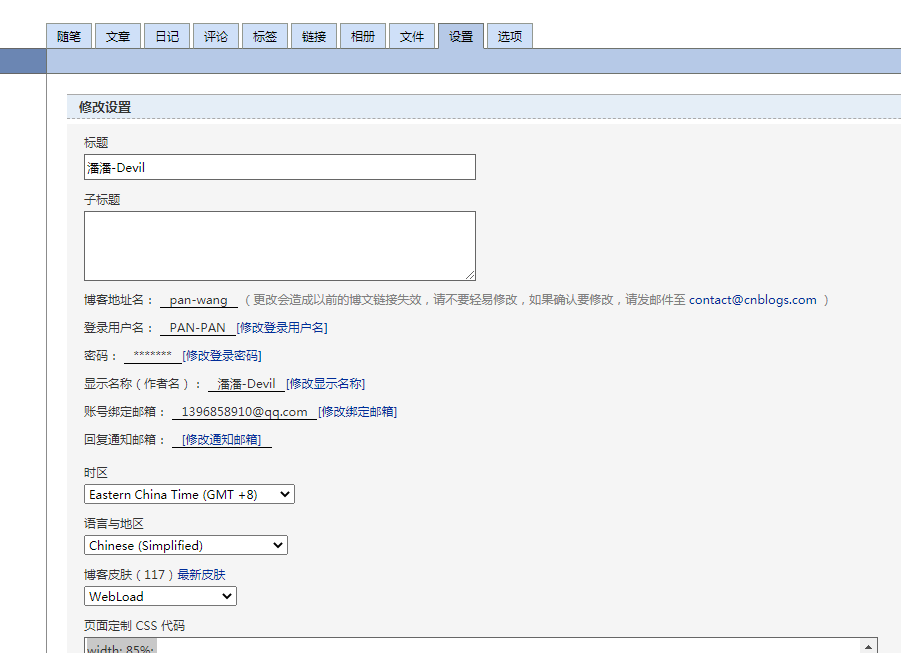
在设置界面修改(如图一),然后点击最新皮肤,选一个你喜欢的皮肤,点击立刻应用改模板(如图二)。
图一:

图二:

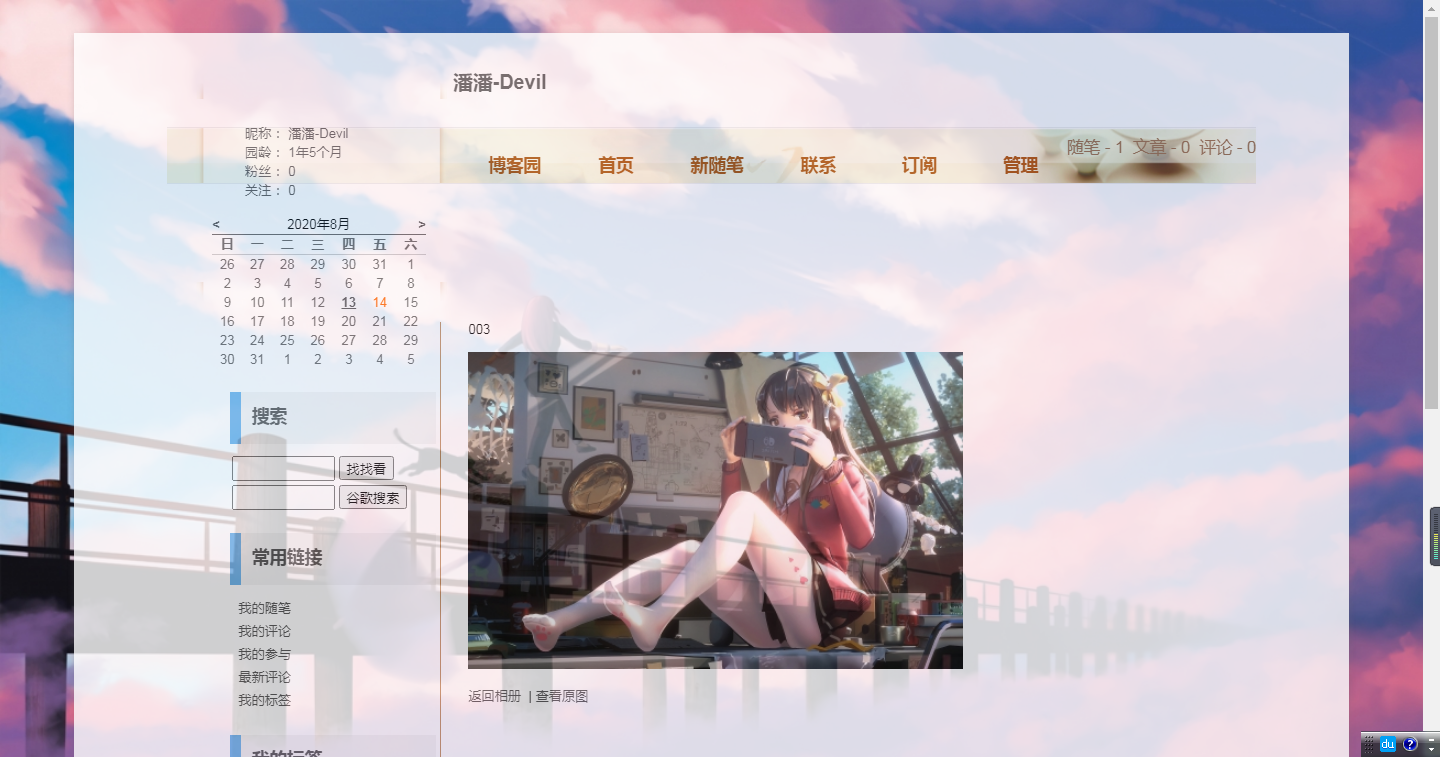
我的效果图:

到此就完成啦!重新刷新博客网页看看效果吧!
![]() 小结:
小结:
1.勇于尝试探索,不要畏惧困难麻烦,不会的就抓紧学学!
2.还有其它更精美的插件,可以了解看看怎么用的。
注:本教程旨在记录分享博客背景的修改方法,(参考了一些其它作者的源代码,如有侵权请联系!)如果有更好的想法或者建议,欢迎评论留言!

