
Spring Boot Sample 005之spring-boot-profile
一、环境
- Idea 2020.1
- JDK 1.8
- maven
二、目的
通过yaml文件配置spring boot 属性文件。
三、步骤
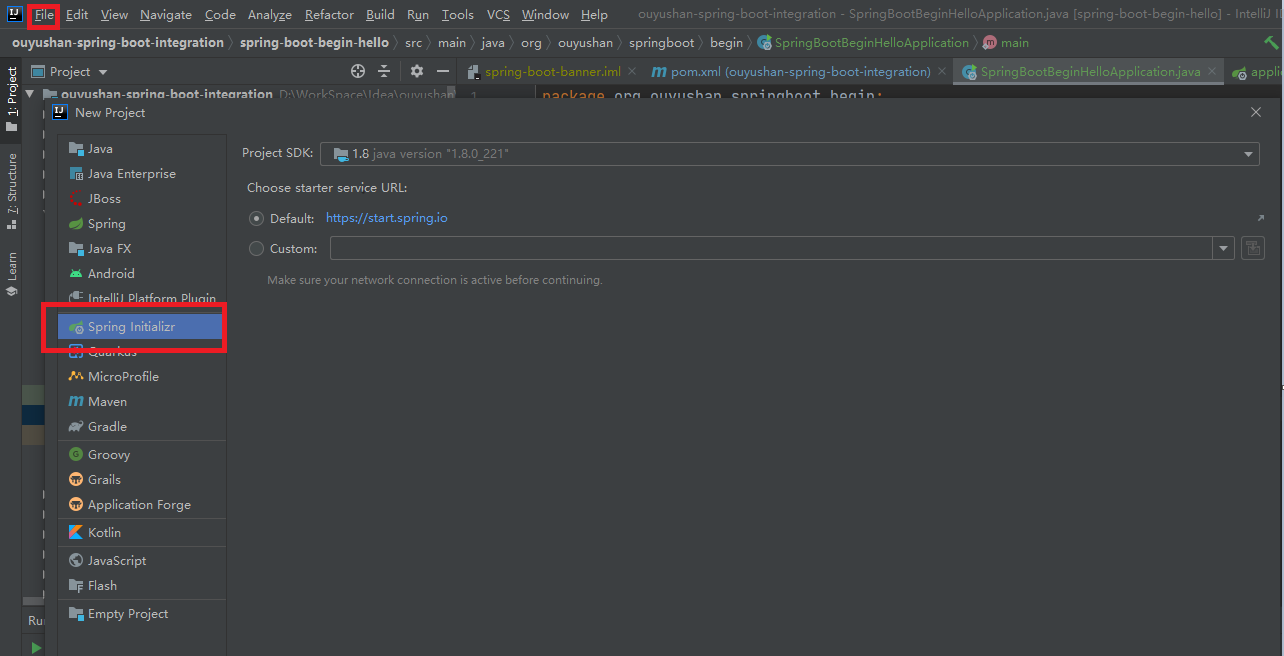
3.1、点击File -> New Project -> Spring Initializer,点击next
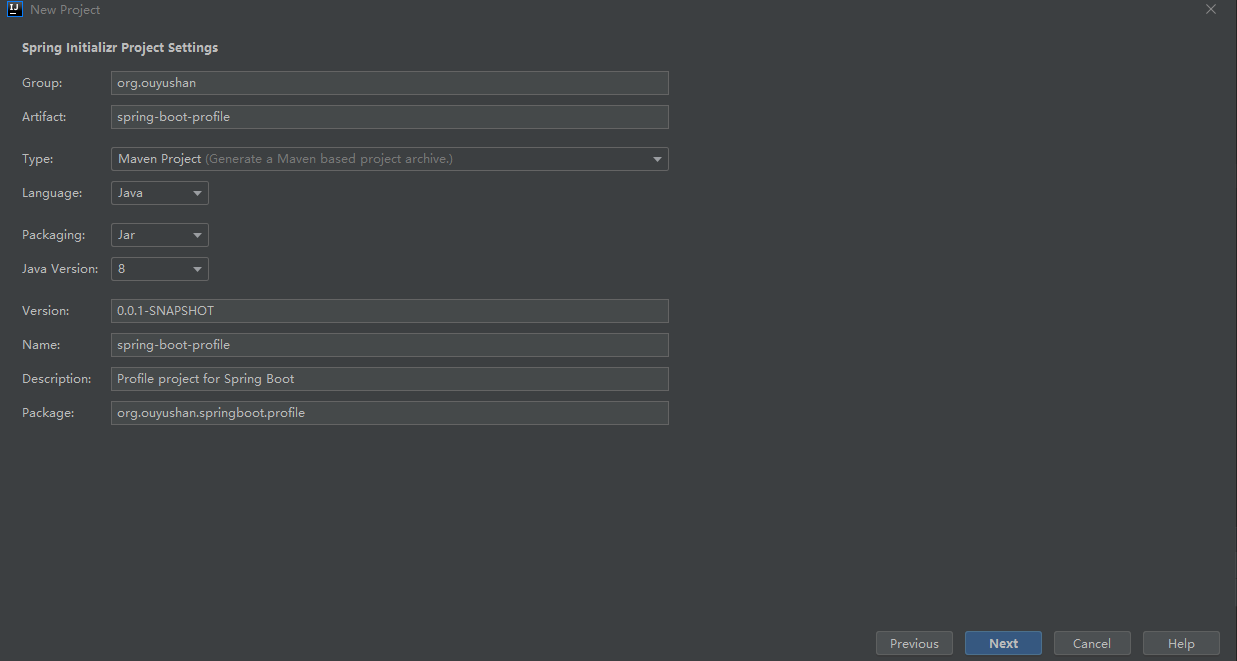
3.2、在对应地方修改自己的项目信息
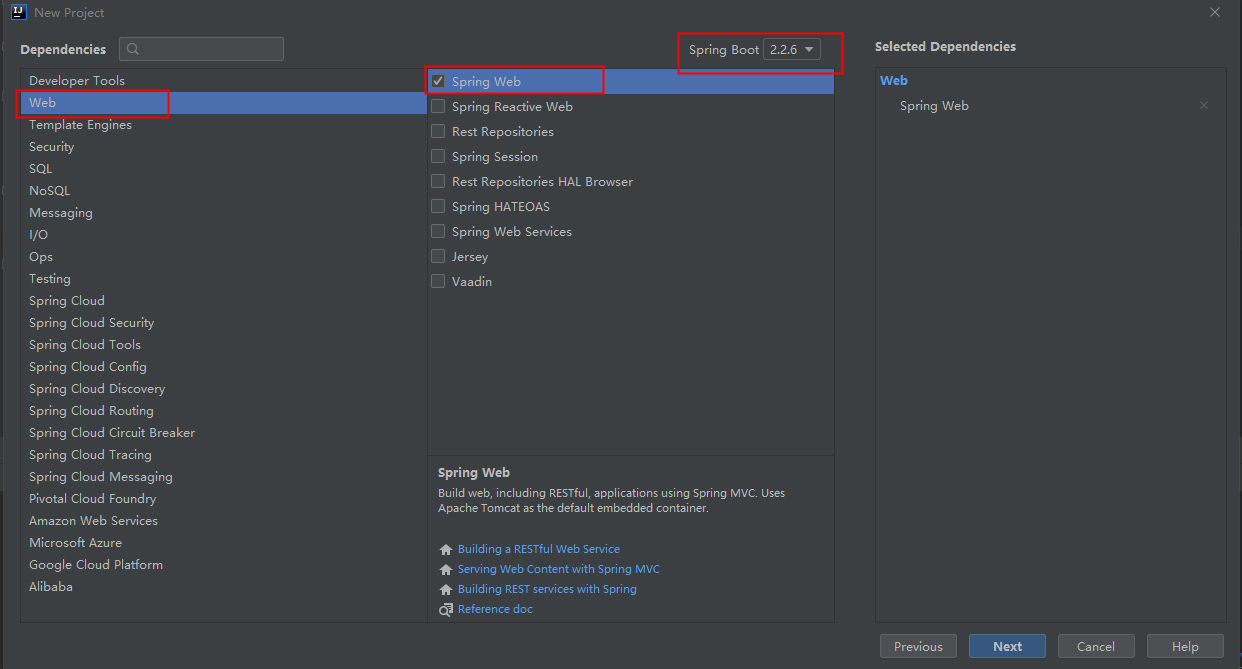
3.3、选择Web依赖,选中Spring Web。可以选择Spring Boot版本,本次默认为2.2.6,点击Next
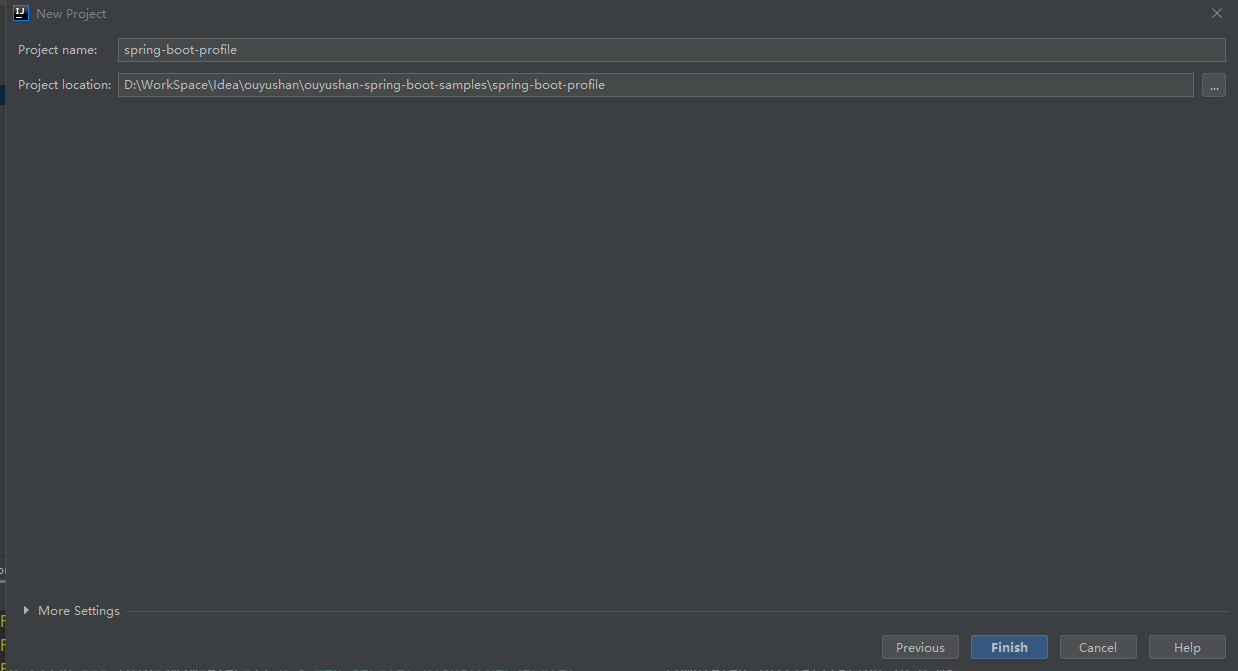
3.4、编辑工程名和项目路径,确定后点击Finish完成
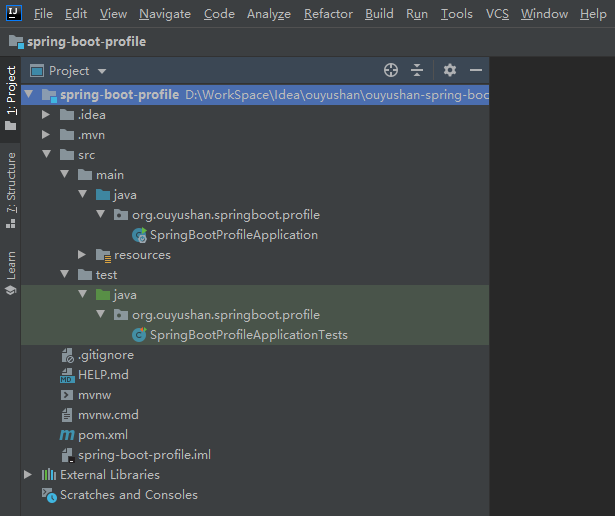
3.5、项目结构
四、添加测试文件
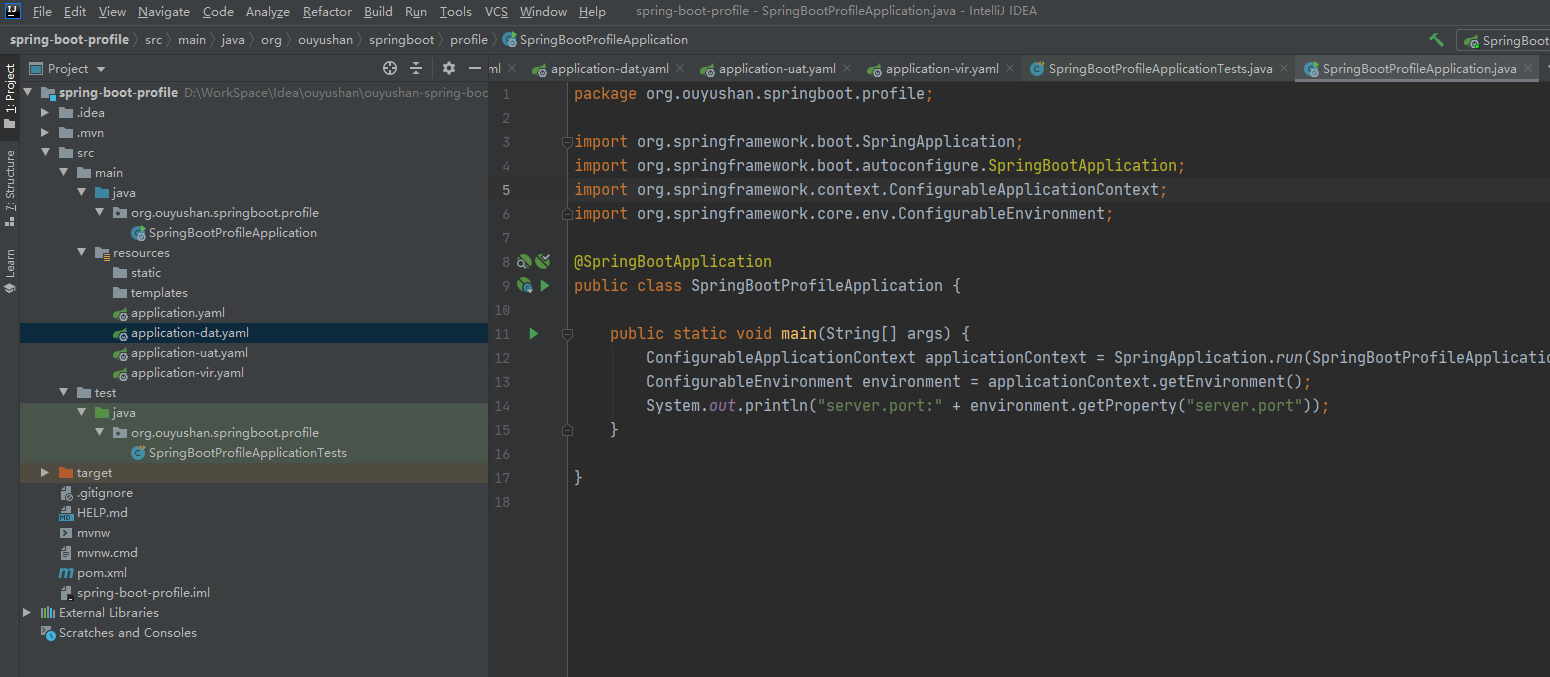
package org.ouyushan.springboot.profile;

import org.springframework.boot.SpringApplication;
import org.springframework.boot.autoconfigure.SpringBootApplication;
import org.springframework.context.ConfigurableApplicationContext;
import org.springframework.core.env.ConfigurableEnvironment;

@SpringBootApplication
public class SpringBootProfileApplication {

    public static void main(String[] args) {
        ConfigurableApplicationContext applicationContext = SpringApplication.run(SpringBootProfileApplication.class, args);
        ConfigurableEnvironment environment = applicationContext.getEnvironment();
        System.out.println("server.port:" + environment.getProperty("server.port"));
    }

}
4.1、配置默认application.yaml
spring:
  profiles:
    active: dat
  jackson:
    date-format: yyyy-MM-dd HH:mm:ss
    time-zone: Asia/Chongqing
4.2、配置application-dat.yaml:
server:
  port: 7070
4.3、配置application-uat.yaml:
server:
  port: 8080
4.4、配置application-vir.yaml:
server:
  port: 9090
启动项目,通过修改 application.yaml中的spring.profiles.active属性值来判断激活环境

五、知识点
一般将公共属性配置在application.yaml中,与环境相关的属性配置在对应的配置中,只需在application.yaml中配置
spring:
  profiles:
    active: uat
