个人第二次作业:熟悉使用工具
个人第二次作业:熟悉使用工具
| GIT地址 | https://github.com/Orb406 |
|---|---|
| GIT用户名 | Orb406 |
| 学号后五位 | 24121 |
| 博客地址 | 我的博客 |
| 作业链接 | 第二次作业 |
Part 1.环境配置过程
1.下载安装Visual Studio
我的电脑里之前就有visual studio2017,所以我不需要重新下载。
2、使用微软账户,登录visual studio2017.
Part 2. 克隆项目
1、在 https://github.com/join 这个网址处申请注册一个 Github 账号,申请成功后可在 https://github.com/login 处利用刚刚注册的账号进行登录,才能开始在 Github 上进行开发。
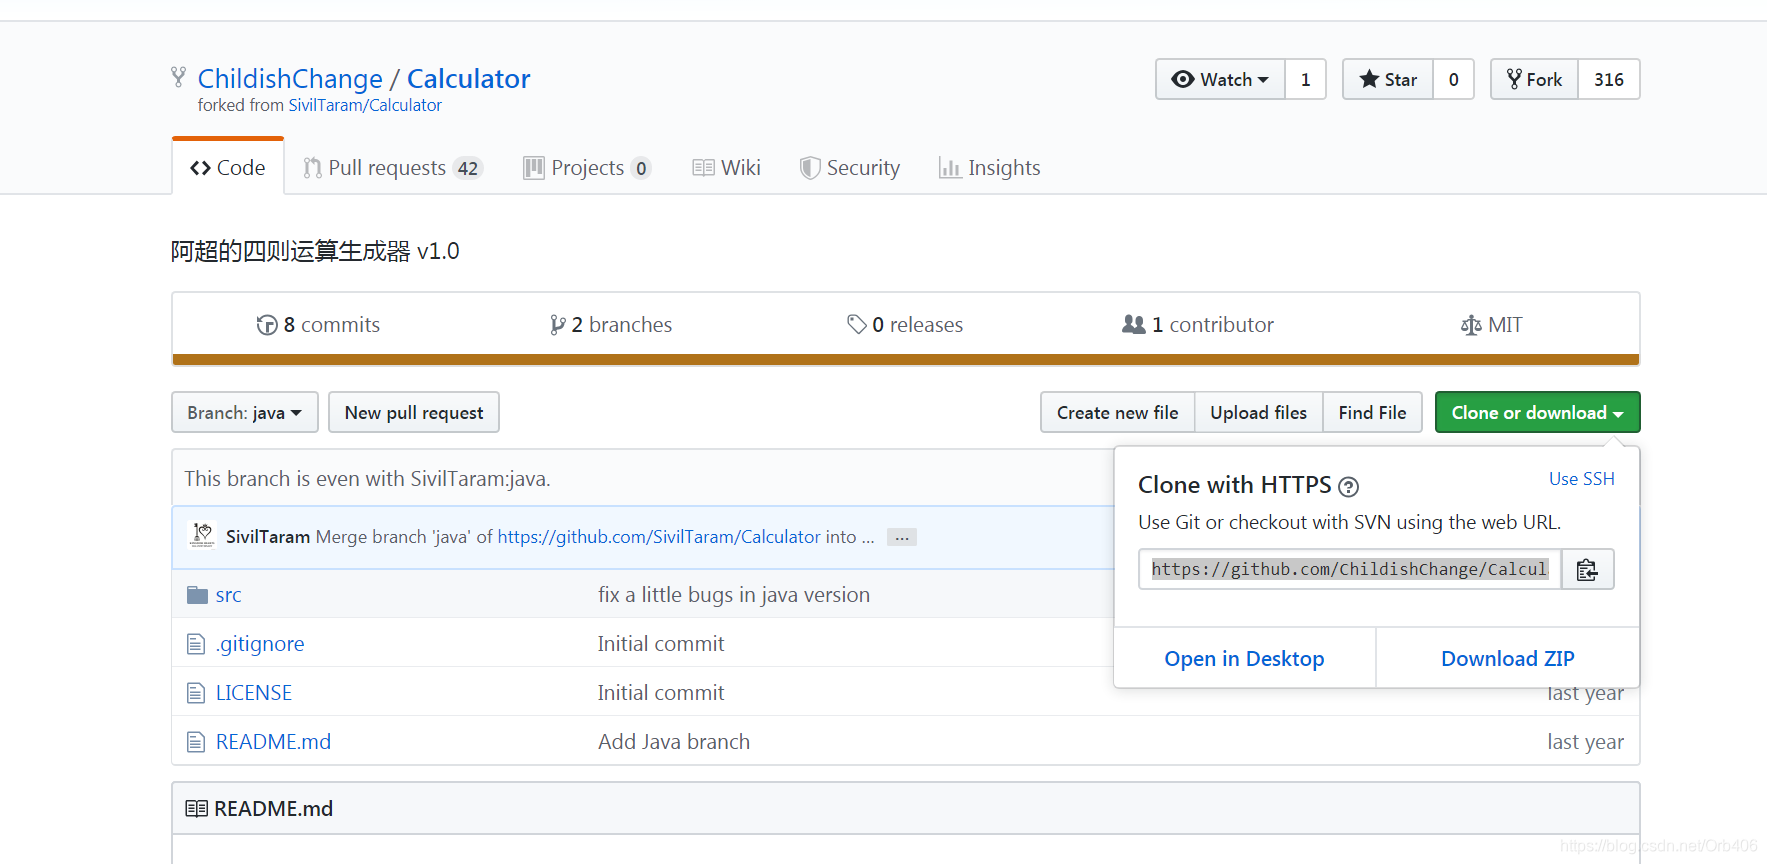
2、成功登录后,输入阿超仓库的网址 https://github.com/ChildishChange/Calculator ,点击右上角的 Fork ,将阿超的四则运算库拷贝到自己的同名仓库中,如下图所示:

3、拷贝成功后,可以看到自己已经拥有了一个同名仓库。
4、在自己的电脑上安装 Git 软件。在自己拷贝项目的主页的绿色按钮处可以找到一个可克隆的项目地址,如图所示:

5、在 我的电脑 中任意找一个目录,打开 Git 命令行软件(Windows上可在空白处右键打开 Git Bash ),输入 git clone

6、在完成上述操作后,可在当前目录下看到一个与仓库同名的文件夹Calculator ,这就是克隆到本地的项目。进入项目文件夹,新建一个文件夹,重命名为你的 Github 账号名。

Part 3.编写程序
1、以 Github 账号命名的文件夹作为项目目录,打开 VS2017,点击左上角的 文件 -> 新建 -> 项目 ,如下图所示,选择 Visual C#中的 控制台应用程序 。注意更改 位置 参数到刚刚新建的文件夹所在的路径。

2、编写代码后输入,然后进行调试,结果截图如下:

代码设计如下:
using System;
using System.Collections.Generic;
using System.Data;
using System.IO;
using System.Linq;
using System.Text;
using System.Threading.Tasks;
namespace ConsoleApp1
{
class Program
{
static void Main(string[] args)
{
DataTable table = new DataTable();
        int n;
        int n1 = 0;
        int seed = Guid.NewGuid().GetHashCode();
        Random rd = new Random(seed);


        string[] signal = { "+", "-", "*", "/" };


        Console.WriteLine("请输入你想要出的题目数量");
        n = int.Parse(Console.ReadLine());
        for (int i = 0; i < n; i++)
        {

            int num = rd.Next(3, 5);
            int index = 0;
            string str = "";
            string[] str1 = new string[10000];
            for (int j = 0; j < num + num - 1; j++)
            {
                int a = rd.Next(1, 10);
                int num1 = rd.Next(0, 4);
                if (index % 2 == 0)
                {

                    str += a.ToString();


                }
                if (index % 2 != 0)
                {

                    str += signal[num1];
                }
                index++;


            }
            string value = (table.Compute(str, "")).ToString();
            if (double.Parse(value) - (int)(double.Parse(value)) != 0)
            {
                i--;
            }
            else
            {
                str += "=" + value + "\r\n";
                Console.WriteLine(str);


                File.AppendAllText(@"D:/四则运算.txt", str);


            }


        }
        Console.ReadKey();
    }


}
}
Part 4. 单元测试
要想在 VS2017 里对 C# 项目进行单元测试,首先要新建一个测试项目。右键单击解决方案,可以添加一个新建项目,在类型里选择 单元测试,我们这里新建了一个名为 NUnitTestProject1的单元测试项目。
结果如下图所示:


诊断结果如下图所示:

Part 5.效能分析
打开效能工具后,如图:

接着进一步打开详细报告,如图:

Part 6. 提交代码
1、提交代码日志,如图:

2、登录github账号,如图:


3、代码完成提交,终于成功了!如图:

Part 7.感想
第一次使用github进行编写代码,操作及其不熟练,中间出现了许多错误,完成这次作业太不容易了!


