OpenCascade Ray Tracing Rendering
OpenCascade Ray Tracing Rendering
摘要Abstract:OpenCascade6.7.0中引入了光线跟踪算法的实现。使用光线跟踪算法可实现高质量的渲染效果,且可以使用GPU提升渲染效率。
关键字Key Words:OpenCascade, Ray Tracing
参考链接:Ray tracing as alternative rendering method for OCCT visualization component
http://dev.opencascade.org/index.php?q=node/898
OpenCascade 6.7.0对显示部分做了些重大改进,其中突破性的改变是使用OpenCL实现了光线跟踪算法。作为库TKOpenGl的一部分,光线跟踪算法与标准的显示模块完全集成。从此,光线跟踪也可以作为显示的一种方法。与其他第三方库的光线跟踪库的区别是,内置的光线跟踪算法确保了实时渲染时的性能,性能与OpenGL的性能相近,在有大量模型时性能比OpenGL的还要好。
光线跟踪功能如下:
l High-quality shading by interpolating normal across the triangle pixels and using advanced illumination model (Phong shading);
l Depth-correct order-independent transparency for any number of overlapped objects;
l Sharp shadows from isotropic point and directional lights without any approximation – greatly improve visual appearance;
l Specular reflections and environment mapping – for high-quality rendering of metallic surfaces;
l Low-cost adaptive anti-aliasing allows to improve image quality by removing jagged edges from the image;
l Based on cross-platform OpenCL framework – runs on GPUs of major vendors (NVIDIA and AMD/ATI);
l Makes the most of the mid-/top-range GPUs but also runs successfully on low-end GPUs that support OpenCL。
只要OpenCascade编译时启用OpenCL支持,光线跟踪的使用是相当简单,只需要调用函数V3d_View::SetRaytracingMode()就可以把3D view切换成光线跟踪渲染啦。参考V3d_View和文档或者Draw Test Harness的vraytrace和vsetraytracemode命令实现的源程序去详细了解如何设置光线跟踪的一些选项。
最简单的测试光线跟踪的方式是在Draw Test Harness中输入如下命令:
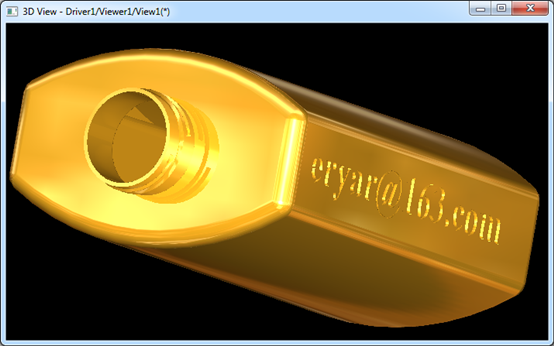
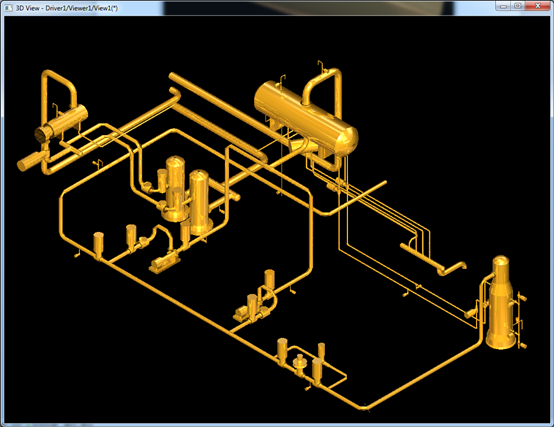
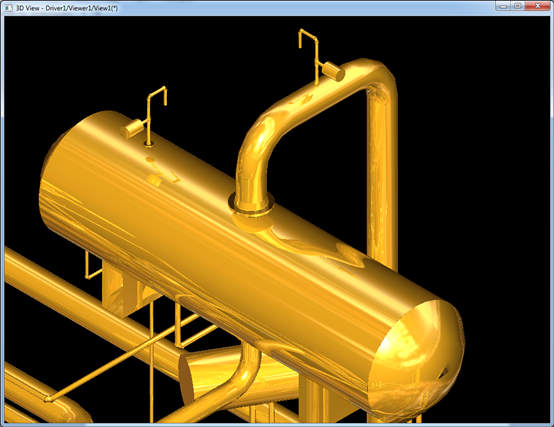
生成效果如下图所示:
Figure 1.1 Render bottle and text with ray tracing
Figure Render my email with Ray tracing
Figure 1.2 Render pipe and equipment models with ray tracing
Figure 1.3 Render pipe and equipment models with ray tracing
从上图可知,使用光线跟踪效果很不错,可以看到镜面效果,很Cool!
PDF Version: OpenCascade Ray Tracing Rendering
为了方便大家在移动端也能看到我的博文和讨论交流,现已注册微信公众号,欢迎大家扫描下方二维码关注。


 浙公网安备 33010602011771号