
Android 本地tomcat服务器接收处理手机上传的数据之环境搭建
本篇文章
环境:win7 + jdk1.7 + tomcat v8.0.53
工具:
1.Eclipse
Eclipse Java EE IDE for Web Developers.
Version: Luna Service Release 2 (4.4.2)
Build id: 20150219-0600
2. tomcat v8.0.53
http://mirrors.hust.edu.cn/apache/tomcat/tomcat-8/v8.0.53/bin/apache-tomcat-8.0.53-windows-x64.zip --- 64位
http://mirrors.hust.edu.cn/apache/tomcat/tomcat-8/v8.0.53/bin/apache-tomcat-8.0.53-windows-x86.zip --- 32位
知识点:java + servlet + tomcat
创建web工程方法
1. File --- new --- Dynamic Web Project
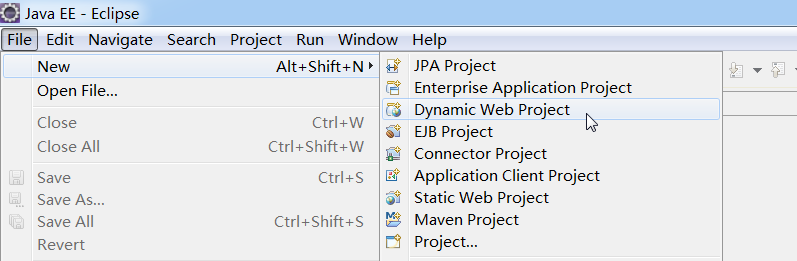
看图说话:
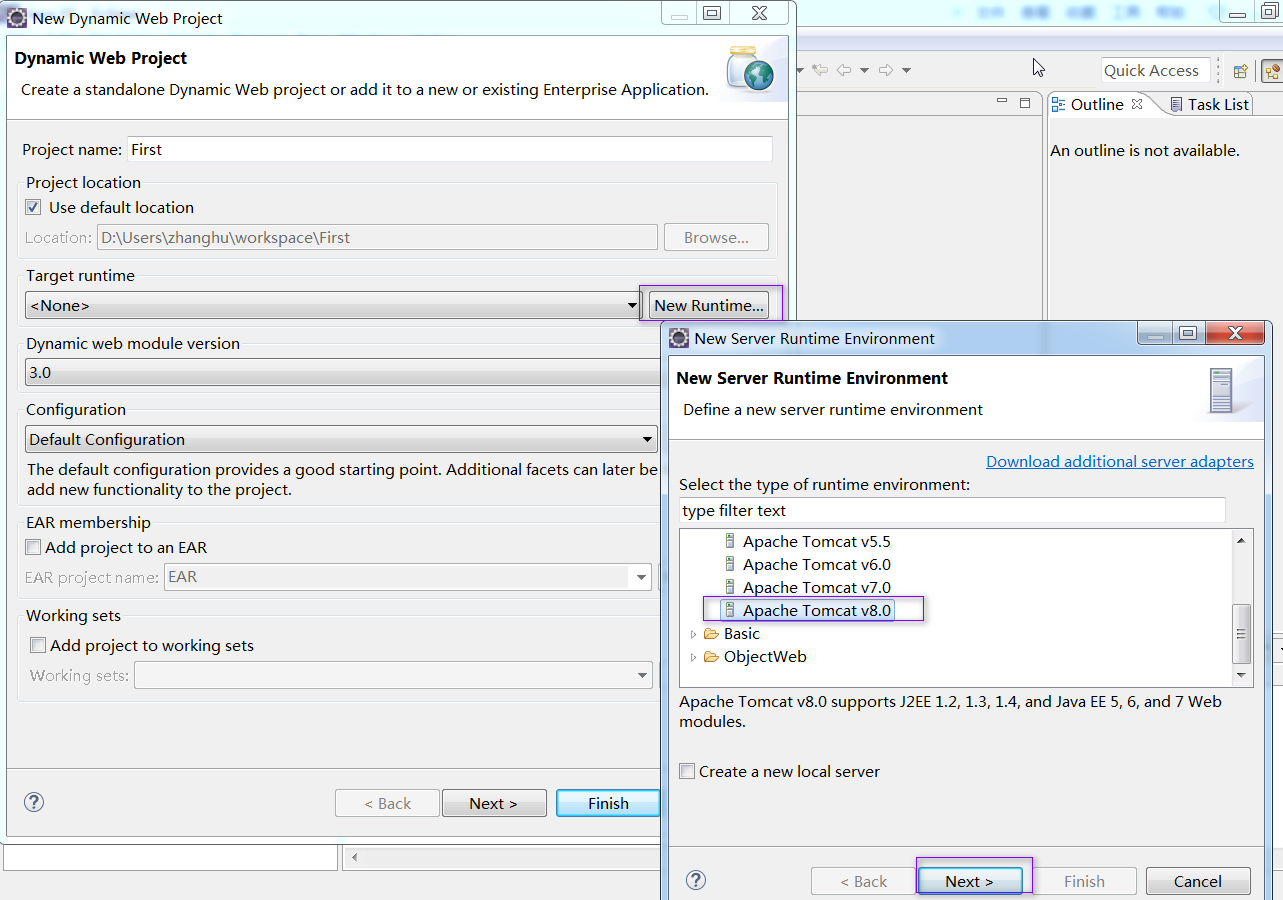
a. 填写web工程名:First
b. 点击“New Runtime...“,”选择“Apache Tomcat v8.0”(PS:由于Eclipse luna最大支持 Apache Tomcat v8.0,所以PC端最大只能安装tomcat v8版本,不支持v9)
c. 点击"Next"
然后如下:
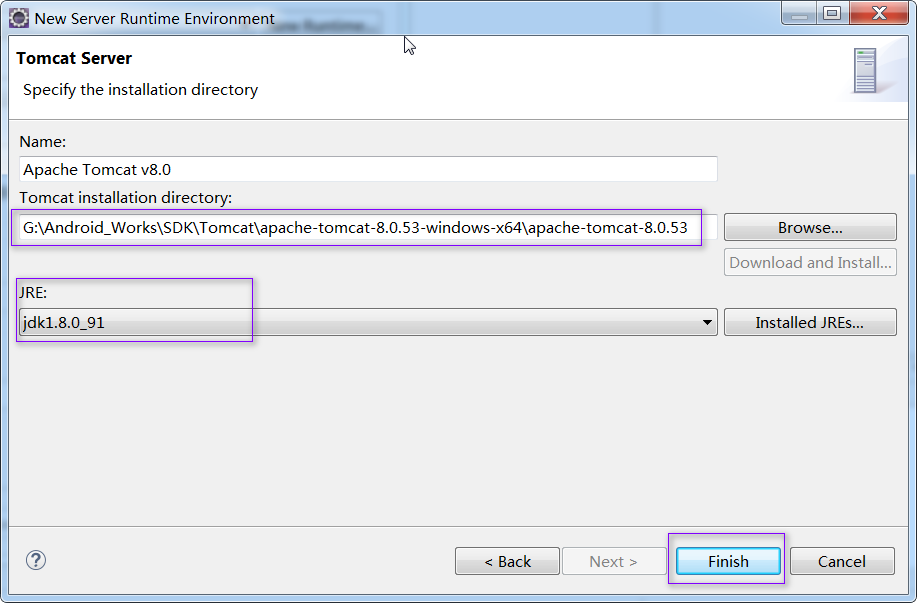
a. 选择tomcat 在本地的位置
b. 选择"JRE"
c. 点击finish
然后如下:
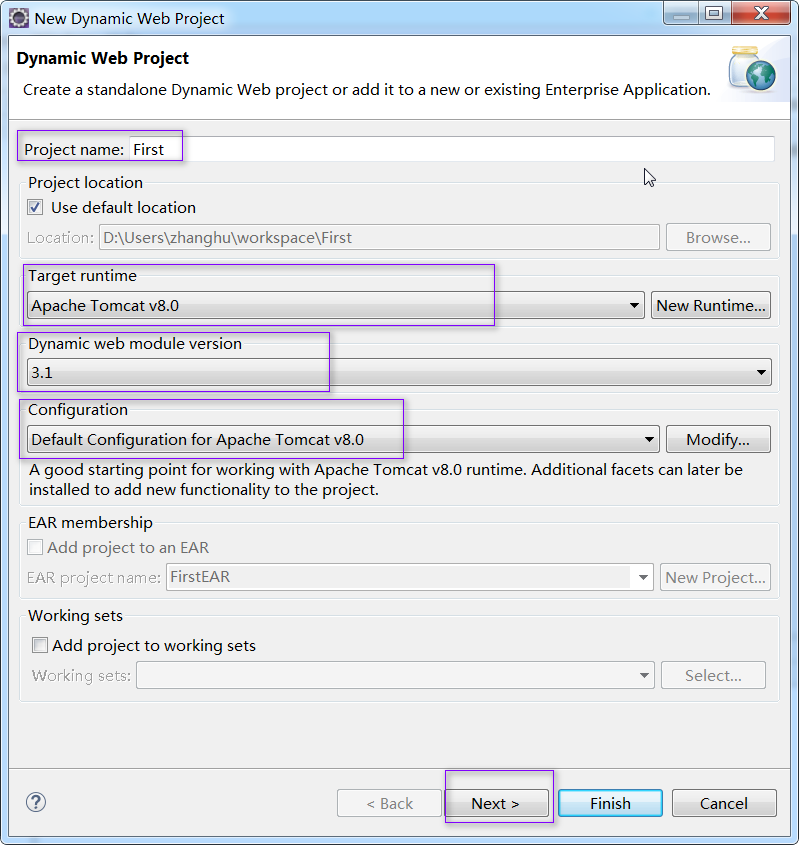
点击“Next”
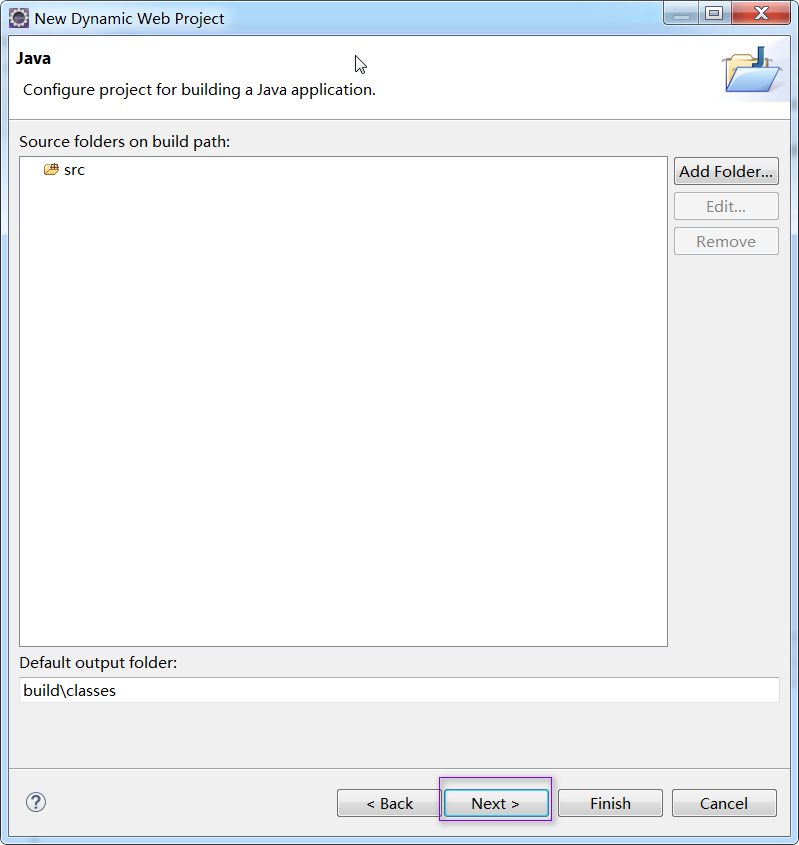
点击“Next”
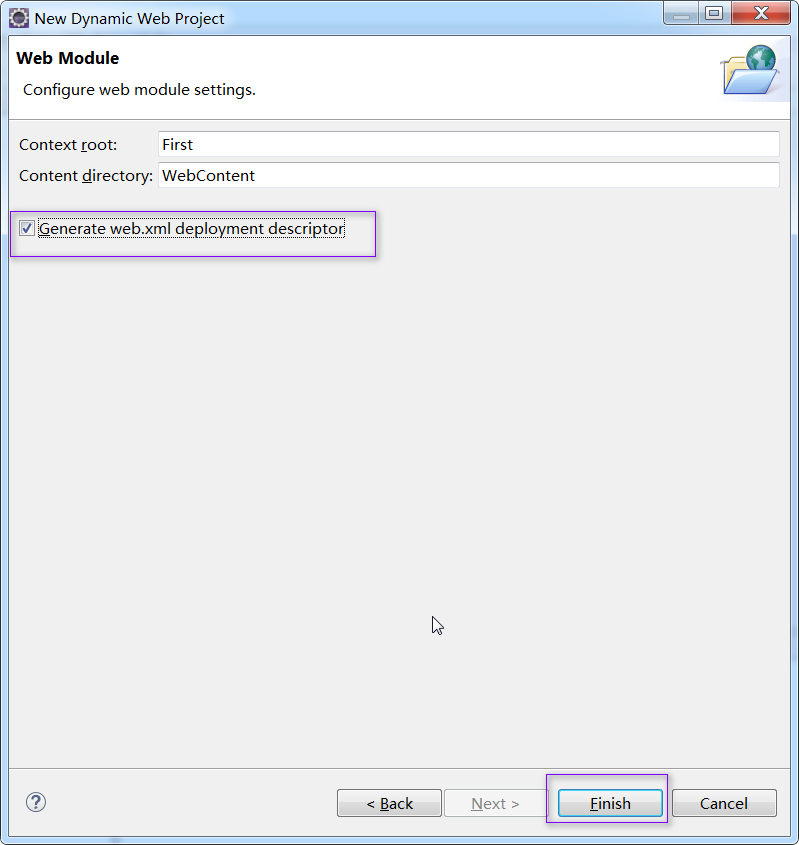
勾选“Generate web.xml ...”,这样,可以自动生成web.xml文件,点击“finish”按钮
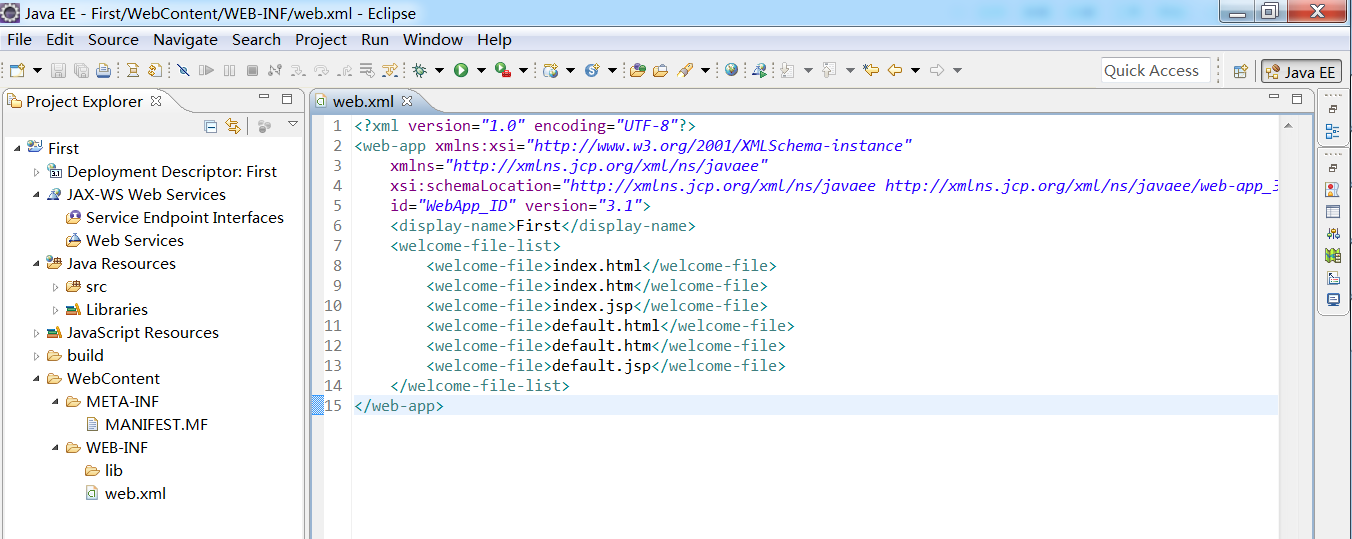
项目创建完成:
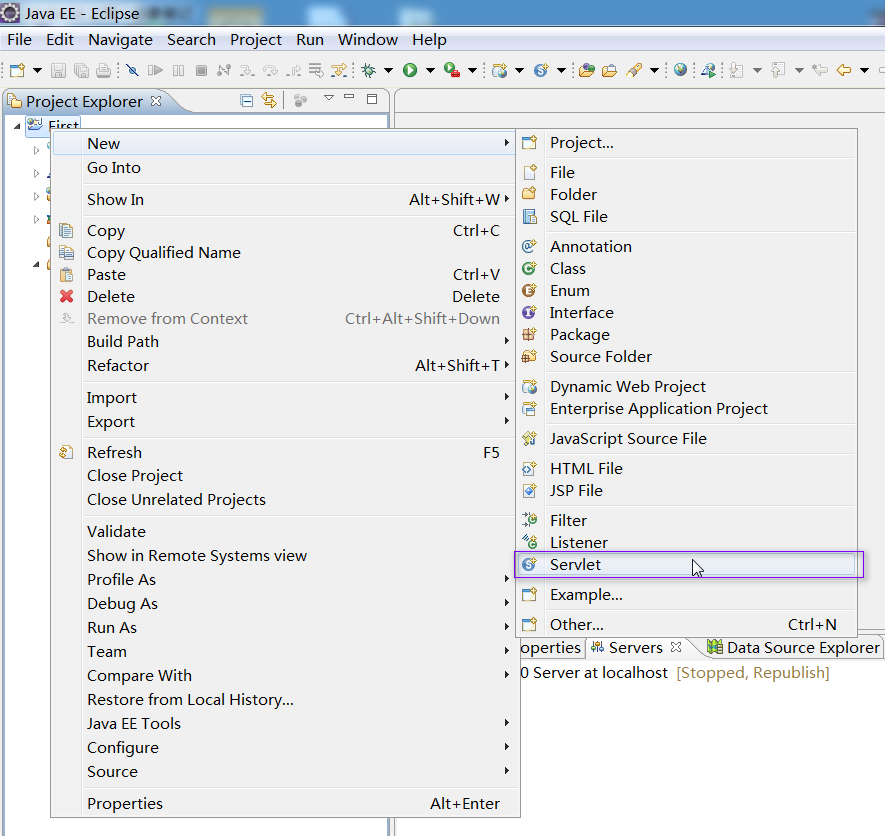
2. 创建servlet

点击“Next”
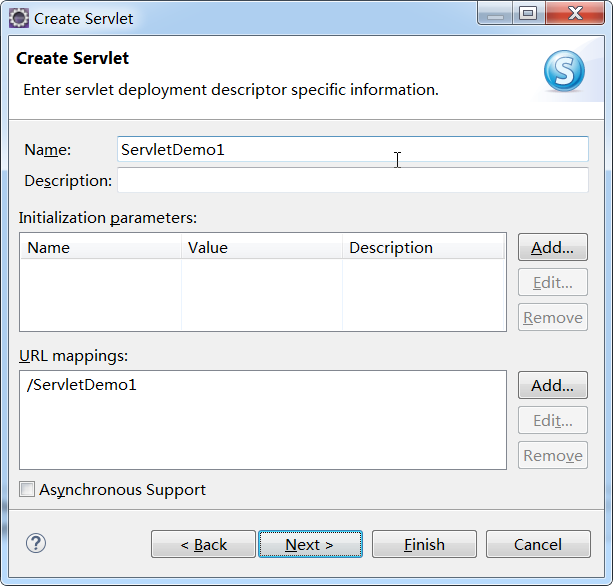
点击“Next”
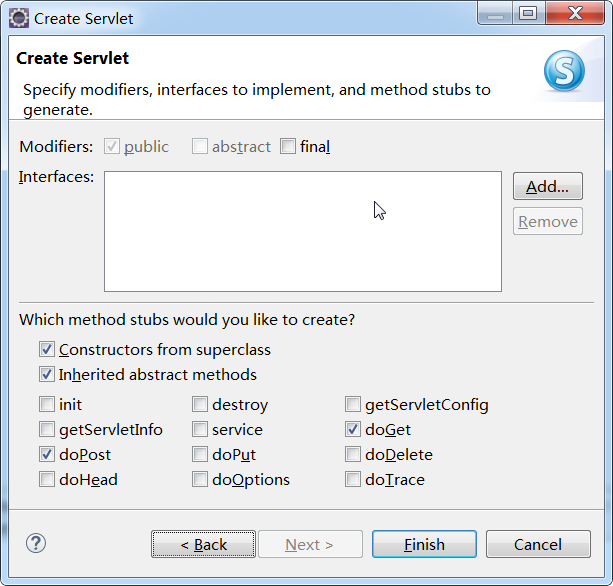
直接点击“finish”
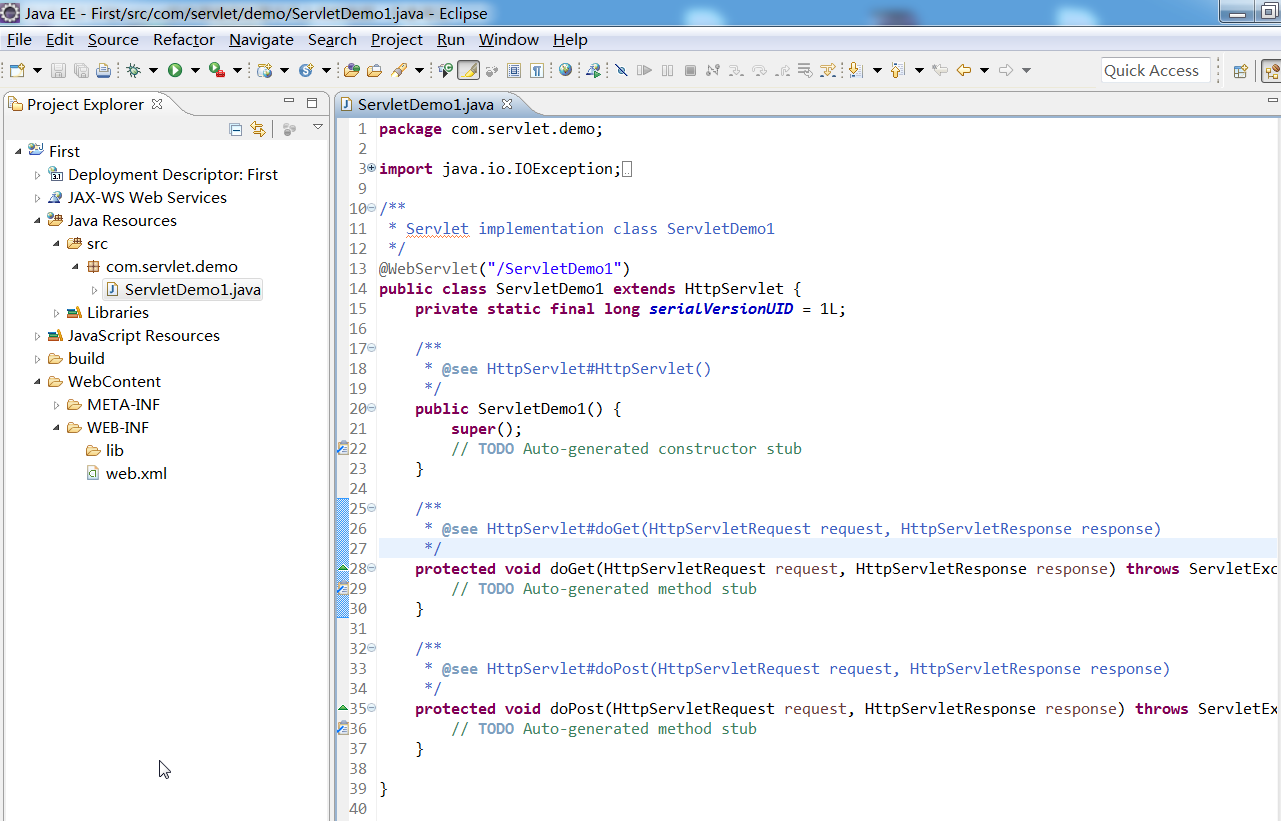
修改 ServletDemo1.java文件,内容如下:
package com.servlet.demo;
import java.io.IOException;
import java.io.PrintWriter;
import javax.servlet.ServletException;
import javax.servlet.annotation.WebServlet;
import javax.servlet.http.HttpServlet;
import javax.servlet.http.HttpServletRequest;
import javax.servlet.http.HttpServletResponse;
/**
* Servlet implementation class ServletDemo1
*/
@WebServlet(asyncSupported = true, urlPatterns = { "/ServletDemo1" })
public class ServletDemo1 extends HttpServlet {
private static final long serialVersionUID = 1L;
/**
* The doGet method of the servlet. <br>
*
* This method is called when a form has its tag value method equals to get.
*
* @param request
* the request send by the client to the server
* @param response
* the response send by the server to the client
* @throws ServletException
* if an error occurred
* @throws IOException
* if an error occurred
*/
public void doGet(HttpServletRequest request, HttpServletResponse response)
throws ServletException, IOException {
response.setContentType("text/html");
PrintWriter out = response.getWriter();
out.println("<!DOCTYPE HTML PUBLIC \"-//W3C//DTD HTML 4.01 Transitional//EN\">");
out.println("<HTML>");
out.println(" <HEAD><TITLE>A Servlet</TITLE></HEAD>");
out.println(" <BODY>");
out.print(" This is ");
out.print(this.getClass());
out.println(", using the GET method");
out.println(" </BODY>");
out.println("</HTML>");
out.flush();
out.close();
}
/**
* The doPost method of the servlet. <br>
*
* This method is called when a form has its tag value method equals to
* post.
*
* @param request
* the request send by the client to the server
* @param response
* the response send by the server to the client
* @throws ServletException
* if an error occurred
* @throws IOException
* if an error occurred
*/
public void doPost(HttpServletRequest request, HttpServletResponse response)
throws ServletException, IOException {
response.setContentType("text/html");
PrintWriter out = response.getWriter();
out.println("<!DOCTYPE HTML PUBLIC \"-//W3C//DTD HTML 4.01 Transitional//EN\">");
out.println("<HTML>");
out.println(" <HEAD><TITLE>A Servlet</TITLE></HEAD>");
out.println(" <BODY>");
out.print(" This is ");
out.print(this.getClass());
out.println(", using the POST method");
out.println(" </BODY>");
out.println("</HTML>");
out.flush();
out.close();
}
}
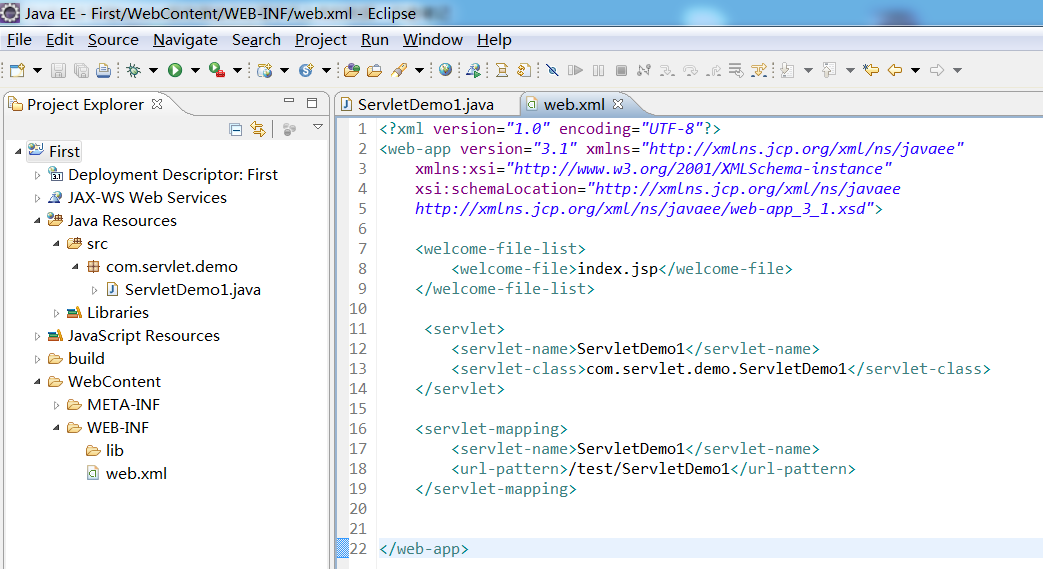
3. 修改web.xml 文件为:
<?xml version="1.0" encoding="UTF-8"?>
<web-app version="3.1" xmlns="http://xmlns.jcp.org/xml/ns/javaee"
xmlns:xsi="http://www.w3.org/2001/XMLSchema-instance"
xsi:schemaLocation="http://xmlns.jcp.org/xml/ns/javaee
<welcome-file-list>
<welcome-file>index.jsp</welcome-file>
</welcome-file-list>
<servlet>
<servlet-name>ServletDemo1</servlet-name>
<servlet-class>com.servlet.demo.ServletDemo1</servlet-class>
</servlet>
<servlet-mapping>
<servlet-name>ServletDemo1</servlet-name>
<url-pattern>/test/ServletDemo1</url-pattern>
</servlet-mapping>
</web-app>
备注:上面高亮部分的名称要一致
4. 开始部署
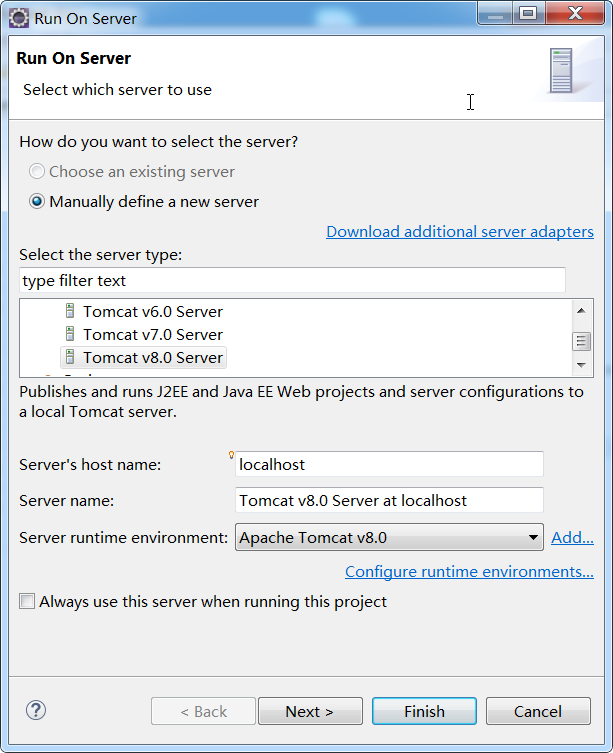
直接点击“finish”按钮,如下(虽然出现Not Found,此时不要担心,还没开始运行servlet 呢,继续往下看):

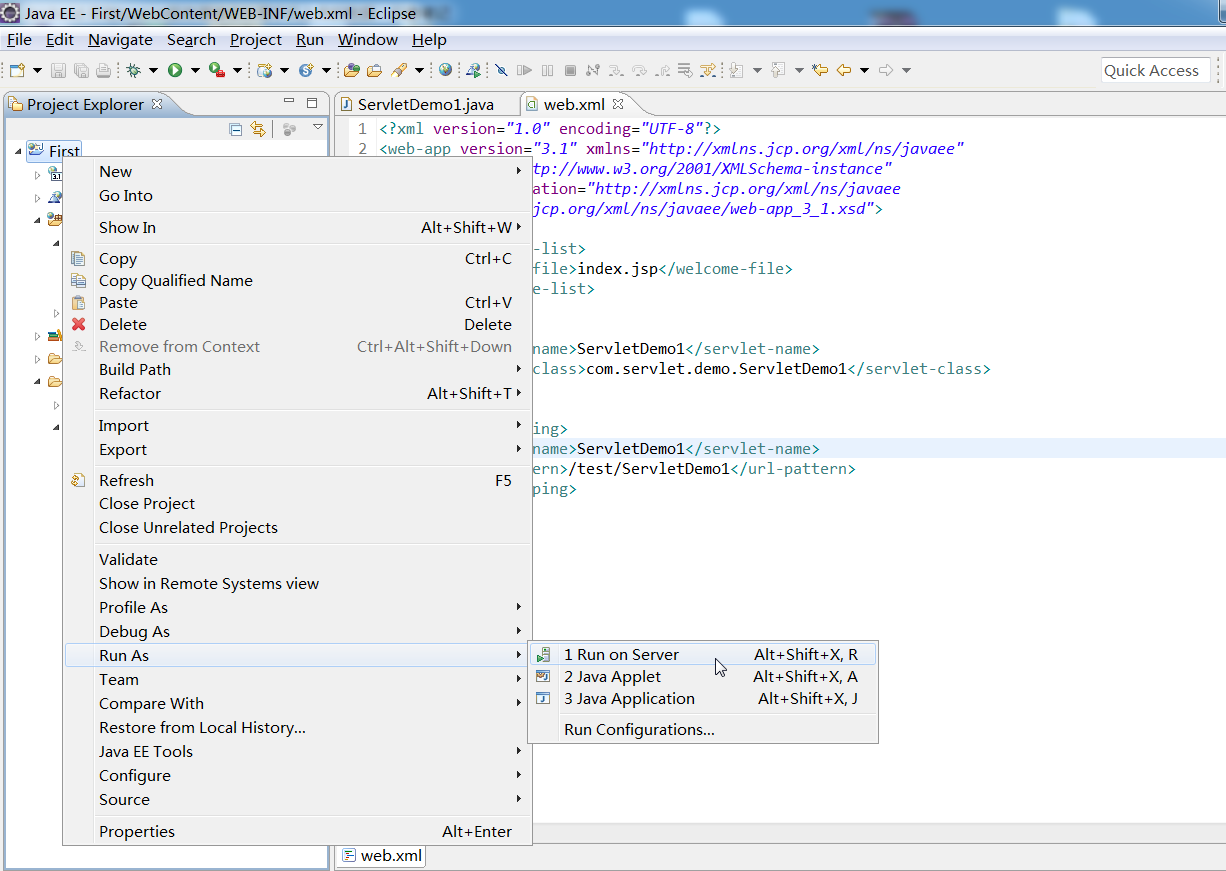
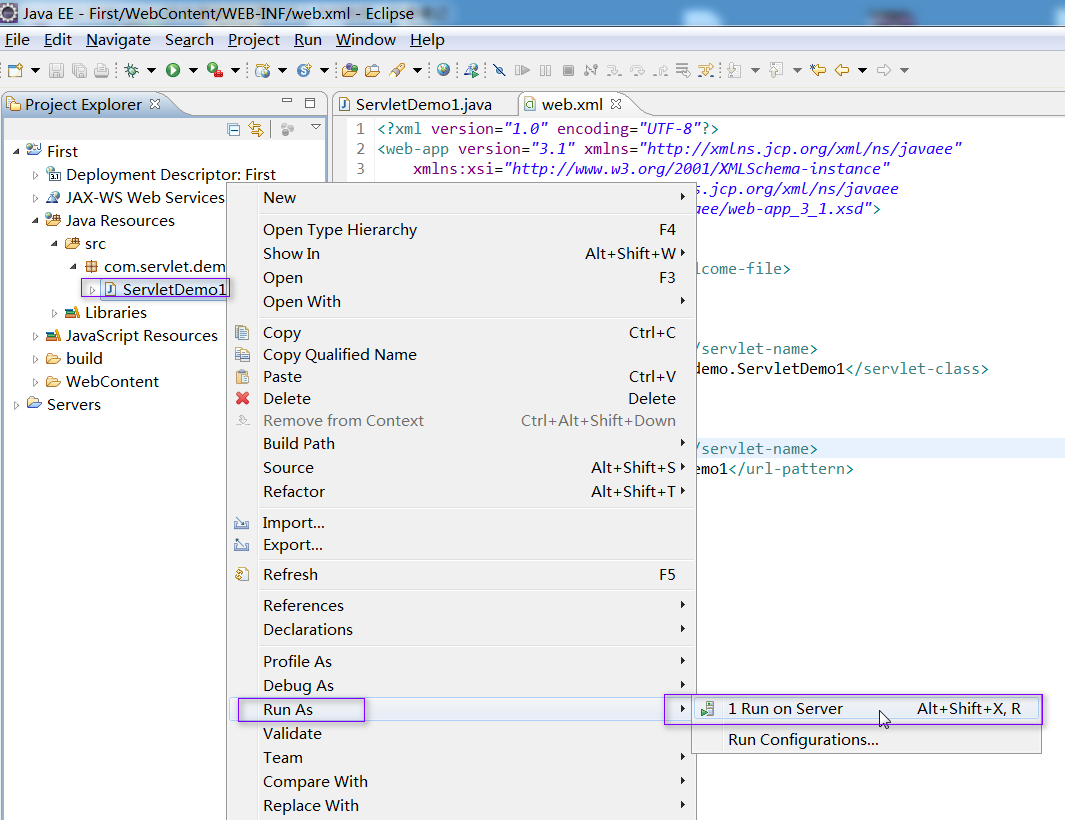
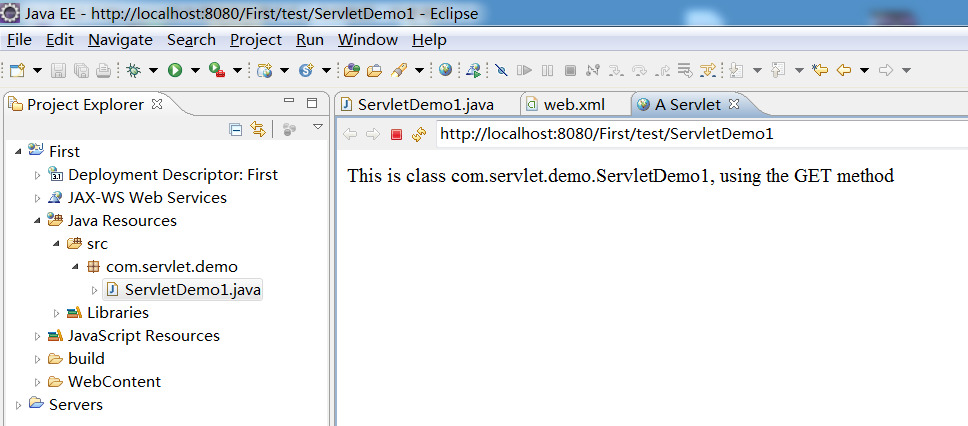
5. 运行servlet
选中“ServletDemo1”--- 右键 --- Run As --- Run on Server
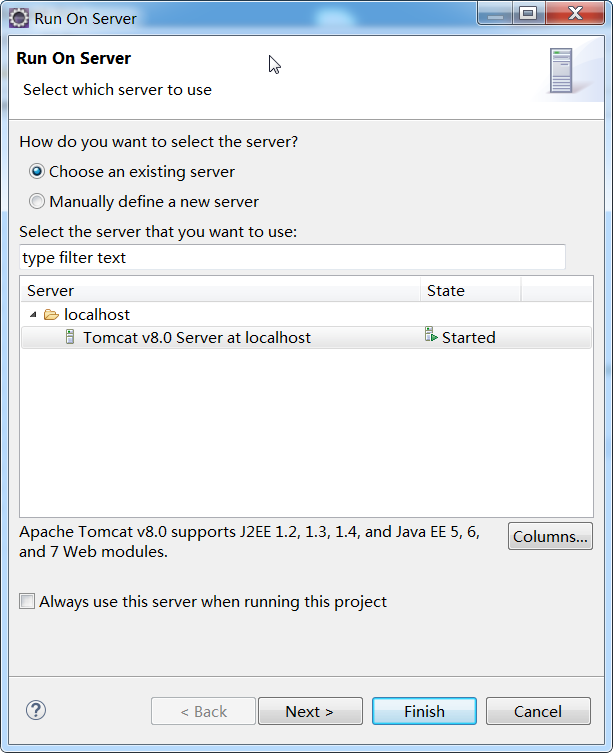
点击“finish”按钮,运行效果如下,成功!
PS:
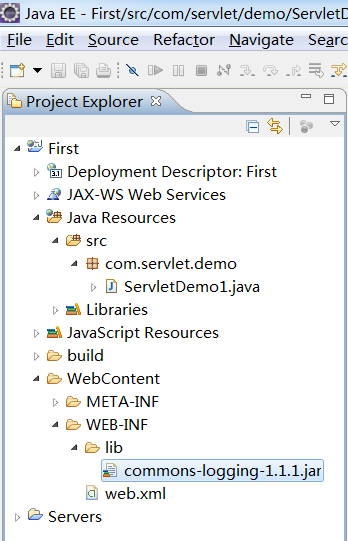
2.打印log方法:
方法一:
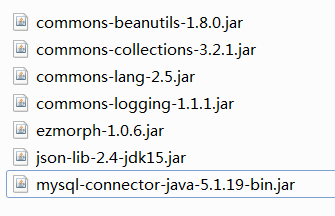
将 commons-logging-1.1.1.jar 拷贝到 libs文件夹:
private static Log log1 = LogFactory.getLog(ServletDemo1.class);
doGet方法内加入:log1.info("!!!!");
方法二:
System.out.println("xxx");
方法三:
getServletContext().log("xxx");
注意:加入log日志后,如果log不生效,clean下工程:

然后在浏览器输入:http://localhost:8080/First/test/ServletDemo1,回车后,可以看到日志输出

 浙公网安备 33010602011771号