LNMP部署
什么是LNMP?
LNMP是常用得web架构,由:linux,nginx,mysql,php组成。
L: ----linux
N:------nginx (处理用户静态请求)
M:------mysql(存储数据)
P: ------php(处理用户动态请求)
LNMP原理:
首先,当用户通过浏览器访问nginx web服务时,如果请求的资源是静态文件,则由nginx解析后返回给用户,
如果请求的资源是动态的(.php结尾),那么需要通过fastcgi转接口发送给后台的PHP应用服务,如果动态资源需要
读取数据库的话,那么接着向后请求数据库,最后由nginx返回给用户。
PS:nginx软件是无法处理动态请求的!!!!
php -----------fsatcgi接口
python -----------uwcgi接口
动态环境部署流程
LNMP环境:Linux nginx mysql(数据库)--- mariadb php
第一个里程:部署数据库服务(nginx已部署好)
yum install -y mariadb mariadb-server
第二个里程:部署php动态解析服务(考察网络环境)
# 解决yum安装软件冲突问题
yum remove php-mysql php php-fpm php-common
rpm -qa|grep php
# 准备yum安装软件扩展源信息
rpm -Uvh https://dl.fedoraproject.org/pub/epel/epel-release-latest-7.noarch.rpm
rpm -Uvh https://mirror.webtatic.com/yum/el7/webtatic-release.rpm
# 利用yum安装PHP相关软件信息
yum install -y php71w php71w-cli php71w-common php71w-devel php71w-embedded php71w-gd php71w-mcrypt php71w-mbstring php71w-pdo php71w-xml php71w-fpm php71w-mysqlnd php71w-opcache php71w-pecl-memcached php71w-pecl-redis php71w-pecl-mongodb
说明:官方网站地址 php.net
· 动态网站部署过程
第一个里程:确保nginx可以将请求代理转发给php服务
vim /etc/nginx/conf.d/www.conf
location ~ \.php$ {
root /html/www; --- 指定默认找寻PHP文件站点目录
fastcgi_index index.php; --- 指定动态服务默认处理请求文件
fastcgi_param SCRIPT_FILENAME $document_root$fastcgi_script_name; --- 详细转发给动态服务请求内容信息
include fastcgi_params; --- 加载fastcgi用到内置变量文件
fastcgi_pass 127.0.0.1:9000; --- 发送动态请求服务对接端口信息
}
$document_root --- 获取站点目录信息
$fastcgi_script_name --- 获取请求资源信息
测试过程:
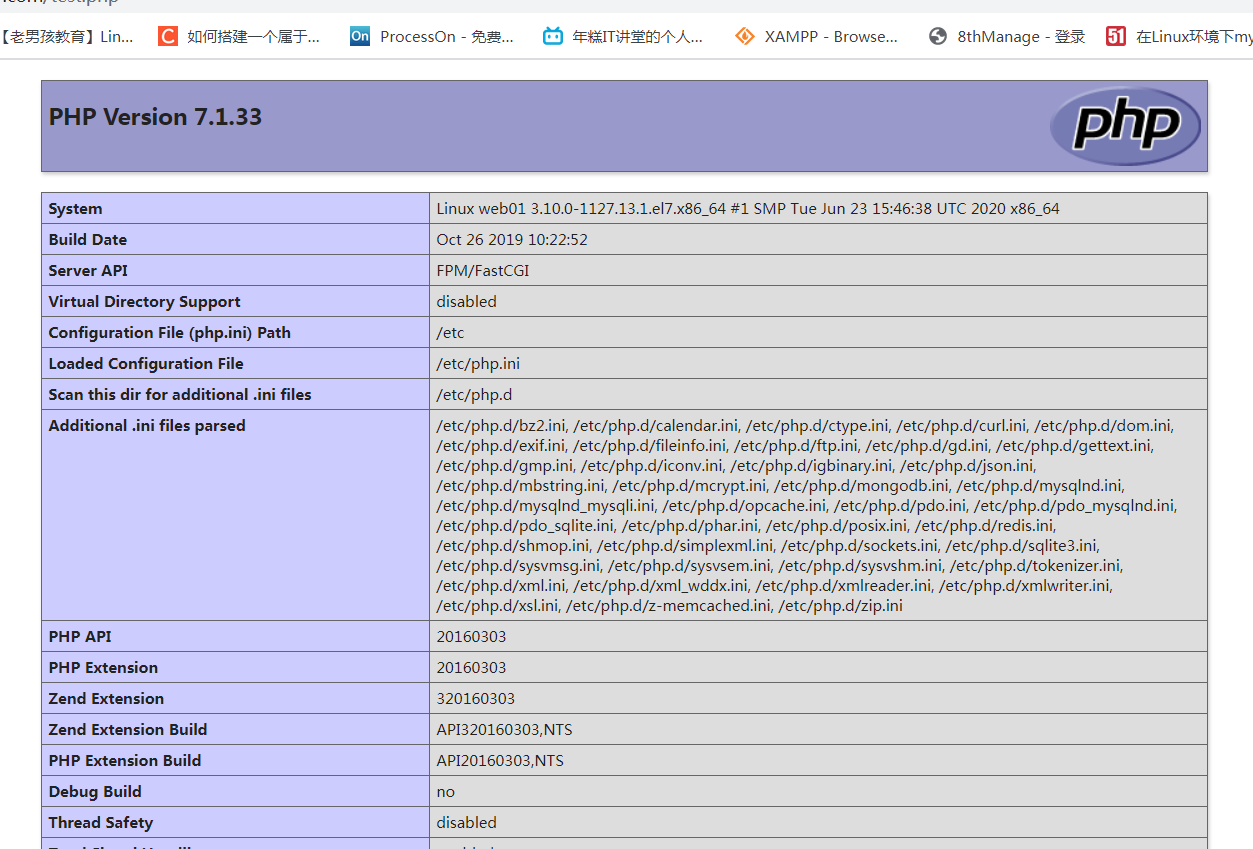
编写php代码
vim test.php
<?php phpinfo(); ?>
systemctl start php-fpm --- 启动php服务
第二个里程:让php服务和数据库建立联系 (通过代码建立)
vim test_mysql.php
<?php
$servername = "localhost";
$username = "root";
$password = "root123";
//$link_id=mysql_connect('主机名','用户','密码');
//mysql -u用户 -p密码 -h 主机
$conn = mysqli_connect($servername, $username, $password);
if ($conn) {
echo "mysql successful by root!\n";
}else{
die("Connection failed: " . mysqli_connect_error());
}
?>
mysqladmin -uroot password "root123" --- 给数据库设置用户登录密码
mysql -uroot -proot123 --- 登录数据库命令
测试php是否和数据库成功建立了联系
[root@web01 www 10:31:47]]# php test_mysql.php
mysql successful by root!
第三个里程:各种网站部署过程
部署网站代码:
www ----dedecms(官方网站)
bbs -----Discuz(论坛网站)
blog ------wordpress(博客网站)
zhihu ------wecenter(社区网站)
edu -------edusoho (视频网站)
blog网站部署过程:
第一个里程:获取网站代码并解压处理
tar xf wordpress-4.9.4-zh_CN.tar.gz
mv wordpress/* /html/blog/
第二个里程:对数据库进行创建与授权
create database wordpress; --- 创建wordpress数据库
grant all on wordpress.* to 'wordpress'@'localhost' identified by 'wordpress123';
检查语句:
select user,host from mysql.user;
select *,host from mysql.user\G;
第三个里程:网站初始过程
在浏览器上访问网站页面进行初始化
确认blog配置信息:
location / {
root /html/blog;
index index.php index.html index.htm;
}
location ~ \.php$ {
root /html/blog;
fastcgi_index index.php;
fastcgi_pass 127.0.0.1:9000;
fastcgi_param SCRIPT_FILENAME $document_root$fastcgi_script_name;
include fastcgi_params;
}
403:
01:网站访问页面被拒绝了 deny指令配置
02:网站没有指定首页文件
在浏览器输入映射地址:blog.goodboy.com
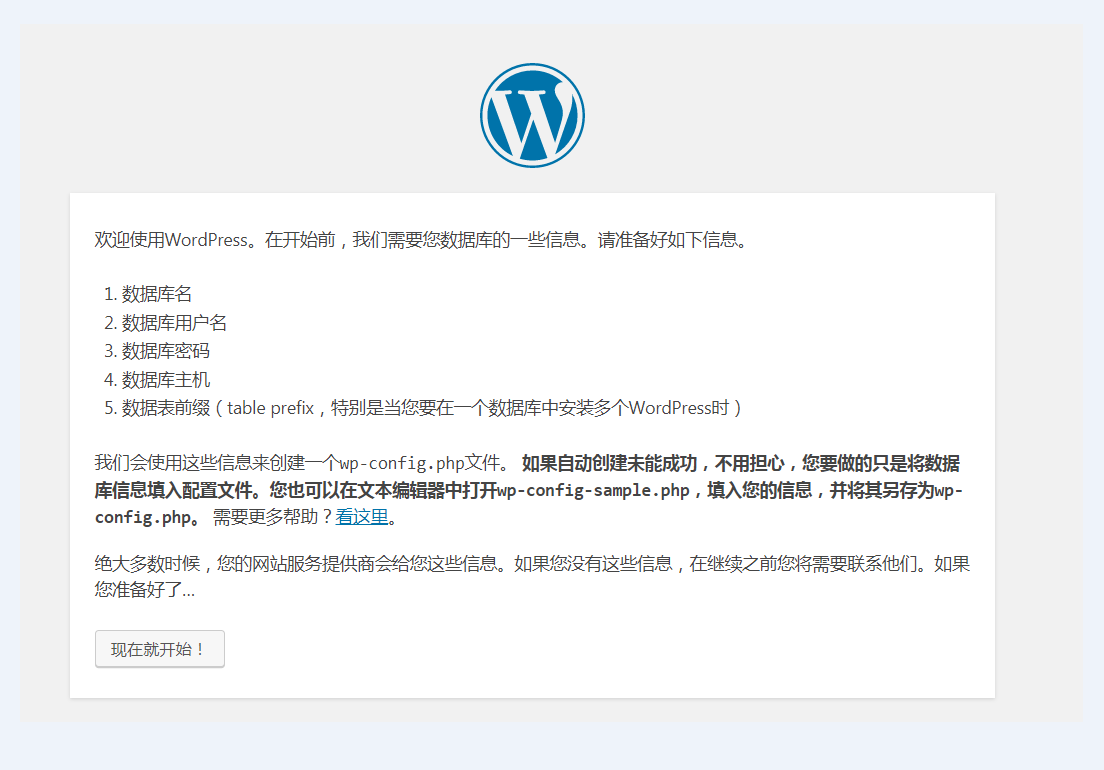


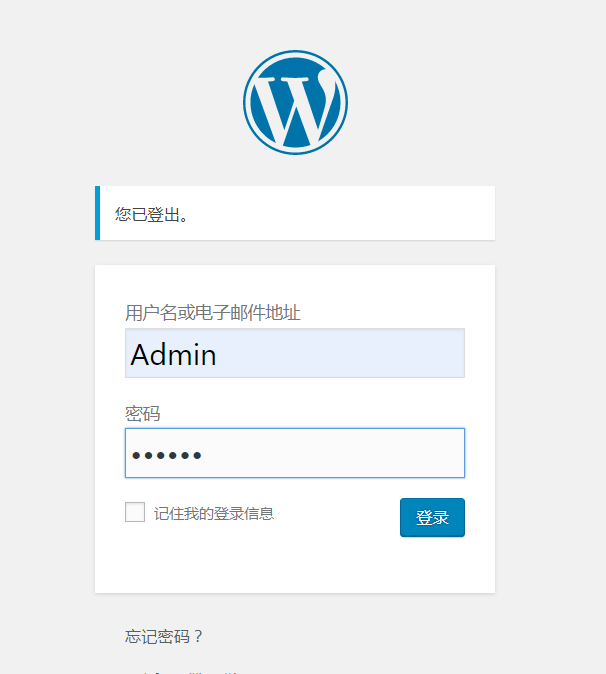
/html/blog/wp-config.php --- 此文件可能需要自己进行创建(连接数据库代码文件) PS:出现这种状况是因为php-fpm进程的属主和属组与nginx的不一致导致
解决方法1:要么手动复制
解决方法2:vim /etc/php-fpm.d/www.conf (将属组和属主改为一致并重启)
zhihu网站部署过程:
第一个里程:获取网站代码并解压处理
unzip WeCenter_3-2-1.zip
mv WeCenter_3-2-1/* /html/zhihu/
chown -R nginx.nginx /html/zhihu/
第二个里程:对数据库进行创建与授权
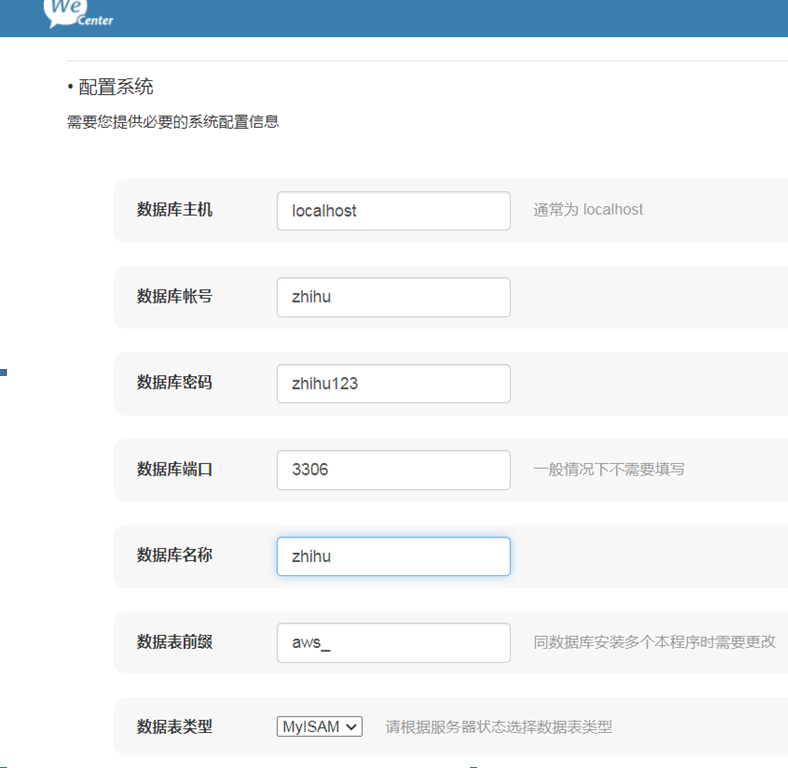
create database zhihu;
grant all on zhihu.* to 'zhihu'@'localhost' identified by 'zhihu123';
第三个里程:网站初始过程
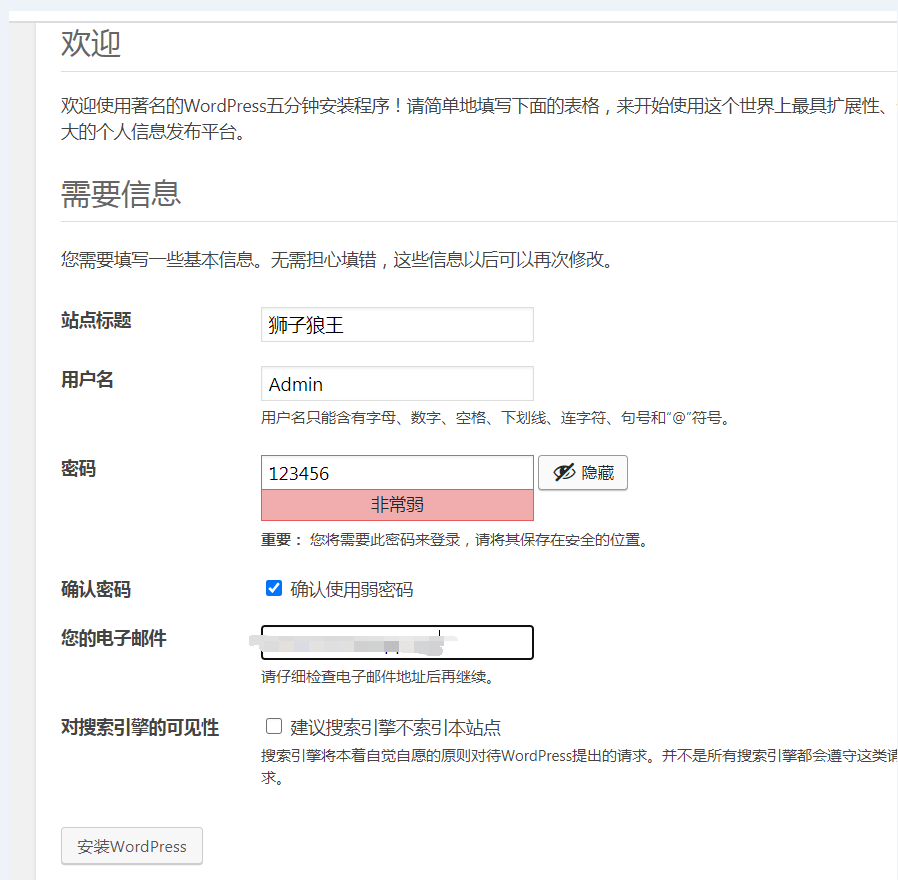
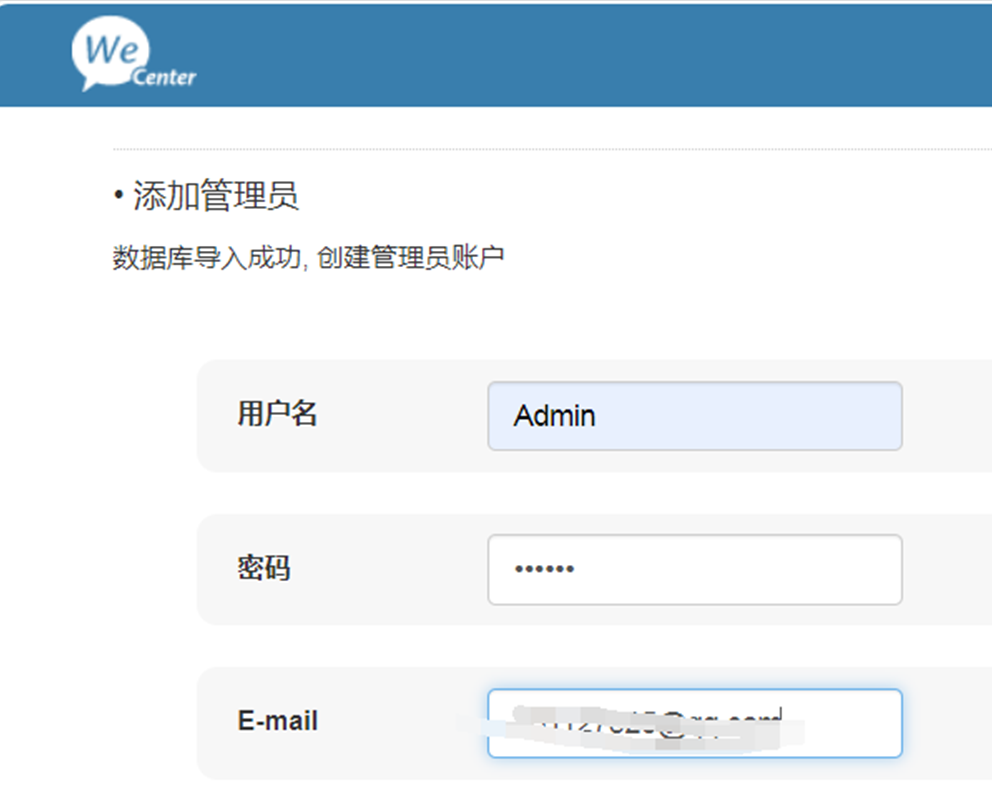
在浏览器上访问网站页面进行初始化
确认zhihu配置信息:
server {
listen 80;
server_name zhihu.goodboy.com;
error_log /var/log/nginx/error_zhihu.log warn;
location / {
root /html/zhihu;
index index.php index.html index.htm;
}
location ~ \.php$ {
root /html/zhihu;
fastcgi_index index.php;
fastcgi_param SCRIPT_FILENAME $document_root$fastcgi_script_name;
include fastcgi_params;
fastcgi_pass 127.0.0.1:9000;
}
}
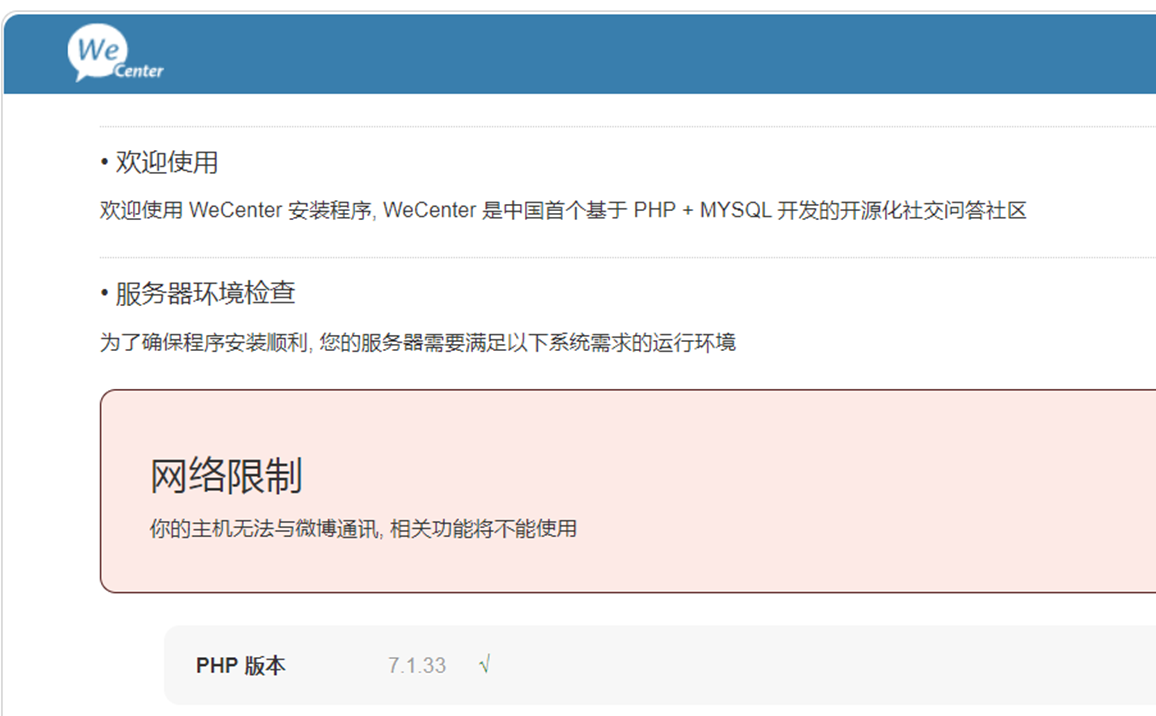
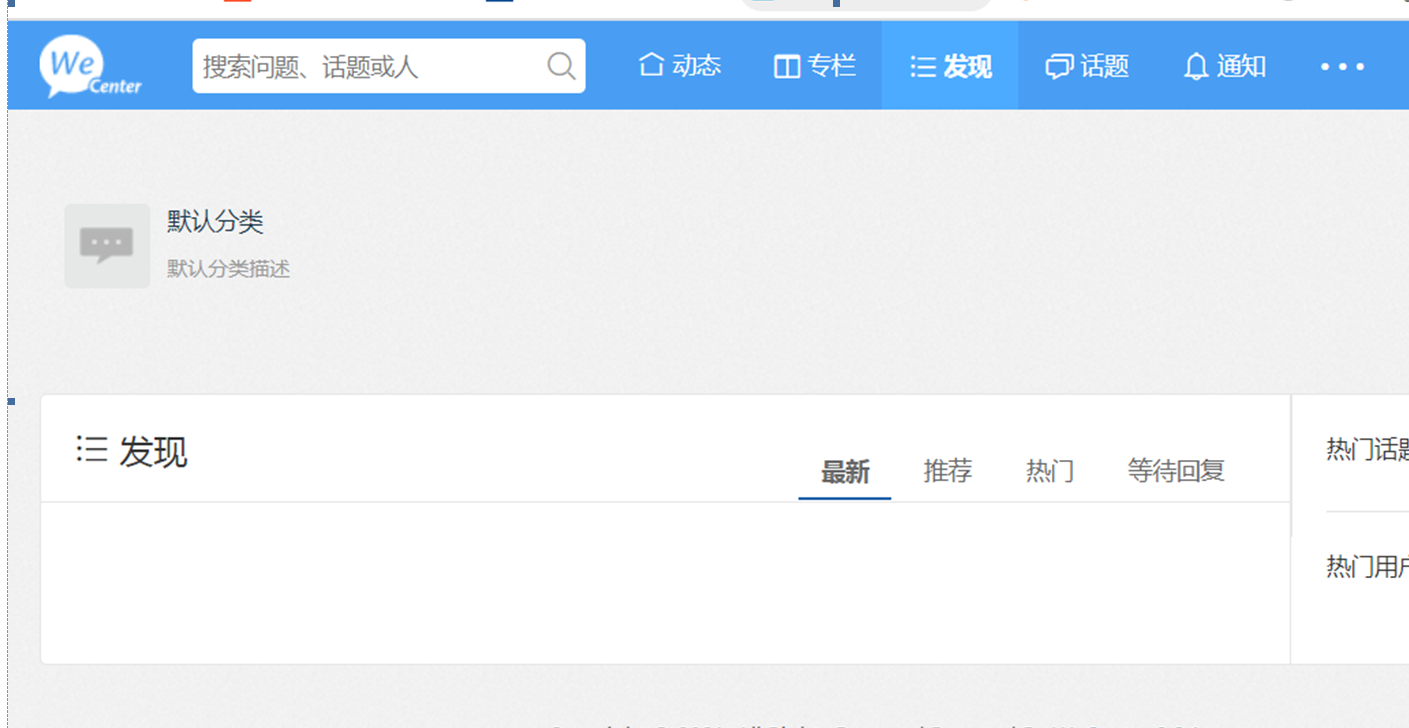
在浏览器输入地址:zhihu.goodboy.com
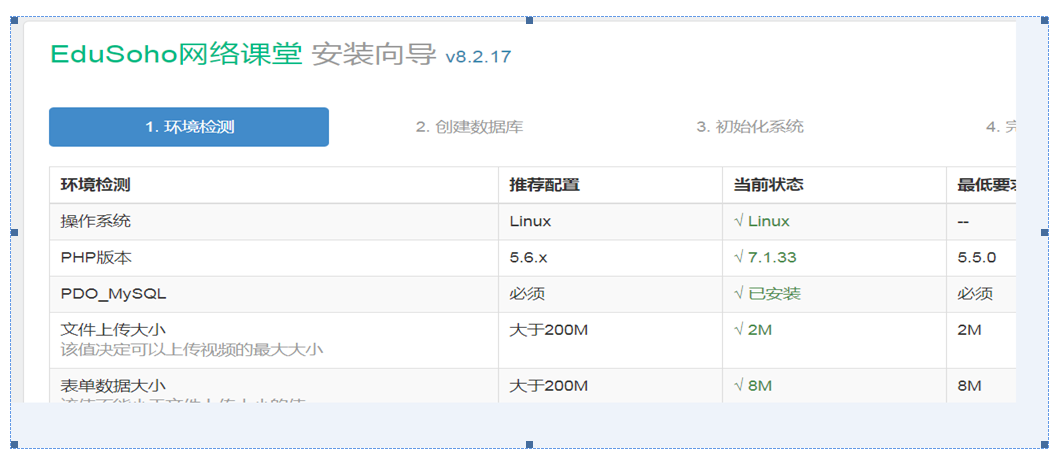
网站部署影响用户访问问题:数据限制上传大小
1)由程序代码进行控制,限制上传大小 网站后台页面调整
2)nginx服务文件上传大小
client_max_body_size 1m;
3)php服务文件上传大小
vim /etc/php.ini
post_max_size = 200M
upload_max_filesize = 200M
edu网站部署过程:
第一个里程:获取网站代码并解压处理
tar xf edusoho-8.2.17.tar.gz
mv edusoho /html/
chown -R nginx.nginx /html/edu/
第二个里程:对数据库进行创建与授权
create database edu;
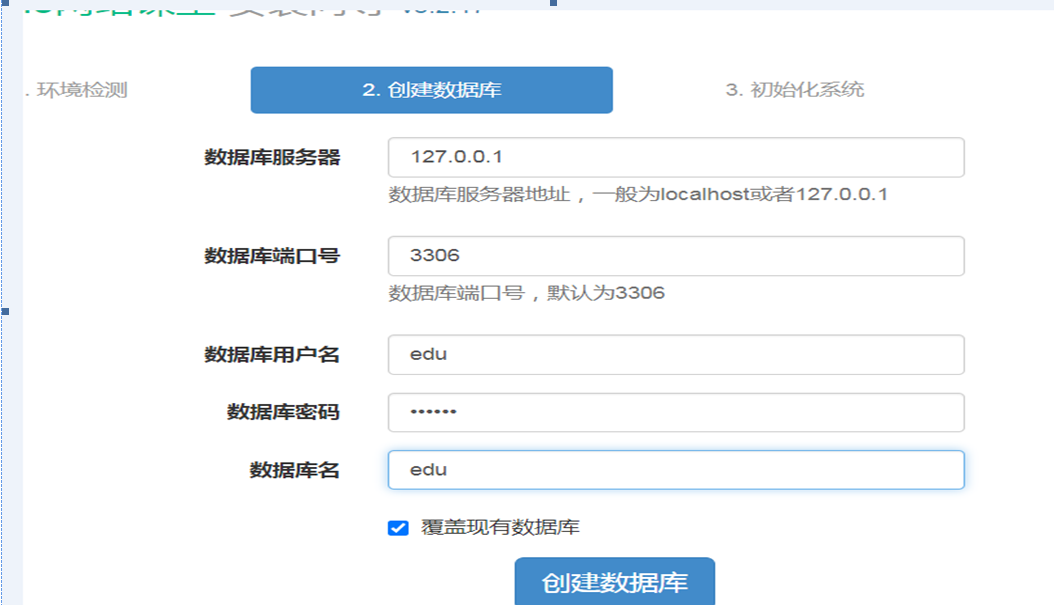
grant all on edu.* to 'edu'@'localhost' identified by 'edu123';
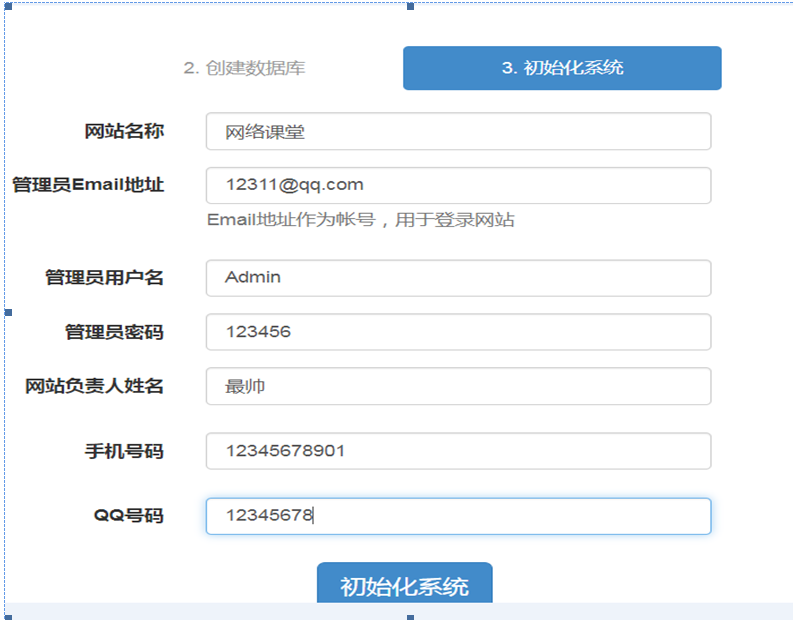
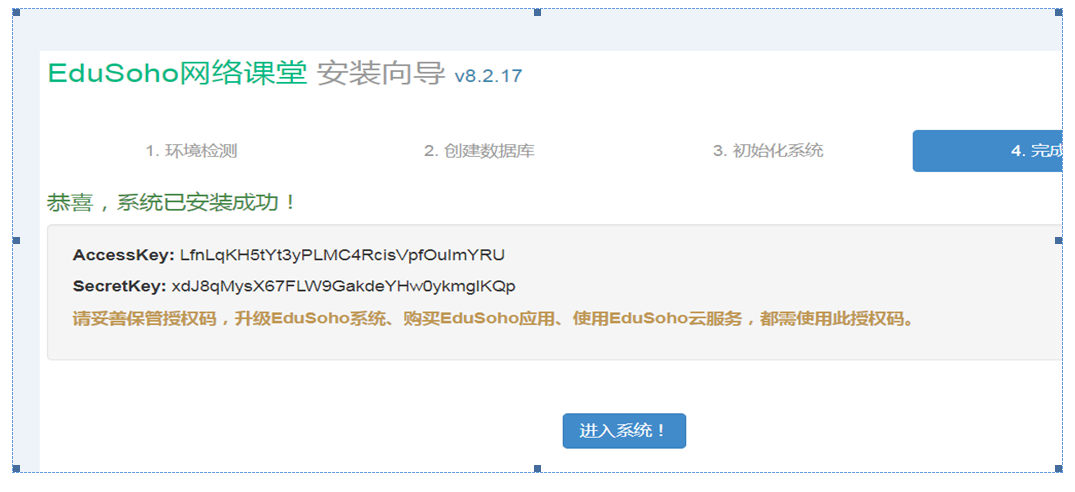
第三个里程:网站页面初始化
· edu网站配置文件编写
server {
listen 80;
server_name edu.goodboy.com;
root /html/edu/web;
client_max_body_size 200m;
location / {
index app.php;
try_files $uri @rewriteapp;
}
location @rewriteapp {
rewrite ^(.*)$ /app.php/$1 last;
}
location ~ ^/udisk {
internal;
root /html/edu/app/data/;
}
location ~ ^/(app|app_dev)\.php(/|$) {
fastcgi_pass 127.0.0.1:9000;
fastcgi_split_path_info ^(.+\.php)(/.*)$;
include fastcgi_params;
fastcgi_param SCRIPT_FILENAME $document_root$fastcgi_script_name;
fastcgi_param HTTPS off;
fastcgi_param HTTP_X-Sendfile-Type X-Accel-Redirect;
fastcgi_param HTTP_X-Accel-Mapping /udisk=/html/edusoho/app/data/udisk;
fastcgi_buffer_size 128k;
fastcgi_buffers 8 128k;
}
# 配置设置图片格式文件
location ~* \.(jpg|jpeg|gif|png|ico|swf)$ {
# 过期时间为3年
expires 3y;
# 关闭日志记录
access_log off;
# 关闭gzip压缩,减少CPU消耗,因为图片的压缩率不高。
gzip off;
}
# 配置css/js文件
location ~* \.(css|js)$ {
access_log off;
expires 3y;
}
# 禁止用户上传目录下所有.php文件的访问,提高安全性
location ~ ^/files/.*\.(php|php5)$ {
deny all;
}
# 以下配置允许运行.php的程序,方便于其他第三方系统的集成。
location ~ \.php$ {
fastcgi_pass 127.0.0.1:9000;
fastcgi_split_path_info ^(.+\.php)(/.*)$;
include fastcgi_params;
fastcgi_param SCRIPT_FILENAME $document_root$fastcgi_script_name;
fastcgi_param HTTPS off;
}
}
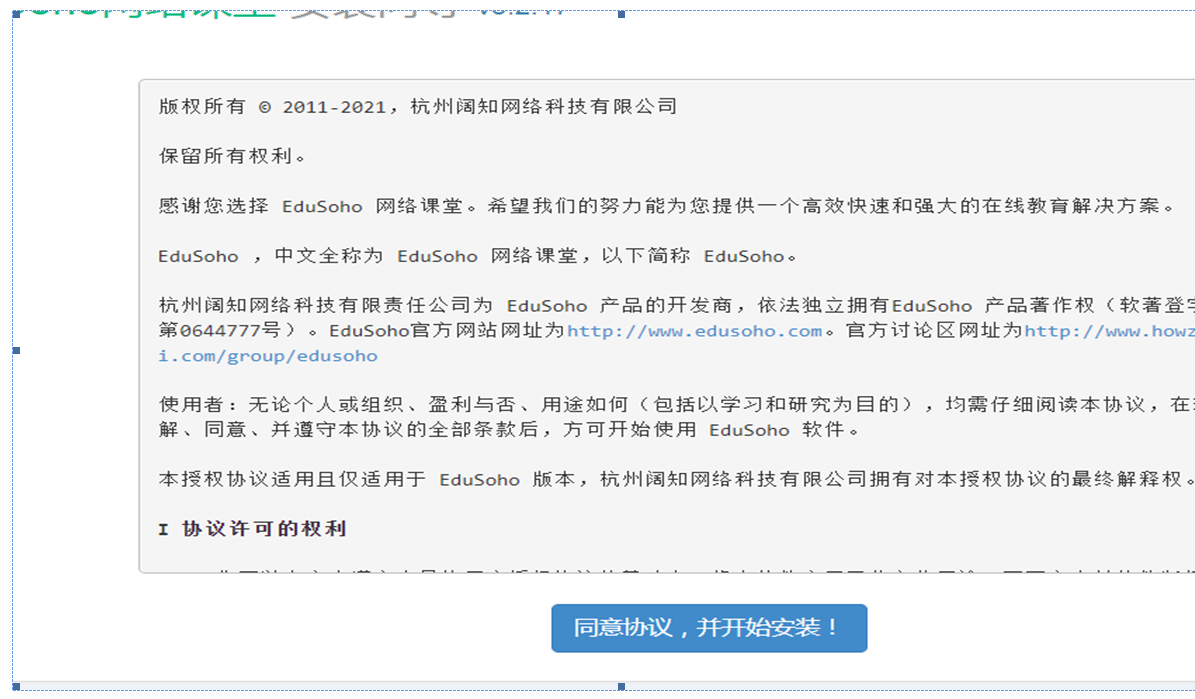
输入地址:edu.goodboy.com
LNMP环境:Linux nginx mysql(数据库)--- mariadb python
python环境准备:*****
第一个里程:安装依赖软件程序
yum install -y python-pip python-devel mysql-devel
第二个里程:升级系统默认python程序
升级部署过程:
wget https://www.python.org/ftp/python/3.6.5/Python-3.6.5.tgz
tar xf Python-3.6.5.tgz
mv BBS/* /html/
mkdir /usr/local/python3
yum install -y gcc
cd Python-3.6.5
./configure --prefix=/usr/local/python3
make && make install
补充调整过程
rm /usr/bin/python
ln -s /usr/local/python3/bin/python3 /usr/bin/python
ln -s /usr/local/python3/bin/pip3 /usr/bin/pip3
ln -s /usr/local/python3/bin/uwsgi /usr/bin/uwsgi
vim /usr/bin/yum
#!/usr/bin/python 改变为 /usr/bin/python2.7.5
ln -s /usr/bin/python2 /usr/bin/python2.7.5
python网站部署过程:
第一个里程:获取python网站代码进行解压
tar xf BBS.tar.gz
第二个里程:需要下载python代码所需软件
pip3 install -r requirement.txt
问题:所需python软件包无法安装
mkdir ~/.pip
vim ~/.pip/pip.con
[global]
index-url = https://mirrors.aliyun.com/pypi/simple/
[install]
trusted-host=mirrors.aliyun.com
第三个里程:下载uwsgi服务程序
pip3 install uwsgi
第四个里程:编写uwsgi配置文件并启动服务程序
# cat uwsgi.ini
[uwsgi]
master = true
uid = root
gid = root
chdir = /html/BBS/ --- 指定代码存储目录
#harakiri = 60
#vacuum = true
processes = 3
#chmod-socket = 664
#max-requests = 5000
socket = 127.0.0.1:8000 --- 通过nginx进行访问python代码
#http = 0.0.0.0:80
pidfile = /tmp/BBS.pid
daemonize = /html/BBS/logs/BBS.log
wsgi-file = BBS/wsgi.py
uwsgi --ini /html/BBS/BBS/uwsgi.ini --- 启动服务程序
pkill uwsgi
第五个里程:创建数据库并导入数据信息
cat setting.py
DATABASES = {
'default': {
'ENGINE': 'django.db.backends.mysql',
'NAME': 'bbs', 数据库名称
'HOST': "127.0.0.1", 本地建立连接
'USER': 'root', 连接数据库用户
'PASSWORD': 'root123', 数据库密码
'PORT': 3306,
}
}
数据库中进行操作:
CREATE DATABASE bbs DEFAULT CHARACTER SET utf8 COLLATE utf8_general_ci;
use bbs;
source /html/BBS/bbs.sql;
第六个里程:配置nginx文件并重启
vim /etc/nginx/conf.d/python.conf
server {
listen 80;
server_name python.goodboy.com;
location / {
uwsgi_pass 127.0.0.1:8000;
include uwsgi_params;
}
location /static {
alias /html/BBS/BBS/static;
}
}
第七个里程:访问网站页面进行确认检查
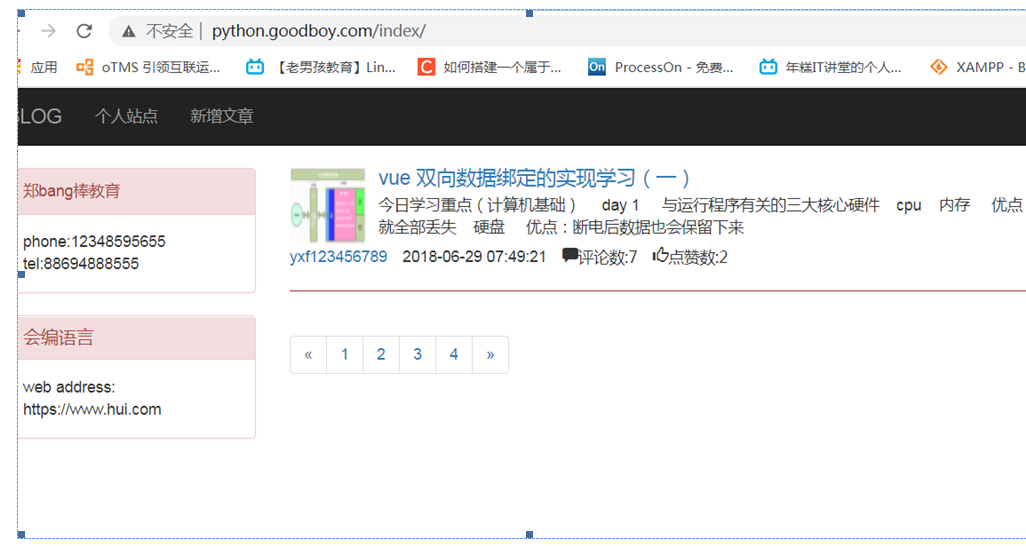
http://python.goodoldboy.com/index/
