使用IDEA创建SpringBoot自定义注解
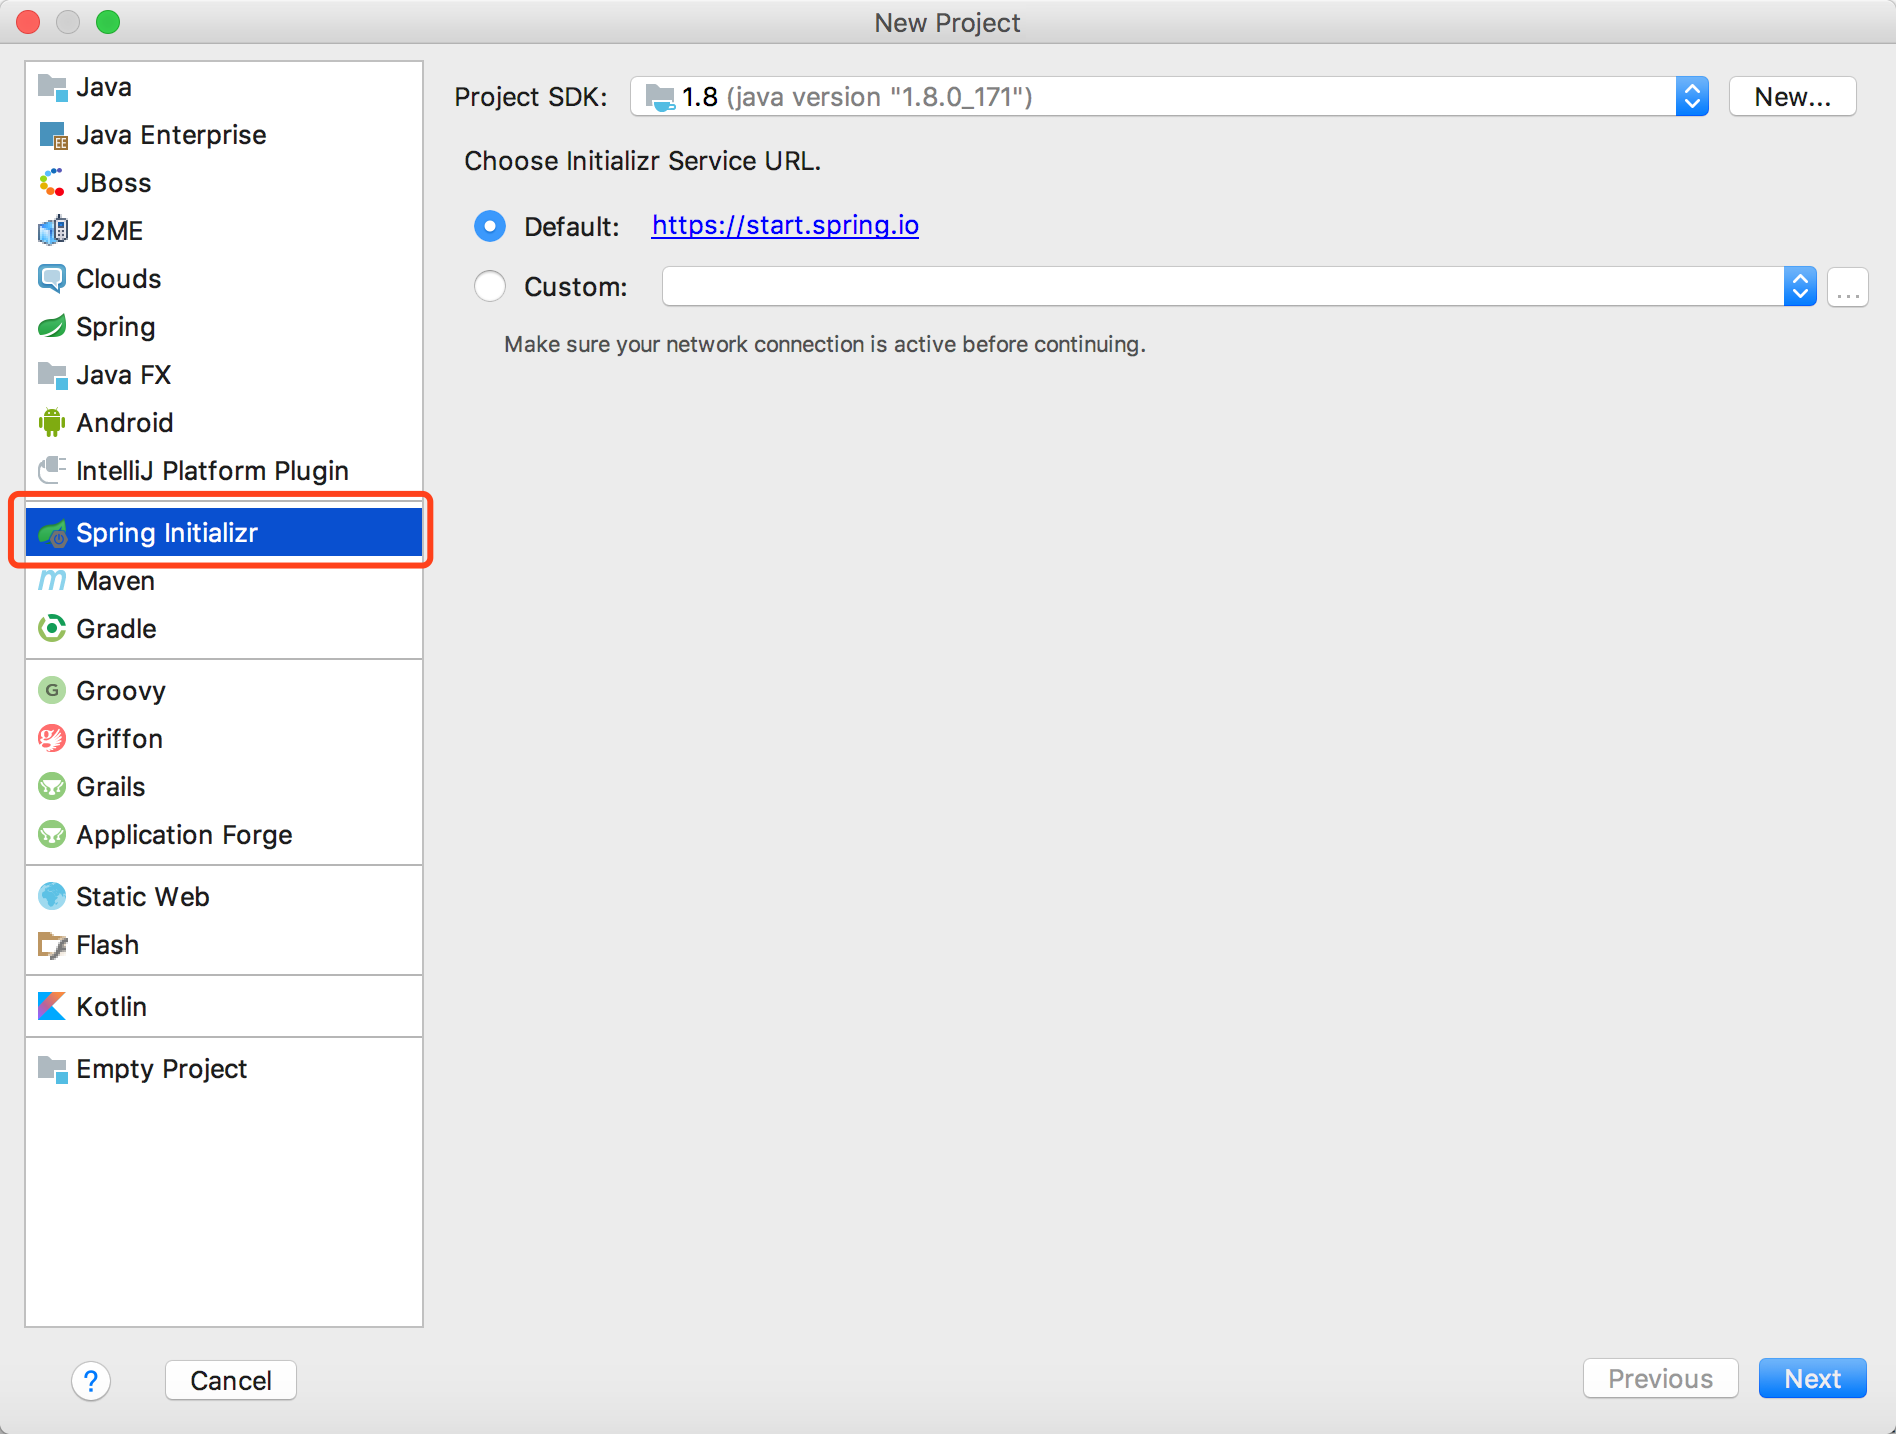
创建SpringBoot项目

添加组织名

选择web

输入项目名称

创建后目录结构为

使用Spring的AOP先加入Maven依赖
<dependency>
	<groupId>org.springframework.boot</groupId>
	<artifactId>spring-boot-starter-aop</artifactId>
</dependency>
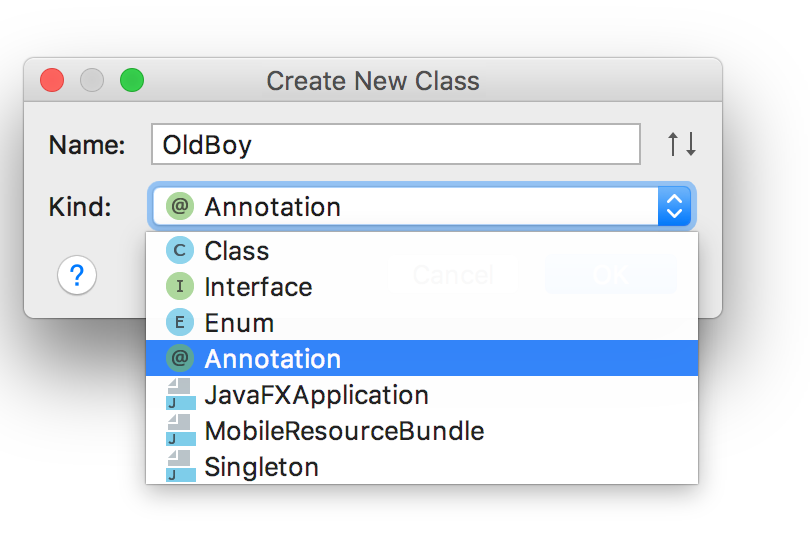
这里先创建一个自己定义的注解
加入自定义注解需要的注释

@Documented //注解表明制作javadoc时,是否将注解信息加入文档。如果注解在声明时使用了@Documented,则在制作javadoc时注解信息会加入javadoc。
@Target(ElementType.TYPE) //接口、类、枚举、注解
@Target(ElementType.FIELD) //字段、枚举的常量
@Target(ElementType.METHOD) //方法
@Target(ElementType.PARAMETER) //方法参数
@Target(ElementType.CONSTRUCTOR) //构造函数
@Target(ElementType.LOCAL_VARIABLE)//局部变量
@Target(ElementType.ANNOTATION_TYPE)//注解
@Target(ElementType.PACKAGE) ///包
@Retention(RetentionPolicy.SOURCE) —— 这种类型的Annotations只在源代码级别保留,编译时就会被忽略
@Retention(RetentionPolicy.CLASS) —— 这种类型的Annotations编译时被保留,在class文件中存在,但JVM将会忽略
@Retention(RetentionPolicy.RUNTIME) —— 这种类型的Annotations将被JVM保留,所以他们能在运行时被JVM或其他使用反射机制的代码所读取和使用.
package vip.oldboy;

import java.lang.annotation.*;

/**
 * Created by peng on 18/6/29.
 */
@Documented
@Retention(RetentionPolicy.RUNTIME)
@Target(ElementType.METHOD)
public @interface OldBoy {

}
AOP配置

@Service用于标注业务层组件
@Controller用于标注控制层组件(如struts中的action)
@Repository用于标注数据访问组件,即DAO组件
@Component泛指组件,当组件不好归类的时候,我们可以使用这个注解进行标注。
@Aspect//切面
@Pointcut//定义需要切面的地方,表达式参数(https://blog.csdn.net/elim168/article/details/78150438)
@annotation//当执行的方法上拥有指定的注解时生效。
@After
@Before
@Around
就不用解释了。
package vip.oldboy;

import org.aspectj.lang.JoinPoint;
import org.aspectj.lang.ProceedingJoinPoint;
import org.aspectj.lang.annotation.*;
import org.springframework.stereotype.Component;

/**
 * Created by peng on 18/6/29.
 */
@Component
@Aspect
public class OldBoyAspect {

    @Pointcut("@annotation(vip.oldboy.OldBoy)")
    private void oldboy() { }

    /**
     * 定制一个环绕通知
     * @param joinPoint
     */
    @Around("oldboy()")
    public void advice(ProceedingJoinPoint joinPoint) throws Throwable {
        System.out.println("Around Begin");
        joinPoint.proceed();//执行到这里开始走进来的方法体(必须声明)
        System.out.println("Around End");
    }

    //当想获得注解里面的属性,可以直接注入改注解
    //方法可以带参数,可以同时设置多个方法用&&
    @Before("oldboy()")
    public void record(JoinPoint joinPoint) {
        System.out.println("Before");
    }

    @After("oldboy()")
    public void after() {
        System.out.println("After");
    }
}
ProceedingJoinPoint和JoinPoint说明
AspectJ使用org.aspectj.lang.JoinPoint接口表示目标类连接点对象,如果是环绕增强时,使用org.aspectj.lang.ProceedingJoinPoint表示连接点对象,该类是JoinPoint的子接口。任何一个增强方法都可以通过将第一个入参声明为JoinPoint访问到连接点上下文的信息。我们先来了解一下这两个接口的主要方法:
1.JoinPoint
java.lang.Object[] getArgs():获取连接点方法运行时的入参列表;
Signature getSignature() :获取连接点的方法签名对象;
java.lang.Object getTarget() :获取连接点所在的目标对象;
java.lang.Object getThis() :获取代理对象本身;
2.ProceedingJoinPoint
ProceedingJoinPoint继承JoinPoint子接口,它新增了两个用于执行连接点方法的方法:
java.lang.Object proceed() throws java.lang.Throwable:通过反射执行目标对象的连接点处的方法;
java.lang.Object proceed(java.lang.Object[] args) throws java.lang.Throwable:通过反射执行目标对象连接点处的方法,不过使用新的入参替换原来的入参。
控制层

package vip.oldboy;

import org.springframework.web.bind.annotation.RequestMapping;
import org.springframework.web.bind.annotation.RestController;

/**
 * Created by peng on 18/6/29.
 */
@RestController
public class OldBoyController {
    @OldBoy
    @RequestMapping("/oldboy")
    public void getLog(){
        System.out.println("oldboy is coming");
    }
}
最后项目结构

启动项目,访问地址localhost:8080/oldboy

总结
Around最先执行
然后在执行proceed方法之前,Before先执行
然后才是方法体本身
然后是Around再结尾
最后才是After


