How to update XENTRY Connect C5 software with .iso file
07.2018 Xentry Mercedes SD Connect c5 software update manual for newbies:
Important:
If you have XDOS 2018.3 or 2017.9 not working well, you should update it to version 2018.7
If you have XDOS 2018.5 works good, it’s not necessary to update to 2018.7
You should have:
Xentry_Kit_09_2017.iso(copy to the folder: iodd 2541 _ISO)
U disk with a Windows machine
IODD 2541
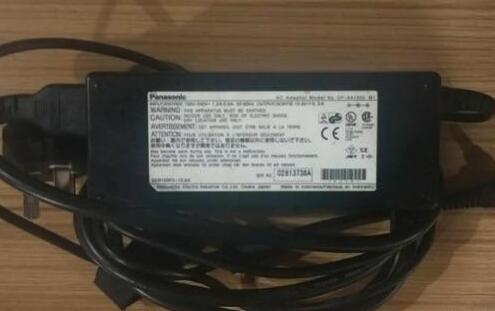
Panasonic power adapter
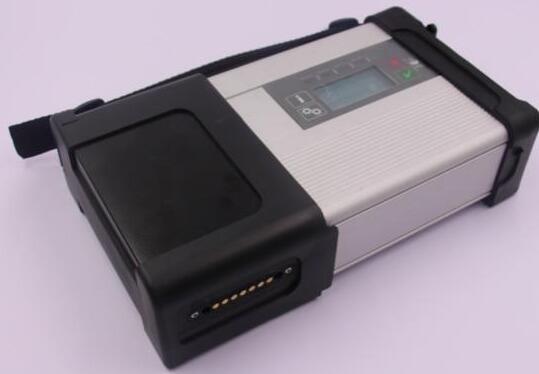
C5 mux in a standby mode
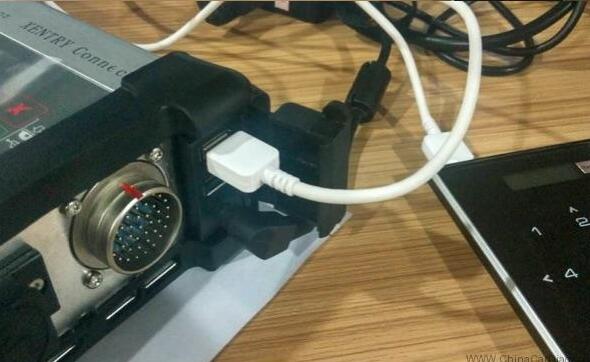
connect the Panasonic power adapter to Xentry C5
insert IODD 2541 into the USB port on C5
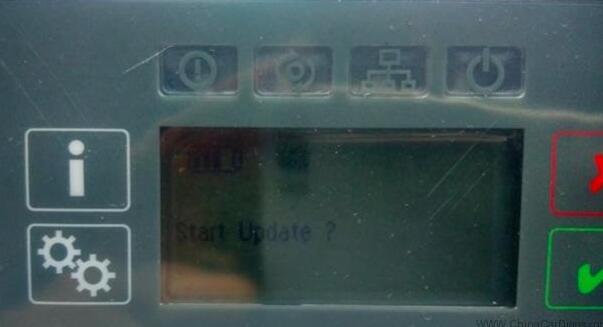
in a standby mode, press “X” and “√” at the same time, then it will pop up Start Update?”
(if not, it will pop up “Start XENTRY Connect?”. then, when the prompt disappears, it will display “Start Update?”)
When you see “Start Update?”, press “√” and C5 will go into the update mode and IODD 2541 will light up
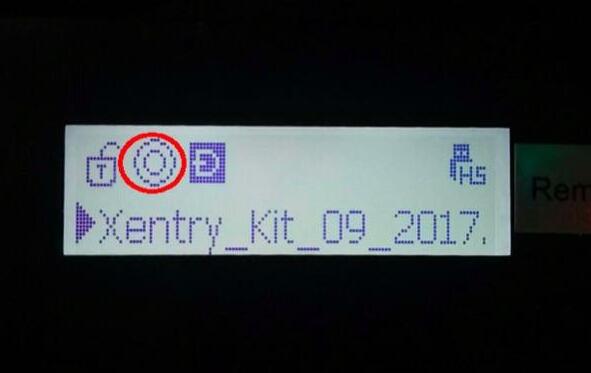
Press button “5” on IODD 2541 as soon as possible. then, the cross “X” will turn a circle “O”
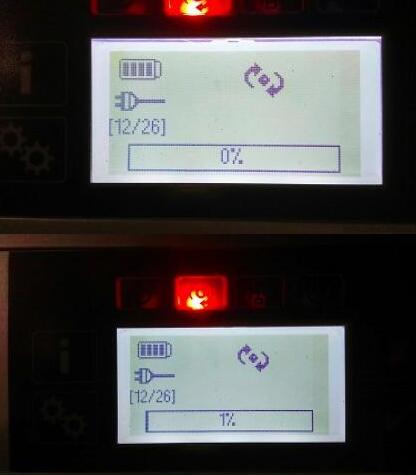
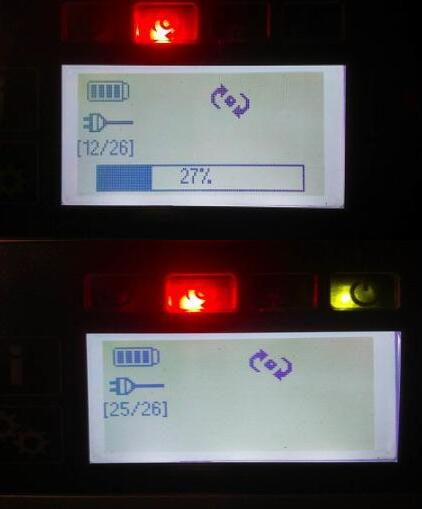
It will take 50-55 minutes to finish the whole XDOS installation
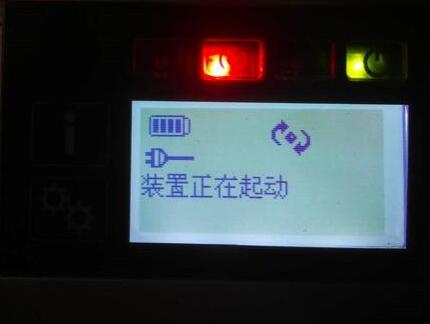
The system restarts after installation completes
If your system fail to start, turn off C5 mux and restart again
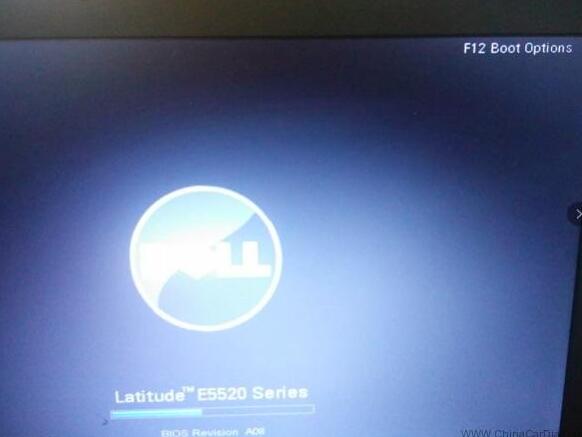
When C5 starts, take out the hard disk on C5 and install it into the laptop (here: Dell 55220)
Before it, pls install the Windows machine on the U disk
Press F12 when you see the pop-up “F12 Boot Options”
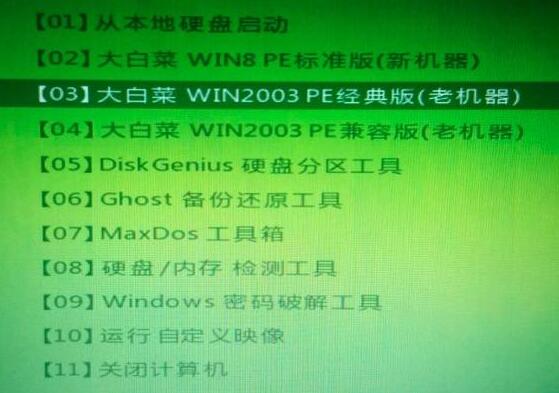
Select USB Storage Device and press “Enter”
Pop up the interface, and select [03]
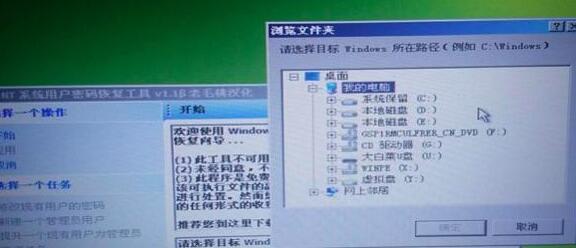
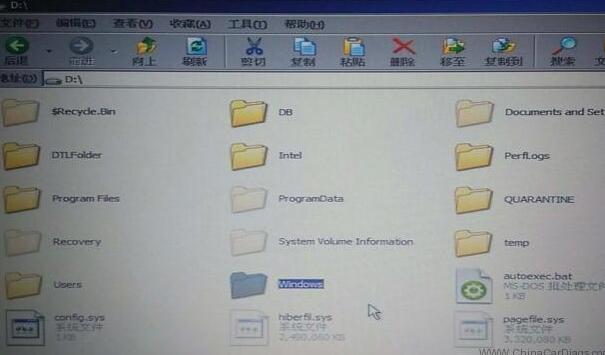
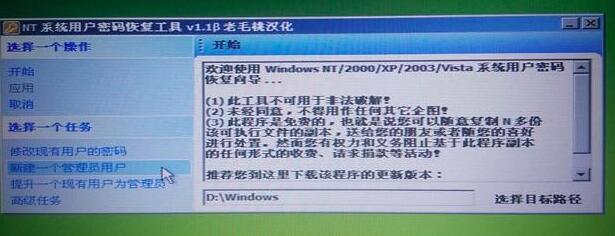
Go to the PE system and create an user account
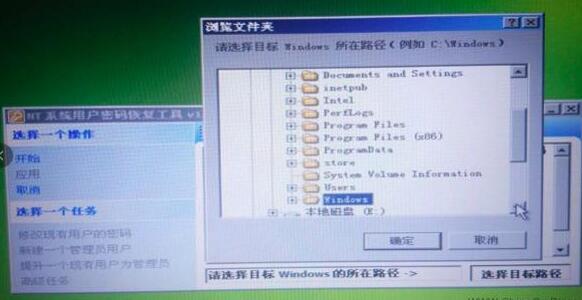
Note that Windows should be located in disk D:
After path selection, right click on “Create a new admin account” on the left
User name: C5, Password: abc12345678
(You can have any user name and password you want)
Click on Ok
Close the application
Turn off the laptop
Take out the disk off the laptop and install it into C5 multiplexer
Done!
http://cheapobd2tool.com/2018/07/27/how-to-update-xentry-connect-c5-software-with-iso-file/








 浙公网安备 33010602011771号