
Nacos集成Spring Cloud Gateway使用第三章:nacos配置中心
目录:
第一章:Nacos集成Spring Cloud Gateway使用第一章:理解解释
第二章: Nacos集成Spring Cloud Gateway使用第二章,上手demo
第一章为对nacos与springcloud gateway进行解释
第二章为 Nacos集成Spring Cloud Gateway的配置demo实现服务间的相互调用
本章:添加nacos为配置中心
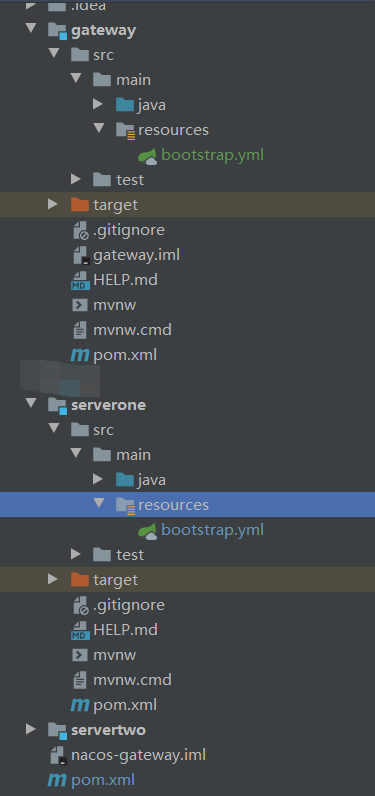
根据第二章的demo稍微改了一下
给父类的pom添加config
<!-- nacos-config
             通过 Nacos Server 和 spring-cloud-starter-alibaba-nacos-config 实现配置的动态变更
             注意:版本 2.1.x.RELEASE 对应的是 Spring Boot 2.1.x 版本。版本 2.0.x.RELEASE 对应的是 Spring Boot 2.0.x 版本,版本 1.5.x.RELEASE 对应的是 Spring Boot 1.5.x 版本。
         -->
        <dependency>
            <groupId>com.alibaba.cloud</groupId>
            <artifactId>spring-cloud-starter-alibaba-nacos-config</artifactId>
            <version>2.1.2.RELEASE</version>
        </dependency>
然后修改gateway服务的配置文件
注意:在bootstrap.yml(一定是bootstrap.yml文件,不是application.yml文件)
相比上一章 新增了spring.cloud.nacos.config 与 spring.profiles.active
server:
  port: 13008
spring:
  application:
    name: gateway
  profiles:
    active: dev
  cloud:
    nacos:
      discovery:
        server-addr: nacos的地址换成自己的
        ip: 127.0.0.1
        group: gatewaynacos
        namespace: demo
      config:
        server-addr: nacos的地址换成自己的
        #配置内容的数据格式
        file-extension: yaml
        namespace: demo
        enabled: true
配置了nacos配置中心的地址,与配置中心的扩展格式为yaml,和环境
nacos的DATA ID的格式为:
${prefix}-${spring.profile.active}.${file-extension}
解释:
- prefix: 默认为spring.application.name,当然也可以自己单独的配置 在spring.cloud.nacos.config.prefix进行配置也是ok的
- spring.profile.active:表示为当前环境,当然也可以不配置。不配置话就是
${prefix}.${file-extension} 这个样子的 - file-extension:这个就是配置内容的数据格式了 我这里指定的是yaml格式
然后打开nacos 把你需要的东西放进去。我这里目前演示的是gateway网关的配置。我就把第二章配置的网关放进去
我这里新建好了 新建成这样的。
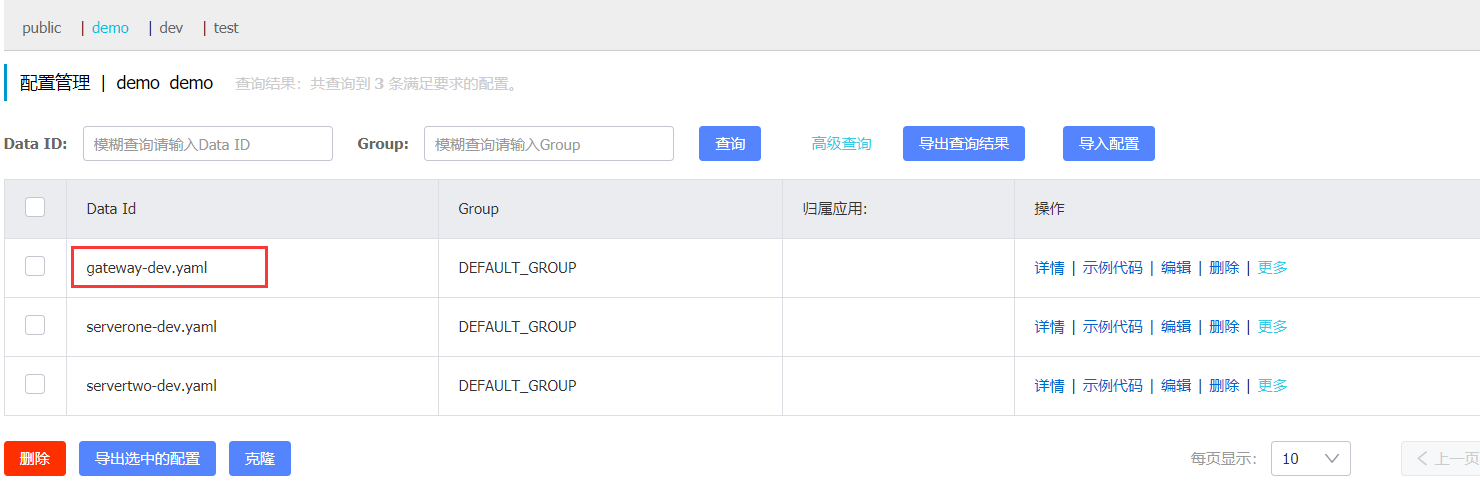
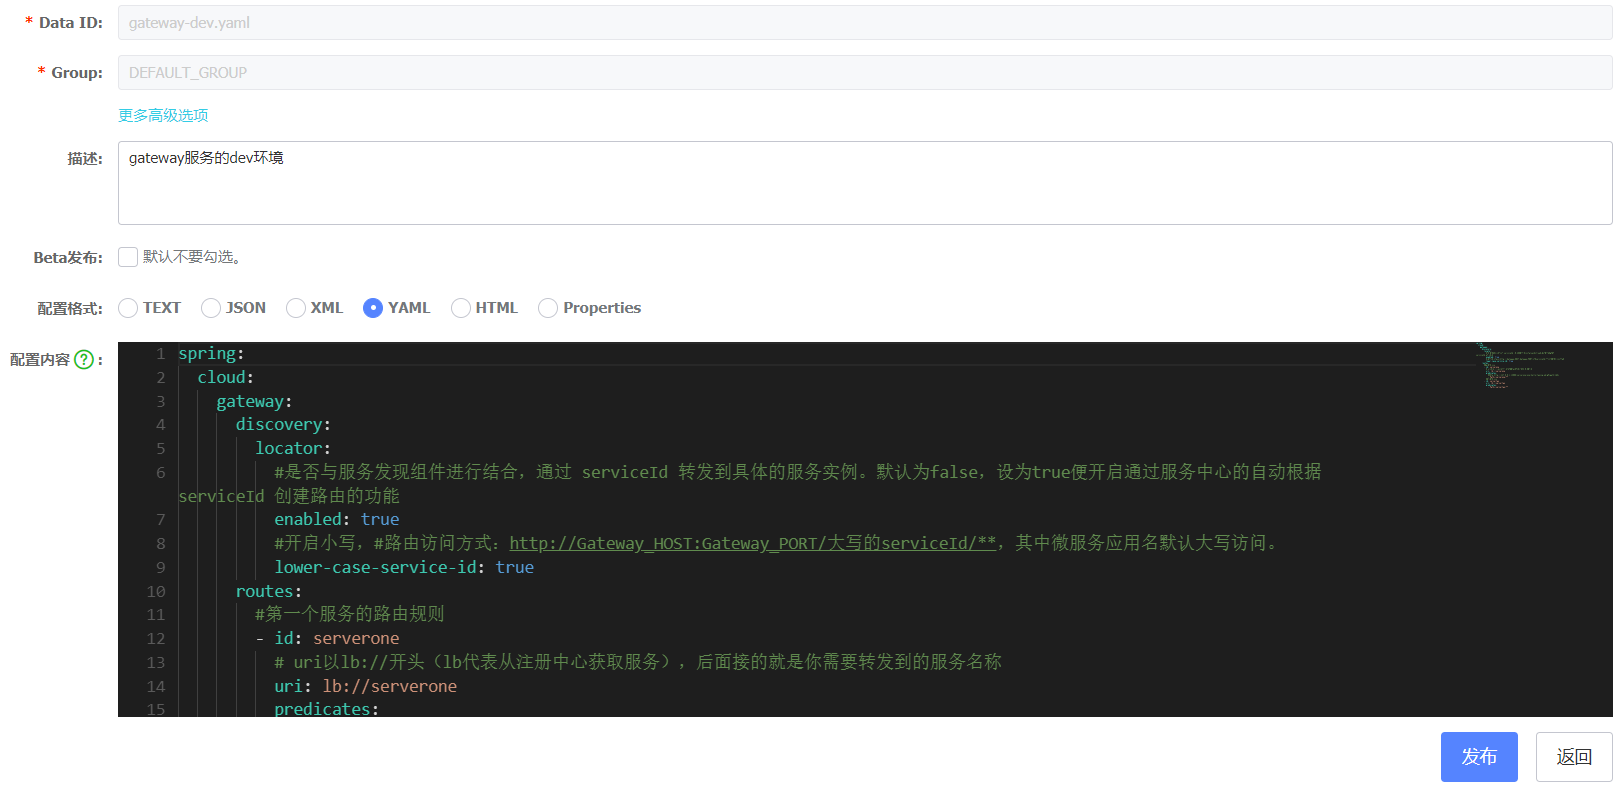
然后发布保存。到这里基本的改动也就差不多了
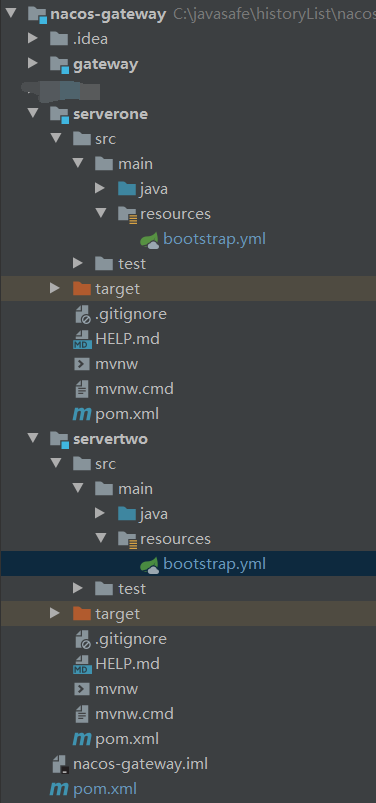
为了演示效果。我先把其他两个服务的配置也改动一下
serverone的配置文件,servertwo同理 我就不发了
server:
  port: 9088
spring:
  application:
    name: serverone
  profiles:
    active: dev
  cloud:
    nacos:
      discovery:
        server-addr: 你的nacos的服务地址
        ip: 127.0.0.1
        group: gatewaynacos
        namespace: demo
      config:
        server-addr: 你的nacos的服务地址
        #配置内容的数据格式
        file-extension: yaml
        namespace: demo
        enabled: true
现在给serverone的controller添加注释。@RefreshScope
package com.demo.serverone;

import org.springframework.beans.factory.annotation.Autowired;
import org.springframework.beans.factory.annotation.Value;
import org.springframework.cloud.context.config.annotation.RefreshScope;
import org.springframework.web.bind.annotation.GetMapping;
import org.springframework.web.bind.annotation.RequestMapping;
import org.springframework.web.bind.annotation.RestController;

@RestController
@RequestMapping(value = "one")
@RefreshScope
public class OneHelloController {

    @Value("${username}")
    private String username;

    @GetMapping("/config")
    public String testConfig(){
        return this.username;
    }
}
@RefreshScope:可以实现配置的热加载
然后我在nacos上新建一个serverone-dev.yaml,之后保存发布
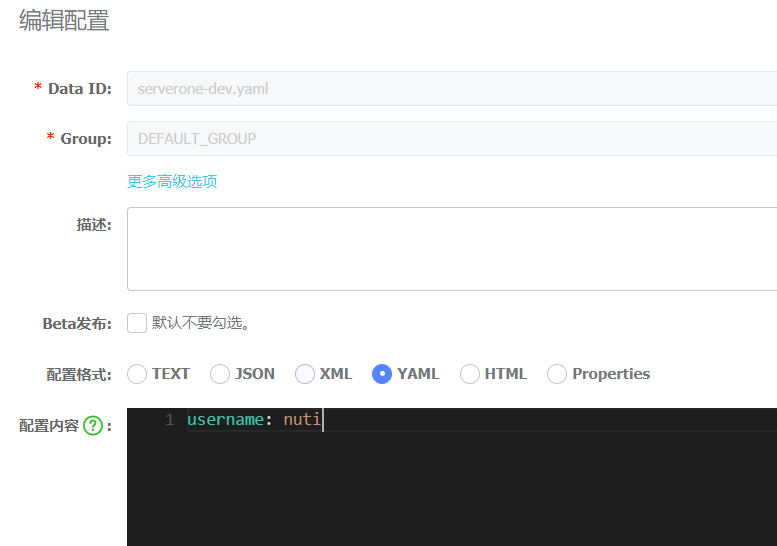
好了 serverone 服务我也改好了,现在看一下效果。

ok 完成
gateway的配置文件迁移到nacos 和 serverone里面的配置文件也都能读取到。服务的调用也是ok的

 浙公网安备 33010602011771号