Elasticsearch第一章: 安装elasticsearch和kibana
前提: es使用java编写,安装es需要jdk环境,没有的话自己先装一个,建议直接安装1.8版本
下文使用两种方式安装es(推荐docker方便了很多)
一.安装es
1.1 下载tar包的方式启动
下载tar包直接解压后台启动(但是这样的直接启动是有问题的.后面慢慢解答)
curl -L -O https://artifacts.elastic.co/downloads/elasticsearch/elasticsearch-7.9.1-linux-x86_64.tar.gz
tar -xzvf elasticsearch-7.9.1-linux-x86_64.tar.gz
cd elasticsearch-7.9.1
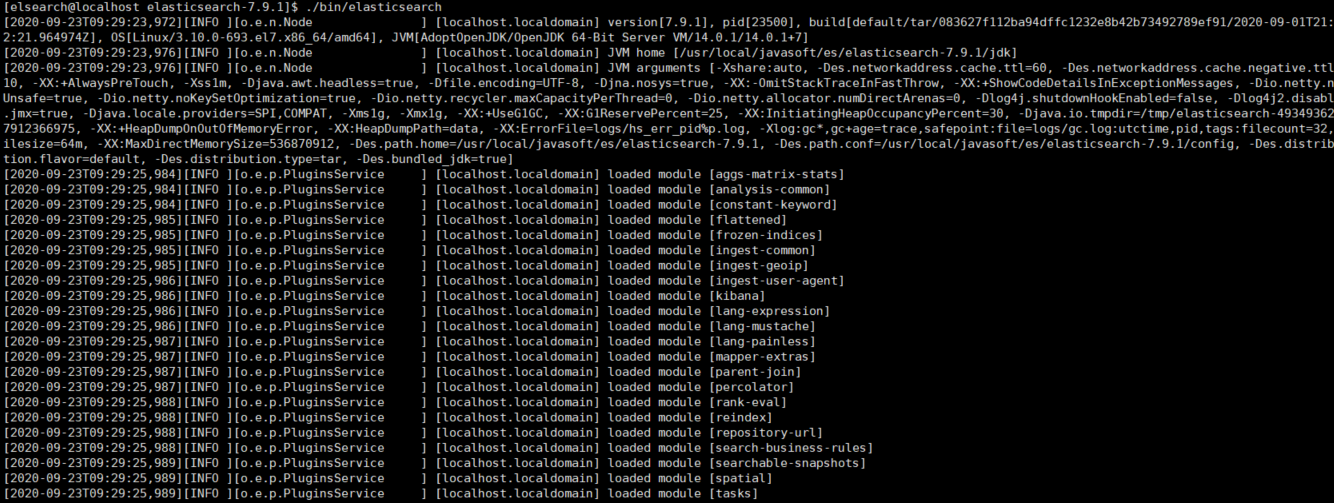
./bin/elasticsearch &

提示报错。root无法启动
解决方法:
创建elsearch用户组及elsearch用户
groupadd elsearch
useradd elsearch -g elsearch
passwd elsearch
更改elasticsearch文件夹及内部文件的所属用户及组为elsearch:elsearch
cd /usr/local/es
chown -R elsearch:elsearch  elasticsearch-7.9.1
切换到elsearch用户,切换到elsearch目录下,再启动
su elsearch
cd /elsearch
./bin/elasticsearch &
然后就是ok了
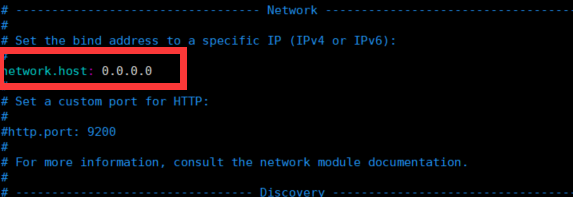
 修改配置支持外网访问 切换到es的conf目录下 修改
cd config/
vim elasticsearch.yml

network.host: 0.0.0.0
ERROR: [3] bootstrap checks failed
[1]: max file descriptors [4096] for elasticsearch process is too low, increase to at least [65535]
[2]: max virtual memory areas vm.max_map_count [65530] is too low, increase to at least [262144]
[3]: the default discovery settings are unsuitable for production use; at least one of [discovery.seed_hosts, discovery.seed_providers, cluster.initial_master_nodes] must be configured
ERROR: Elasticsearch did not exit normally - check the logs at /usr/local/javasoft/es/elasticsearch-7.9.1/logs/elasticsearch.log
报错3个,我们就拆分问题一个个解决
1.第一个问题:
max file descriptors [4096] for elasticsearch process is too low, increase to at least [65535]
原因:最大文件打开数量太小,出现此错误,切换到root用户下,修改limits.conf
vim /etc/security/limits.conf
* soft nofile 65536
* hard nofile 65536
2.第二个问题
max virtual memory areas vm.max_map_count [65530] is too low, increase to at least [262144]
原因:max_map_count这个参数就是允许一个进程在VMAs(虚拟内存区域)拥有最大数量,VMA是一个连续的虚拟地址空间,当进程创建一个内存映像文件时VMA的地址空间就会增加,当达到max_map_count了就是返回out of memory errors。
出现这个问题,我们需要切换到root用户下,修改配置sysctl.conf
vi /etc/sysctl.conf
vm.max_map_count=655360
修改完成后执行命令
sysctl -p
3.第三个问题
the default discovery settings are unsuitable for production use; at least one of [discovery.seed_hosts, discovery.seed_providers, cluster.initial_master_nodes] must be configured
ERROR: Elasticsearch did not exit normally - check the logs at /usr/local/javasoft/es/elasticsearch-7.9.1/logs/elasticsearch.log
在elasticsearch的config目录下,修改elasticsearch.yml配置文件,将下面的配置加入到该配置文件中
ip替换host1等,多节点请添加多个ip地址,单节点可写按默认来 #配置以下三者,最少其一
#[discovery.seed_hosts, discovery.seed_providers, cluster.initial_master_nodes]
cluster.initial_master_nodes: ["node-1"] #这里的node-1为node-name配置的值
这样。就可以启动es了
拉取镜像。(镜像版本自己换成自己需要的)
docker pull docker.elastic.co/elasticsearch/elasticsearch:6.4.2
创建网络 使es和kibana能够互相通信
docker network create esnet
docker run --name es6.4.2 -p 9200:9200 -p 9300:9300 --network esnet -e "discovery.type=single-node" -d e47ebd7ec3ee
解释:--name: 自定义命名
-p:映射内外端口
--network 网络名,用于多个服务通信与隔离,例如用kibana连接elasticsearch就需要他们在同一个网络下
-d 后台启动
-e 指定容器内的环境变量 discovery.type=single-node 单例模式、单节点模式最后的e47ebd7ec3ee为容器id,自己更换为自己的。容器名字也可以
到这里就安装好了
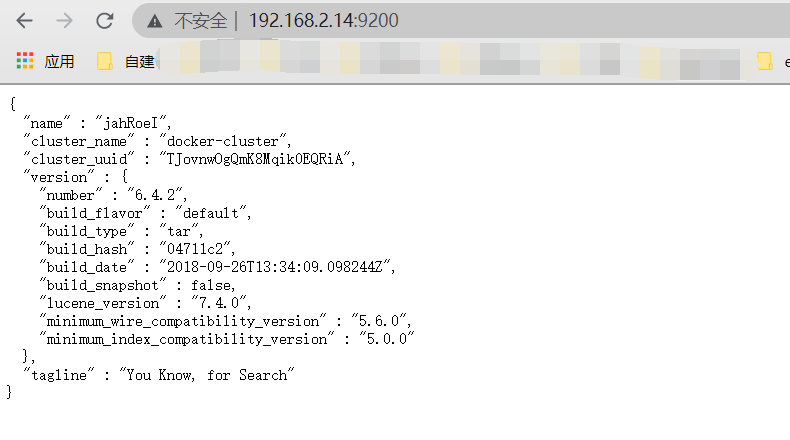
你可以按照你安装主机的ip+9200端口就可以访问了

二.安装kibana
1.下载tar包解压启动
curl -L -O https://artifacts.elastic.co/downloads/kibana/kibana-7.9.1-linux-x86_64.tar.gz
tar xzvf kibana-7.9.1-linux-x86_64.tar.gz
cd kibana-7.9.1-linux-x86_64/
nohup ./bin/kibana &
要是在root上启动还是不能启动的。把刚才的elsearch 账号再添加一个kibana的权限
chown -R elsearch:elsearch kibana-7.9.1-linux-x86_64
但是即使这样外网还是无法访问的,因为他只能localhost ,这里需要修改conf 里面的kibana.yml
修改或者添加一条属性server.host: "0.0.0.0"
ok 外网可以访问了
2.docker的方式进行启动
docker pull kibana:6.4.2
docker run --name kinaba6.4.2 -p 5601:5601 --network esnet -e ELASTICSEARCH_URL=http://192.168.2.17:9200 -d f64d082f5f08
解释:
指定名称kinaba6.4.2 映射内外端口5601 指定刚才创建的网络 指定es的url地址 并且后台启动
ok完成 后续 自己服务器的ip+5601端口 就可以访问了


