java跨越请求实例
使用Access-Control-Allow-Origin解决跨域
什么是跨域
当两个域具有相同的协议(如http), 相同的端口(如80),相同的host(如www.google.com),那么我们就可以认为它们是相同的域(协议,域名,端口都必须相同)。
跨域就指着协议,域名,端口不一致,出于安全考虑,跨域的资源之间是无法交互的(例如一般情况跨域的JavaScript无法交互,当然有很多解决跨域的方案)
Spring 提供了三种方式:
CorsFilter过滤器<mvc:cors>Bean@CrossOrigin注解
这三种方式,本质上都是用来配置 CorsConfiguration。
11.1 CorsFilter
首先,依赖 CorsFilter 创建自己的过滤器:
public class MyCorsFilter extends CorsFilter {
    public MyCorsFilter() {
        super(configurationSource());
    }

    private static UrlBasedCorsConfigurationSource configurationSource() {
        UrlBasedCorsConfigurationSource source = new UrlBasedCorsConfigurationSource();

        CorsConfiguration config = new CorsConfiguration();
        config.setAllowedOrigins(Collections.singletonList("http://domain.com"));
        config.setAllowCredentials(true);

        CorsConfiguration config2 = new CorsConfiguration();
        config2.setAllowedOrigins(Collections.singletonList("http://domain.com"));
        config2.setAllowCredentials(true);

        source.registerCorsConfiguration("/**", config);
        source.registerCorsConfiguration("/xxx", config2);

        return source;
    }
}
然后,将其注册为一个过滤器即可。
11.2 <mvc:cors>
<mvc:cors>
  <mvc:mapping path="/xxx"
               allowed-origins="http://localhost:7070"
               allowed-methods="GET, POST"
               allowed-headers="Accept-Charset, Accept, Content-Type"
               allow-credentials="true" />
  <mvc:mapping path="/yyy/*"
               allowed-origins="*"
               allowed-methods="*"
               allowed-headers="*" />
</mvc:cors>
11.3 @CrossOrigin
// 将跨域设置在类上,那么所有的 mapping 都会使用这个策略
// 如果不加参数,那么将会使用配置中的默认参数
@CrossOrigin
public class CORSController {
    public String cors(@RequestParam(defaultValue = "callback") String callback, HttpServletResponse response) {
        // 最原始的方式,手动写请求头
        response.setHeader("Access-Control-Allow-Origin", "http://192.168.163.1:8081");
        return callback + "('hello')";
    }


    // 将跨域设置在方法上
    @RequestMapping("/cors")
    @CrossOrigin(origins = {"http://localhost:8080", "http://remotehost:82323"},
                 methods = {RequestMethod.GET, RequestMethod.POST},
                 allowedHeaders = {"Content-Type", "skfjksdjfk"},
                 allowCredentials = "true",
                 maxAge = 1898978
                 )
    @RequestMapping("/rrr")
    public String rrr(@RequestParam(defaultValue = "callback") String callback) {
        return callback + "('rrr')";
    }
}
不使用注解模式:
package com.nf147.manage.controller;
import org.springframework.web.bind.annotation.RequestMapping;
import org.springframework.web.bind.annotation.RequestParam;
import org.springframework.web.bind.annotation.RestController;

import javax.servlet.http.HttpServletResponse;

@RestController
public class CorsConstroller {

    @RequestMapping("/cors")
    public String cors (@RequestParam(defaultValue = "callback") String callback, HttpServletResponse response) {
     //使用Access-Control-Allow-Origin解决跨请求
      response.setHeader("Access-Control-Allow-Origin", "http://169.---236.45:8080"); 注意这里要和本地服务器的url一致
      return callback + "('hello')";
    }
}
请求页面:
<!DOCTYPE html>
<html>
<head>
    <meta charset="utf-8">
    <script src="https://cdn.bootcss.com/jquery/3.2.1/jquery.js"></script>
</head>
<body>
<button onclick="fasong()">发送</button>
</body>

<script>

    const url = 'http://localhost:9999';


    function fasong () {
        fetch(url + "/cors", {
            method: 'get',
        }).then(resp => resp.text())
            .then(console.log);
    }

    function fasong232() {
        $.ajax({
            method: 'get',
            url: url + "/cors",
            dataType: 'jsonp',
            jsonpCallback: 'hehehe',
            jsonp: 'xxxxxxxxxxxxxxxxxxxxxxx'
        }).done((data) => {
            console.log(3333333333333333, data);
        }).fail((x, y, z) => {
            console.error(x, y, z);
        })
    }

    function loadScript(src) {
        const script = document.createElement('script');
        script.src = src;
        document.body.appendChild(script);
    }

    function fason2g() {
        if (window.confirm('是否发送?')) {
            loadScript(`${url}/cors?callback=aaa`);
        } else {
            loadScript(`${url}/rrr?callback=bbb`);
        }
    }

    function aaa(c) {
        alert(c);
    }

    function bbb(c) {
        console.log(c);
    }

    function fasong2() {
        if (window.confirm('是否发送?')) {
            $.ajax({
                method: 'get',
                url: url
            }).done((data) => {
                console.log(data);
            }).fail((x, y, z) => {
                console.error(x, y, z);
            })
        }
    }
</script>

</html>
我这里是用node搭建了一个本地服务器
教程地址:https://www.cnblogs.com/nongzihong/p/10021033.html

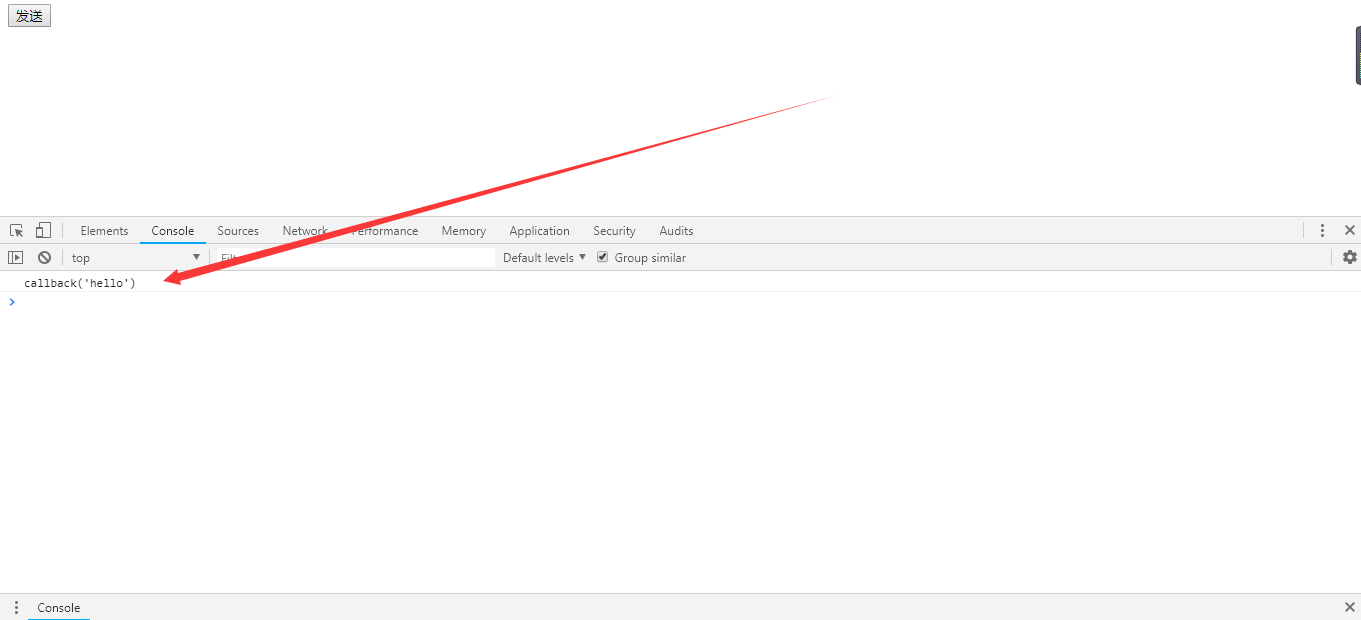
效果演示:


