Elasticsear搭建
(elasticsearch不能使用root用户)
useradd angel
passwd angel
2.2:解压安装包
tar -zxvf elasticsearch-5.5.2.tar.gz
2.3:修改配置文件
2.3.1:修改内存参数:
vim /config/jvm.options
将内存参数修改为:
-Xms512m
-Xmx512m
2.3.2:修改elasticsearch的集群参数
vim /config/elasticsearch.yml
cluster.name
字段解释:
bootstrap.memory_lock:设置为true来锁住内存。因为当jvm开始swapping时es的效率会降低,所以要保证它不swap,可以把ES_MIN_MEM和ES_MAX_MEM两个环境变量设置成同一个值,并且保证机器有足够的内存分配给es。同时也要允许elasticsearch的进程可以锁住内存
【注意】:当前的centos6.x版本不适用:bootstrap.memory_lock
bootstrap.system_call_filter检测操作系统是否支持:SecComp;false标识不检测,linux的一种安全机制(减少系统对外暴露的)
head插件可以访问es:
http.cors.enabled
2.4:创建es的数据目录和日志文件目录
配置完es信息之后,在es的配置的路径下创建文件下:
path.data
2.5:将es发送到其他机器上
cd /home/angel/
scp -r elasticsearch-5.5.2/ hadoop02:$PWD
scp -r elasticsearch-5.5.2/ hadoop03:$PWD
2.5:同时修改其他两台机器的配置
vim /config/elasticsearch.yml
node.name
network.host
2.6:安装elasticsearch的WEB插件
注意:elasticsearch的web插件是展示当前集群信息的WEB插件,因此只需要在一台机器上安装即可
2.6.1:解压elasticsearch-head插件安装包
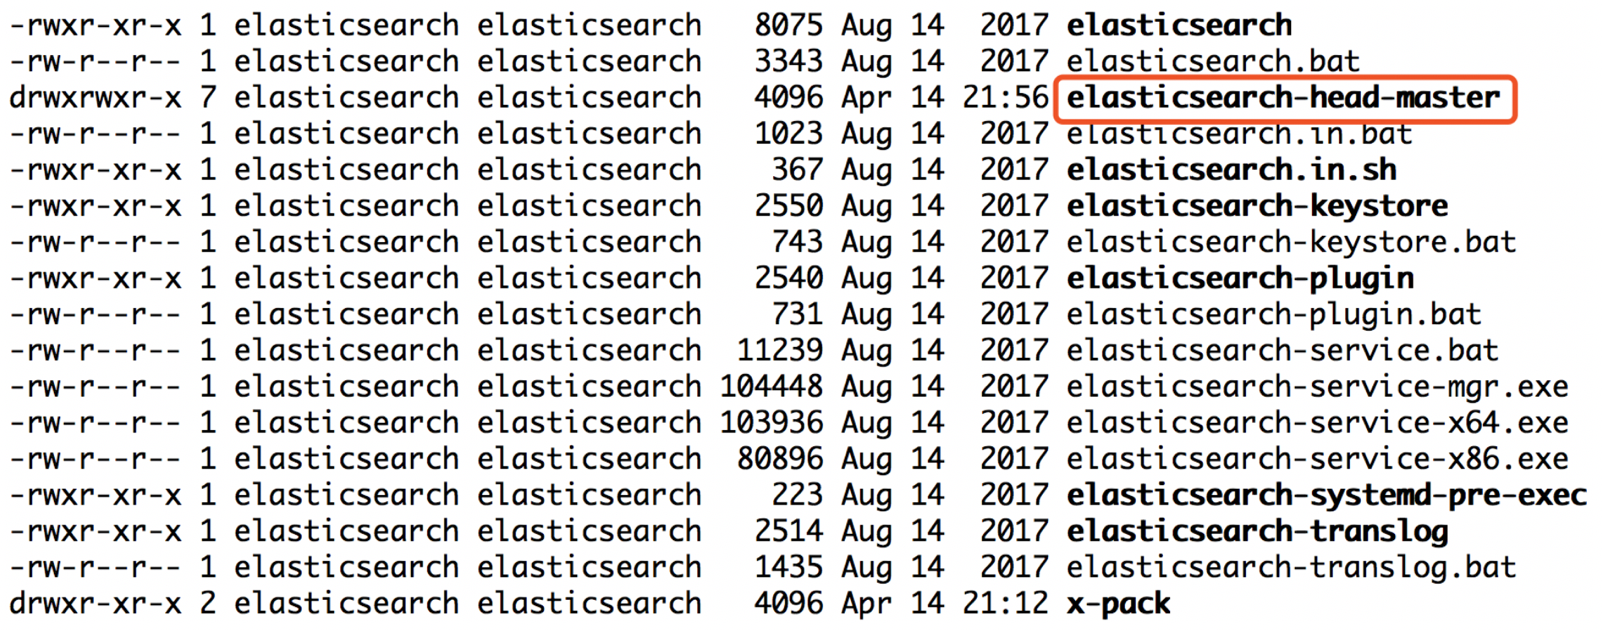
需要将master.zip解压到elasticsearch/bin目录下
unzip master.zip
会生成elasticsearch-head-master
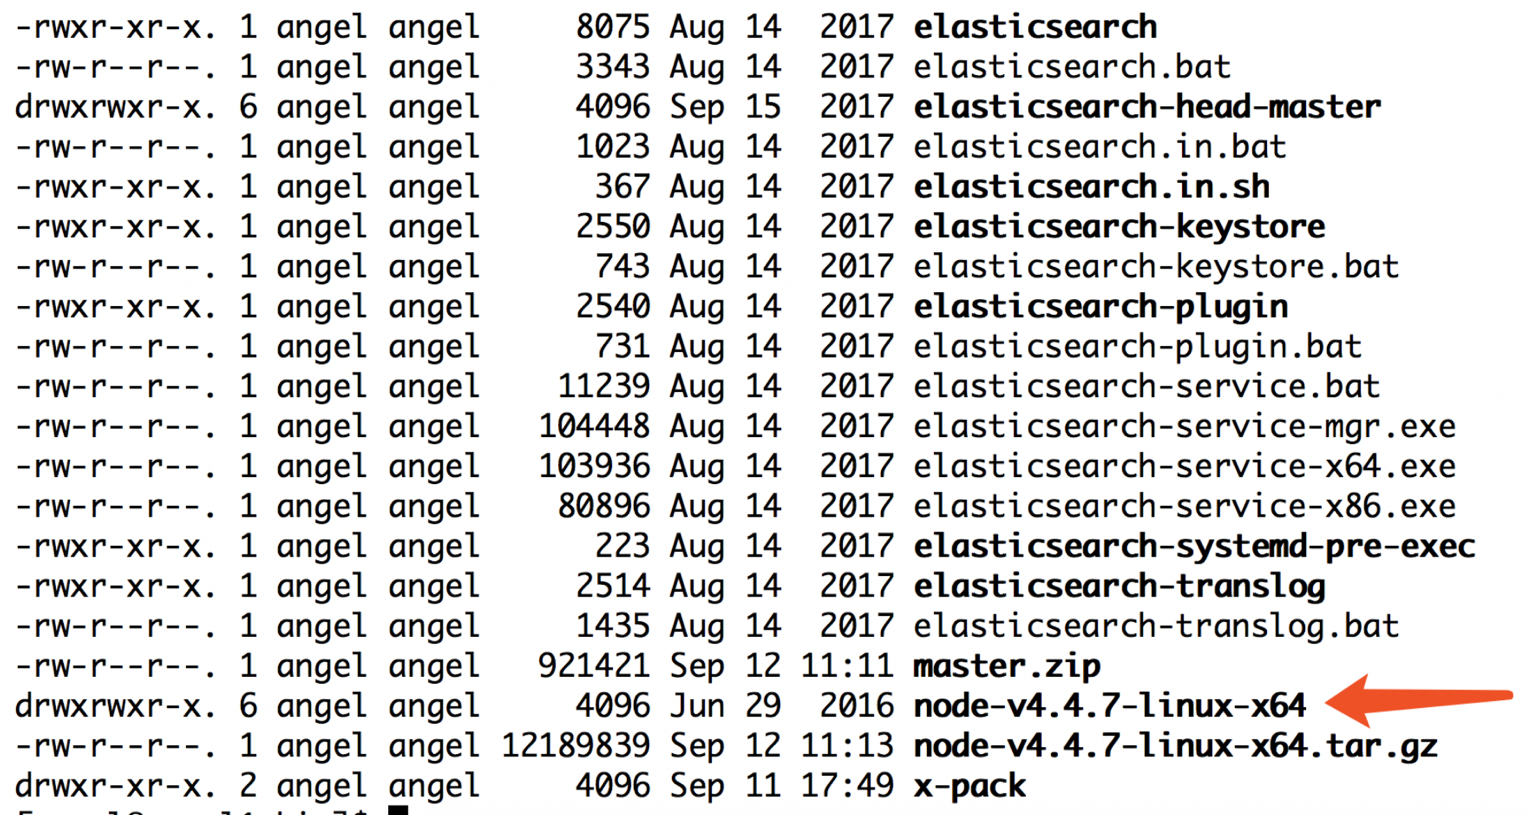
1):cp node-v4.4.7-linux-x64.tar.gz /home/angel/elasticsearch-5.5.2/bin/
2):tar -zxvf node-v4.4.7-linux-x64.tar.gz
3):配置node的环境变量
export NODE_HOME=/home/angel/elasticsearch-5.5.2/bin/node-v4.4.7-linux-x64
export PATH=$PATH:$NODE_HOME/bin
export NODE_PATH=$NODE_HOME/lib/node_modules
注意:安装完环境变量,一定要source /etc/profile
2.6.3:安装启动es前端WEB插件的Grunt
1):cd /home/angel/elasticsearch-5.5.2/bin/elasticsearch-head-master
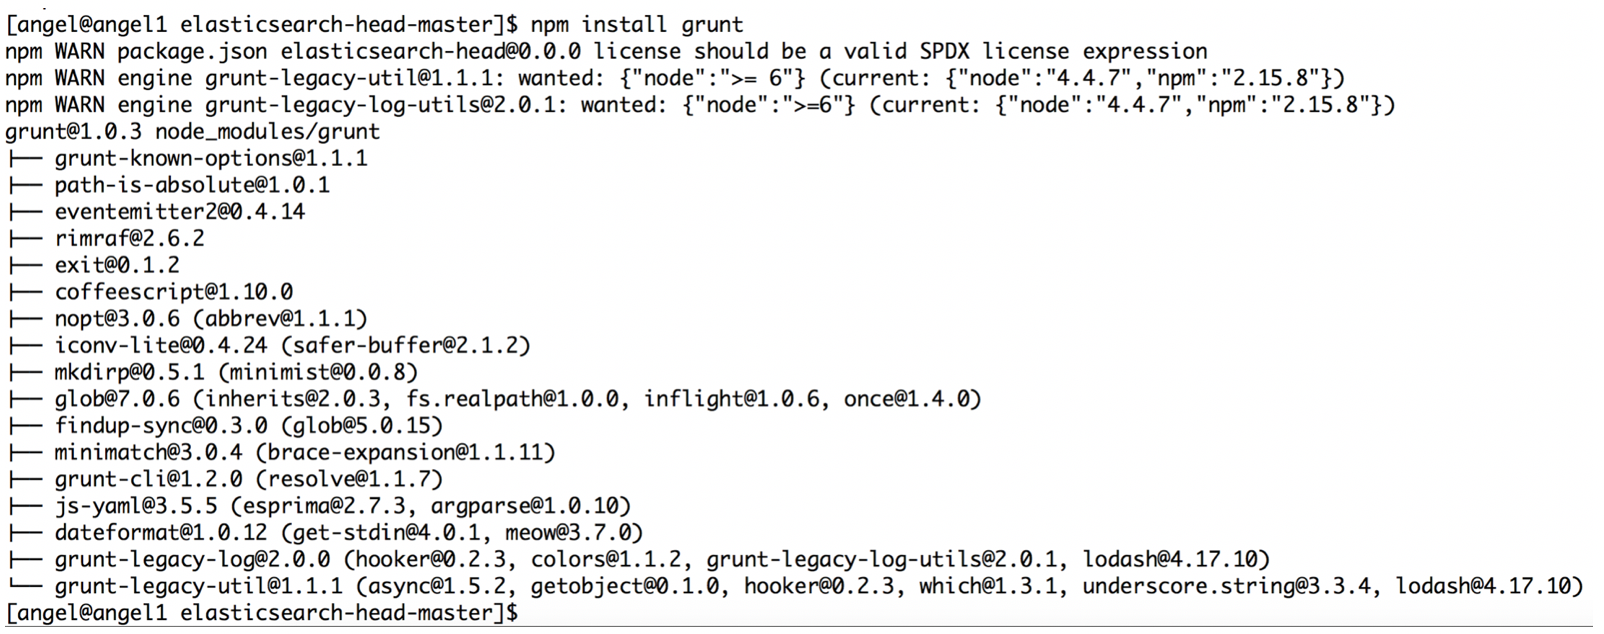
2):下载grunt:npm install grunt
注意:默认去国外的镜像源下载,所以为了提高速度,可以将镜像源修改:
npm config set registry http://registry.cnpmjs.org
npm info underscore
3):npm install -g grunt-cli

4):在输入命令:grunt (查看还有那些依赖没有下载)
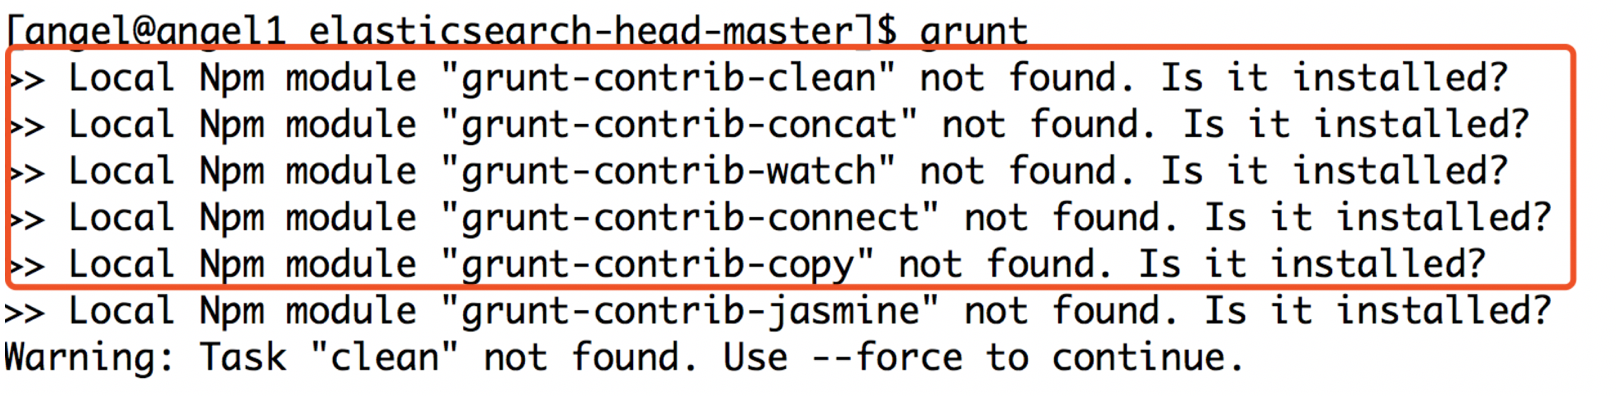
npm install grunt-contrib-clean grunt-contrib-concat grunt-contrib-watch grunt-contrib-connect grunt-contrib-copy
(注意: grunt-contrib-jasmine是下载不下来的,因为系统版本是不对应的,但是不用管理它,对本课程无影响)
6):检查安装是否成功

修改Gruntfile.js
vim elasticsearch-5.5.2/bin/elasticsearch-head-master/Gruntfile.js

8):修改连接地址:elasticsearch-5.5.2/bin/elasticsearch-head-master/_site/app.js

2.7.1:运行命令
/home/angel/elasticsearch-5.5.2/bin/elasticsearch
2.7.2:启动后如果服务器报错,需要修改如下信息
在启动过程中如果出现如下错误,则说明需要修改服务器的文件打开数和进程数和线程数的限制:
[1]: max file descriptors [4096] for elasticsearch process is too low, increase to at least [65536]
[2]: max number of threads [1024] for user [angel] is too low, increase to at least [2048]
[3]: max virtual memory areas vm.max_map_count [65530] is too low, increase to at least [262144]
解决:切换到root用户
1):修改服务器的文件打开数和进程数
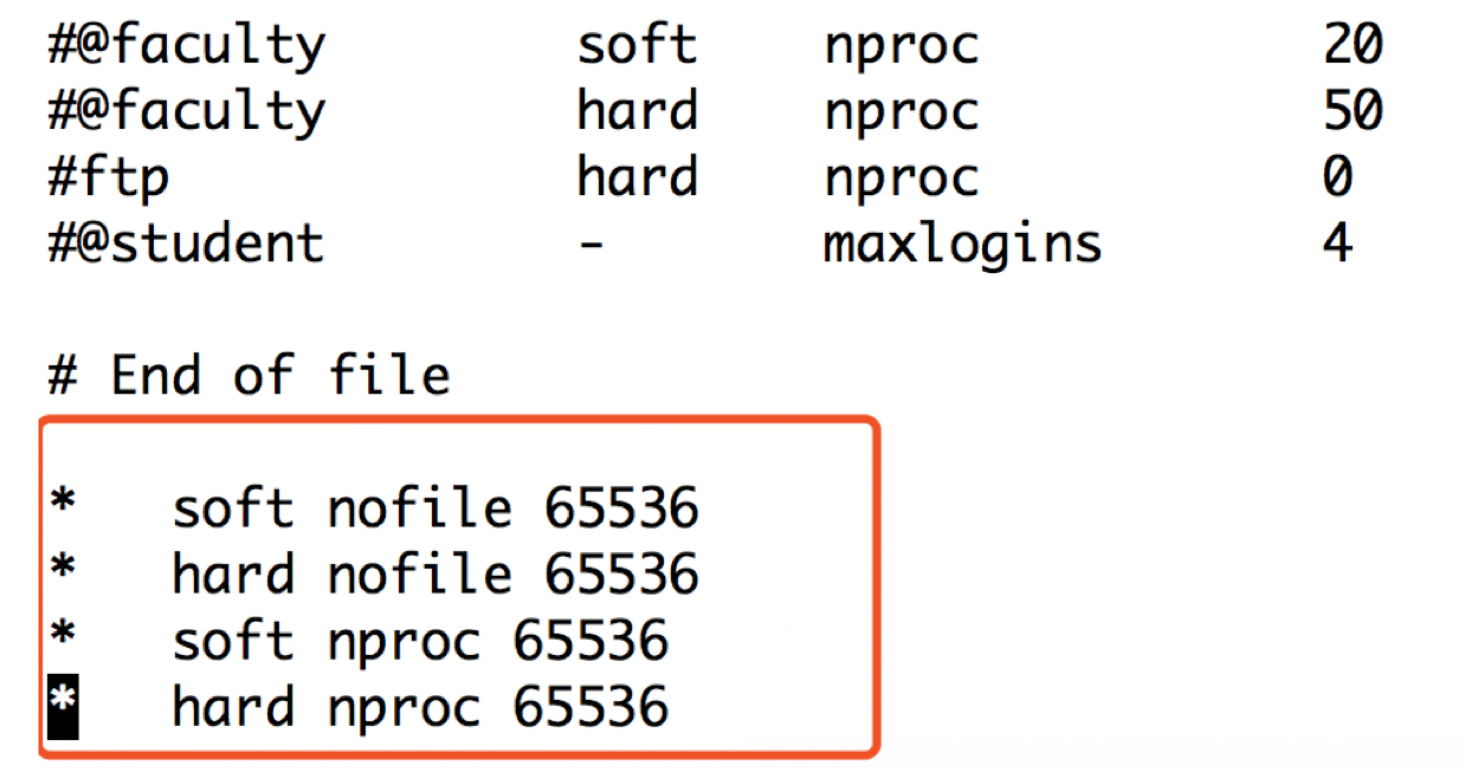
vi /etc/security/limits.conf
* soft nofile 65536 单个用户可用的最大进程数量(软限制)
* hard nofile 65536 单个用户可用的最大进程数量(硬限制)
* soft nproc 65536 可打开的文件描述符的最大数(软限制)
* hard nproc 65536 可打开的文件描述符的最大数(硬限制)
2):修改单个JVM下可支撑的最大线程数
vm.max_map_count = 262144

并执行命令:sysctl -p
vim /etc/security/limits.d/90-nproc.conf
* soft nproc 1024
* soft nproc 2048

2.8:运行elasticsearch的web插件
在elasticsearch-head-master目录下运行:
grunt server

访问页面:http://hadoop01:9100


