
Docker(部署常见应用):Docker部署Nginx
一、拉取nginx官方镜像,镜像更多解释
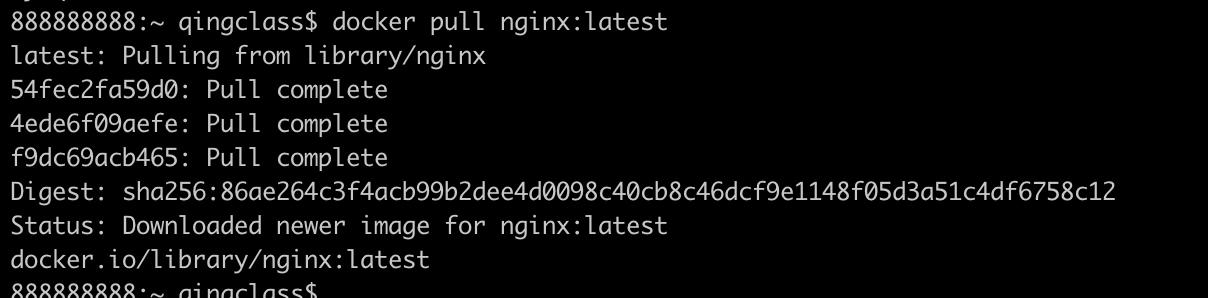
1、登录docker 镜像官网搜索nginx,找到制定的版本拉去,这里使用默认最新nginx版本。
docker pull nginx:latest
2、查看docker的镜像
docker images

二、启动docker应用
1、简单启动,命令弊端,nginx需要取单独修改配置文件和查看nginx打印日志,所以不建议使用这种方式,推荐使用第二种方式
## 构建container
docker run -d  --name nginx -p 80:80 nginx
## 启动,执行后就可以访问了http://localhost/
docker start nginx
2、推荐启动方式,修改配置可以持久化和查看日志
第一步、首先创建nginx在本地映射目录。www用于映射静态文件,logs存储日志,conf存在nginx配置信息,conf.d统一配置服务监听信息
mkdir -p /root/nginx/www /root/nginx/logs /root/nginx/conf /root/nginx/conf/conf.d
第二步、创建使用的文件
touch /root/nginx/conf/conf.d/default.conf /root/nginx/conf/nginx.conf /root/nginx/www/index.xml
在default.conf文件中插入一下内容,容器内部的路径/etc/nginx/conf.d/


server {
    listen       80;
    server_name  localhost;

    #charset koi8-r;
    #access_log  /var/log/nginx/host.access.log  main;

    location / {
        root   /usr/share/nginx/html;
        index  index.html index.htm;
    }

    #error_page  404              /404.html;

    # redirect server error pages to the static page /50x.html
    #
    error_page   500 502 503 504  /50x.html;
    location = /50x.html {
        root   /usr/share/nginx/html;
    }

    # proxy the PHP scripts to Apache listening on 127.0.0.1:80
    #
    #location ~ \.php$ {
    #    proxy_pass   http://127.0.0.1;
    #}

    # pass the PHP scripts to FastCGI server listening on 127.0.0.1:9000
    #
    #location ~ \.php$ {
    #    root           html;
    #    fastcgi_pass   127.0.0.1:9000;
    #    fastcgi_index  index.php;
    #    fastcgi_param  SCRIPT_FILENAME  /scripts$fastcgi_script_name;
    #    include        fastcgi_params;
    #}

    # deny access to .htaccess files, if Apache's document root
    # concurs with nginx's one
    #
    #location ~ /\.ht {
    #    deny  all;
    #}
}
配置 nginx.conf 文件中插入一下内容,容器内部路径/etc/nginx
user  nginx;
worker_processes  1;

error_log  /var/log/nginx/error.log warn;
pid        /var/run/nginx.pid;


events {
    worker_connections  1024;
}


http {
    include       /etc/nginx/mime.types;
    default_type  application/octet-stream;

    log_format  main  '$remote_addr - $remote_user [$time_local] "$request" '
                      '$status $body_bytes_sent "$http_referer" '
                      '"$http_user_agent" "$http_x_forwarded_for"';

    access_log  /var/log/nginx/access.log  main;

    sendfile        on;
    #tcp_nopush     on;

    keepalive_timeout  65;

    #gzip  on;

    include /etc/nginx/conf.d/*.conf;
}
配置index.html
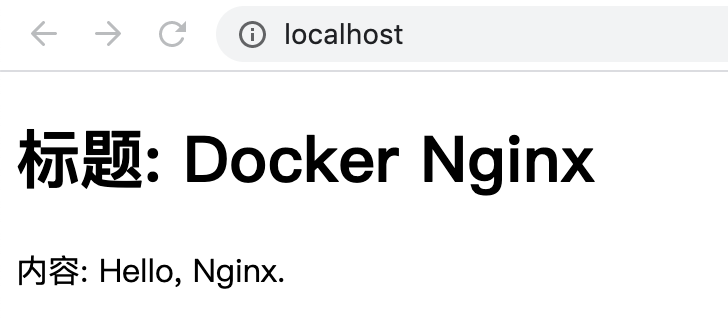
<!DOCTYPE html>
<html>
  <head>
        <meta charset="utf-8">
        <title>Docker Nginx</title>
  </head>
<body>
    <h1>标题: Docker Nginx</h1>
    <p>内容: Hello, Nginx.</p>
</body>
</html>
第三步、构建nginx启动镜像并且启动
docker run -d -p 80:80 --name nginx -v /root/nginx/www:/usr/share/nginx/html -v /root/nginx/conf/nginx.conf:/etc/nginx/nginx.conf -v /root/nginx/conf/conf.d:/etc/nginx/conf.d -v /root/nginx/logs:/var/log/nginx nginx
命令说明:
- -d 容器进入后端运行
- -p 80:80: 将主机的 80 端口 映射到 容器的 80 端口
- --name nginx:将容器命名为 nginx
- -v /root/nginx/www:/usr/share/nginx/html:将我们自己创建的 www 目录挂载到容器的 /usr/share/nginx/html
- -v /root/nginx/conf/nginx.conf:/etc/nginx/nginx.conf:将我们自己创建的 nginx.conf 挂载到容器的 /etc/nginx/nginx.conf
- -v /root/nginx/logs:/var/log/nginx:将我们自己创建的 logs 挂载到容器的 /var/log/nginx
- -v /root/nginx/conf/conf.d:/etc/nginx/conf.d:将我们自己创建的 logs 挂载到容器的 /etc/nginx/conf.d
启动nginx
docker start nginx
第三步访问http://localhost/
更过配置nginx.conf Nginx 服务器安装及配置文件详解
