项目需求:
python 3.6
django 2.0
mysql
win10
源码地址:https://github.com/a715506891/login
主要目的:
用户需要登录才能进入项目进行浏览
对相应视图进行权限管理,对应账户才能进行相关浏览
结合自带后台对用户进行管理分组
主要用途:
后台数据管理及查看。
应用前提:
首先建立自己的项目
实现步骤:
创建login文件
建立projiect和app
在cmd输入以下代码
1 django-admin startproject myprojiect 2 cd .\myprojiect\ 3 python manage.py startapp myapp
在myapp中建立templates文件

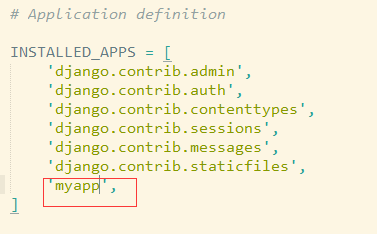
在setting中加入myapp
在templates下新建文件
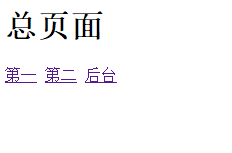
index.html输入
<h1>总页面</h1>
<a href="{% url 'num1' %}">第一</a>
<a href="{% url 'num2' %}">第二</a>
numone.html输入
<h1>第一个页面</h1>
<a href="{% url 'index' %}">总页面</a>
<a href="{% url 'num2' %}">第二</a>
numtwo.html输入
<h1>第二个页面</h1>
<a href="{% url 'index' %}">总页面</a>
<a href="{% url 'num1' %}">第一</a>
在myapp下的views.py中加入
from django.shortcuts import render

# Create your views here.


def index(request):
    return render(request, 'index.html')


def numone(request):
    return render(request, 'numone.html')


def numtwo(request):
    return render(request, 'numtwo.html')
在urls中加入
"""myprojiect URL Configuration

The `urlpatterns` list routes URLs to views. For more information please see:
    https://docs.djangoproject.com/en/2.0/topics/http/urls/
Examples:
Function views
    1. Add an import:  from my_app import views
    2. Add a URL to urlpatterns:  path('', views.home, name='home')
Class-based views
    1. Add an import:  from other_app.views import Home
    2. Add a URL to urlpatterns:  path('', Home.as_view(), name='home')
Including another URLconf
    1. Import the include() function: from django.urls import include, path
    2. Add a URL to urlpatterns:  path('blog/', include('blog.urls'))
"""
from django.contrib import admin
from django.urls import path
from django.conf.urls import url
from myapp import views as myapp_views  # 加载app

urlpatterns = [
    path('admin/', admin.site.urls),
    url(r'^$', myapp_views.index, name='index'),
    url(r'^num1/$', myapp_views.numone,
        name='num1'),
    url(r'^num2/$', myapp_views.numtwo,
        name='num2'),
]
在命令行执行
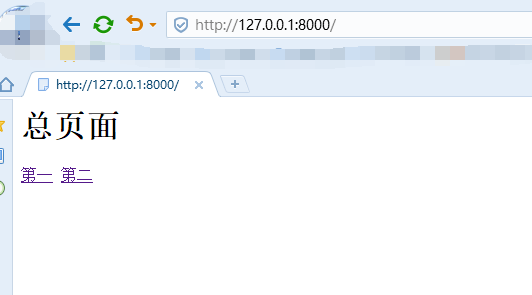
python manage.py runserver
访问 http://127.0.0.1:8000/
建立后台,可以查看官方文档 http://python.usyiyi.cn/documents/django_182/intro/tutorial02.html
先在命令行运行以下命令。建立配置
python manage.py makemigrations
python manage.py migrate

创建一个管理员用户
首先,我们需要创建一个能够登录管理站点的用户。 运行如下命令:
$ python manage.py createsuperuser
键入你想要使用的用户名,然后按下回车键:
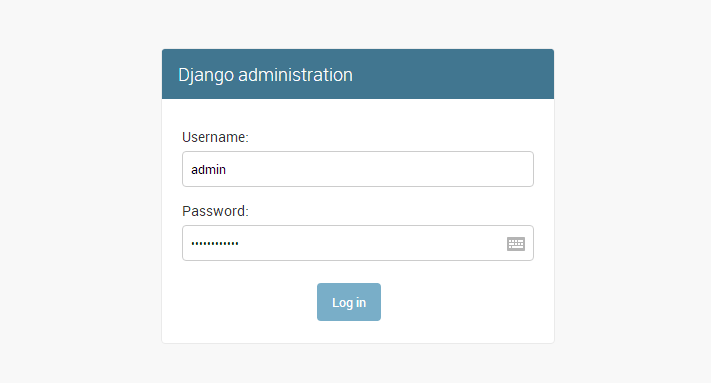
Username: admin
然后提示你输入想要使用的邮件地址:
Email address: admin@example.com
你需要输入两次密码,第二次输入是确认密码
Password: **********
Password (again): *********
Superuser created successfully.
在命令行执行
python manage.py runserver
访问 http://127.0.0.1:8000/admin 进行登录
登录以后可以在

访问自己写的网站
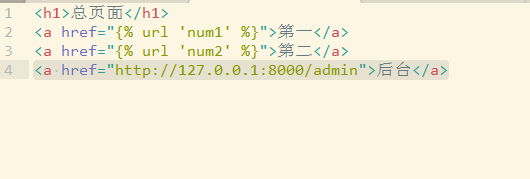
在index.html,numone.html,numtwo.html中分别加入
<a href="http://127.0.0.1:8000/admin">后台</a>
在numone.html增加登录用户权限
将views.py文件修改为
from django.shortcuts import render
from django.contrib.auth.decorators import login_required  # 权限
# Create your views here.


def index(request):
    return render(request, 'index.html')

@login_required(login_url='/admin/login/')# 增加访问权限,需要去哦用户登录才能查看视图,如果没有登录返回登录界面
def numone(request):
    return render(request, 'numone.html')


def numtwo(request):
    return render(request, 'numtwo.html')
访问http://127.0.0.1:8000/admin退出用户登录
再访问http://127.0.0.1:8000/
点击第一个跳转到注册页面,需要登录才能查看。其他页面没加限制可以正常访问
登录用户限制访问权限
官方教程 http://python.usyiyi.cn/documents/django_182/topics/auth/default.html
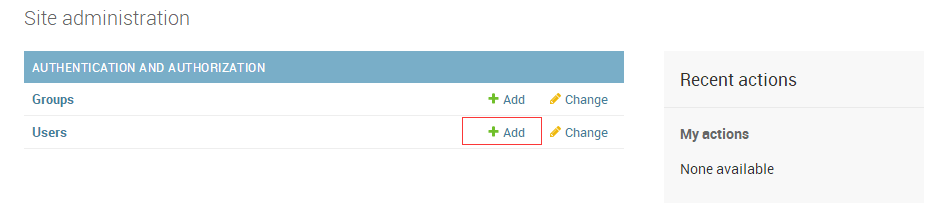
登录后台添加用户 admin1
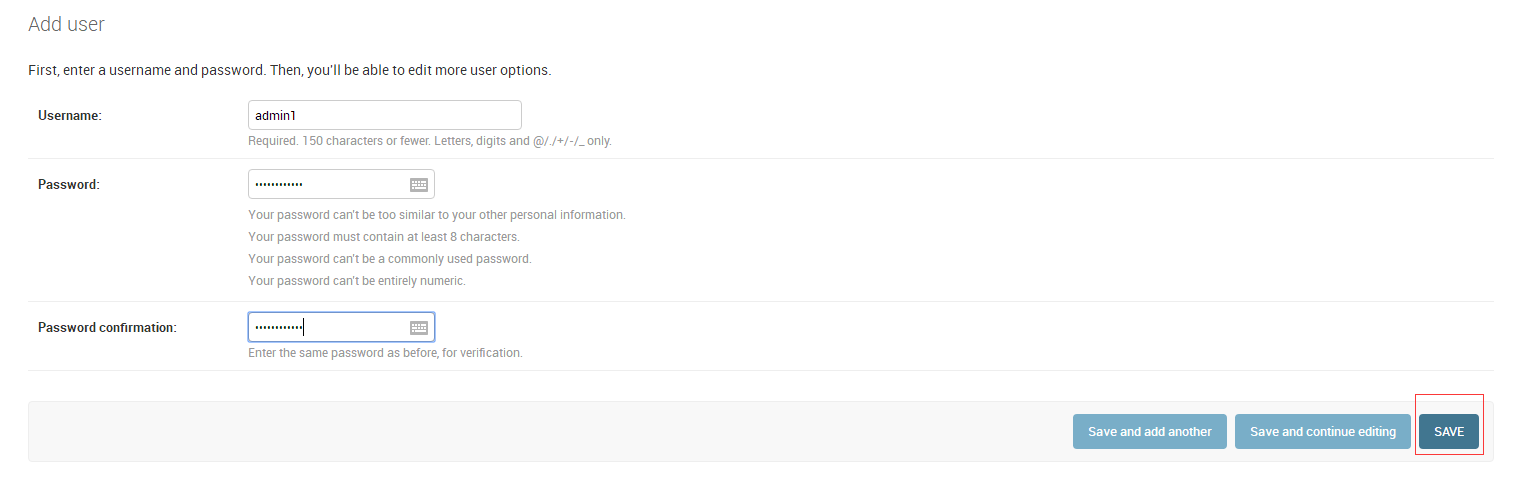
勾选

保存
修改views.py文件
from django.shortcuts import render
from django.contrib.auth.decorators import login_required  # 登陆权限
from django.contrib.auth.decorators import permission_required  # 登陆访问权限

# Create your views here.


def index(request):
    return render(request, 'index.html')


@login_required(login_url='/admin/login/')
def numone(request):
    return render(request, 'numone.html')


@login_required(login_url='/admin/login/')
@permission_required('myapp.add', login_url='/num1/')#如果具有myapp.add权限可以访问页面2,否则返回页面1
def numtwo(request):
    return render(request, 'numtwo.html')
退出登录
命令行运行
python manage.py runserver
访问 http://127.0.0.1:8000/
点击第二
用admin 登录可以正常访问
退出admin,重复场面步骤,点击第二
用admin1登录,点击第二会跳转到第一个页面
后篇自定义权限:
在models.py中加入
 1 from django.db import models
 2
 3 # Create your models here.
 4
 5
 6 class Question(models.Model):
 7     question_text = models.CharField(max_length=200)
 8     pub_date = models.DateTimeField('date published')
 9
10     def __str__(self):              # __unicode__ on Python 2
11         return self.question_text
12
13
14 class Choice(models.Model):
15     question = models.ForeignKey(Question, on_delete=models.CASCADE)
16     # 即在外键值的后面加上 on_delete=models.CASCADE
17     choice_text = models.CharField(max_length=200)
18     votes = models.IntegerField(default=0)
19
20     class Meta:
21         permissions = (
22             ("can_drive", "Can drive"),#新的自定义权限
23             ("can_vote", "Can vote in elections"),
24             ("can_drink", "Can drink alcohol"),
25         )
26
27     def __str__(self):              # __unicode__ on Python 2
28         return self.choice_text
在admin.py中加入
 1 from django.contrib import admin
 2
 3 from .models import Choice, Question
 4
 5
 6 class ChoiceInline(admin.TabularInline):
 7     model = Choice
 8     extra = 3
 9
10
11 class QuestionAdmin(admin.ModelAdmin):
12     fieldsets = [
13         (None,               {'fields': ['question_text']}),
14         ('Date information', {'fields': [
15          'pub_date'], 'classes': ['collapse']}),
16     ]
17     inlines = [ChoiceInline]
18     #list_display = ('question_text', 'pub_date')
19     #list_display = ('question_text', 'pub_date', 'was_published_recently')
20
21 admin.site.register(Question, QuestionAdmin)
先在命令行运行以下命令。建立配置
python manage.py makemigrations
python manage.py migrate
执行运行命令
python manage.py runserver
访问后台,登陆admin,点击user,点击admin
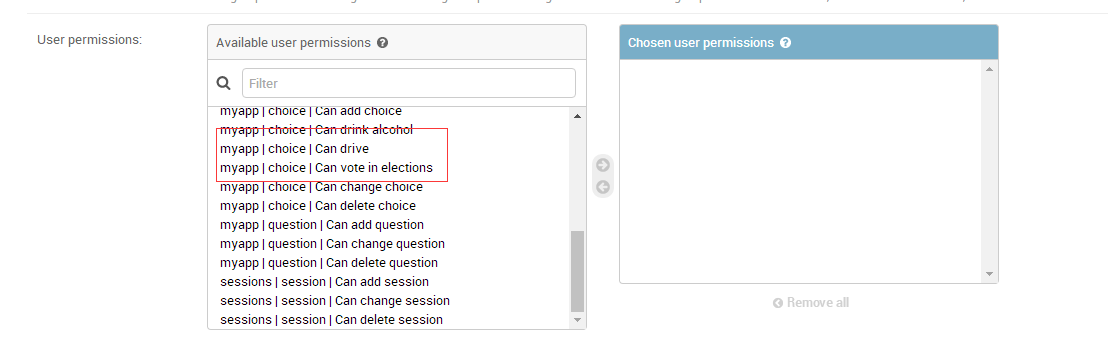
有新加入的权限
权限实现是自己想的,不知道对不对,反正是能够实现分组管理了
