
Ubuntu安装Mysql8并开启远程访问
Ubuntu安装Mysql并开启远程访问
Created by 夏夜香颂
一、下载Mysql的apt配置包
-
在Mysql官网找到apt配置包下载链接 https://dev.mysql.com/get/mysql-apt-config_0.8.16-1_all.deb
-
在Ubuntu的终端输入 wget https://dev.mysql.com/get/mysql-apt-config_0.8.16-1_all.deb
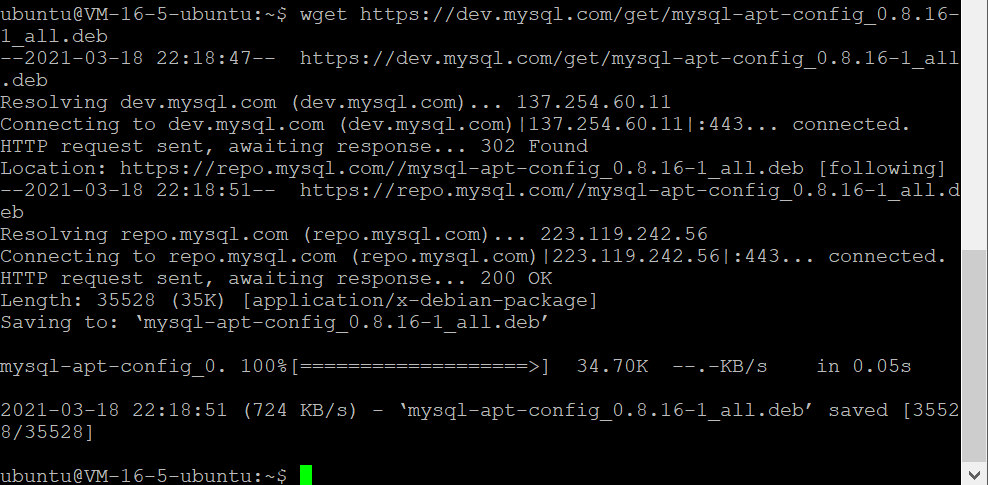
- 下载完成后会在当前路径下产生一个.deb文件
mysql-apt-config_0.8.16-1_all.deb
二、安装并配置MySQL APT配置包
- 在终端输入
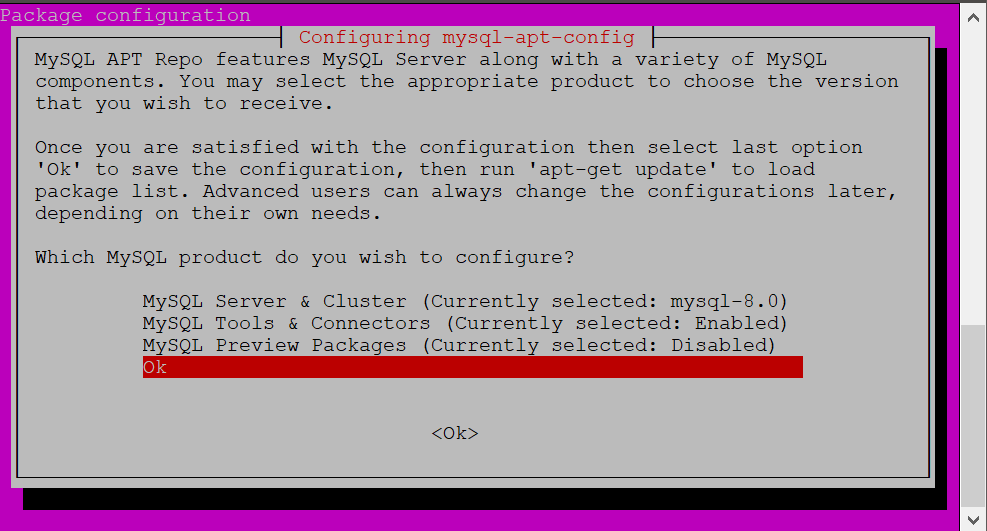
sudo dpkg -i mysql-apt-config_0.8.16-1_all.deb
-
- 第一个选项是选择安装版本,默认是8.0
- 第二个选项是选择是否安装MySQL套件,包括MySQL connectors, MySQL Workbench, MySQL Utilities 和 MySQL router,默认安装
- 第三个选项是选择是否启用预览版,默认不开启,建议不开启
-
下一步点击OK即可,点击后会返回正常终端,可能会出现Warning,可暂时忽略。想了解的同学可以深入研究一下。
三、安装Mysql Server
- 更新apt
- 安装后输入密码,自建密码,
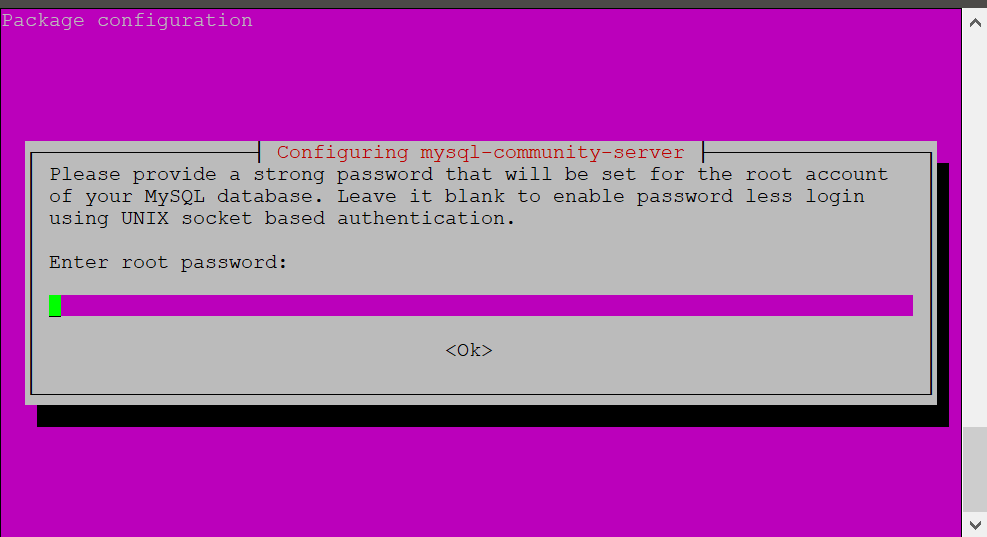
- 输入,确定并再次输入密码后,会提示
 │ MySQL 8 uses a new authentication based on improved SHA256-based
 │ password methods. It is recommended that all new MySQL Server
 │ installations use this method going forward. This new authentication
 │ plugin requires new versions of connectors and clients, with support for
 │ this new authentication method (caching_sha2_password). Currently MySQL
 │ 8 Connectors and community drivers built with libmysqlclient21 support
 │ this new method. Clients built with older versions of libmysqlclient may
 │ not be able to connect to the new server.
 │
 │ To retain compatibility with older client software, the default
 │ authentication plugin can be set to the legacy value
 │ (mysql_native_password) This should only be done if required third-party
 │ software has not been updated to work with the new authentication
 │ method. The change will be written to the file
 │ /etc/mysql/mysql.conf.d/default-auth-override.cnf
 │
 │ After installation, the default can be changed by setting the
 │ default_authentication_plugin server setting.
译文如下:MySQL 8使用了一种基于改进的SHA256密码方法的新身份验证。建议以后所有新的MySQL服务器安装都使用这种方法。这个新的身份验证插件需要新版本的连接器和客户端,并支持这种新的身份验证方法。目前,使用libmysqlclient21构建的MySQL 8连接器和社区驱动程序支持这种新方法。使用旧版本的libmysqlclient构建的客户端可能无法连接到新服务器。
为了保持与旧版客户端软件的兼容性,可以将默认身份验证插件设置为旧版值。只有在所需的第三方软件尚未更新以使用新的身份验证方法时,才应这样做。更改将会被写入以下文件/etc/mysql/mysql.conf.d/default-auth-override.cnf
安装后,可以通过设置 default_authentication_plugin 服务器设置来更改默认值。
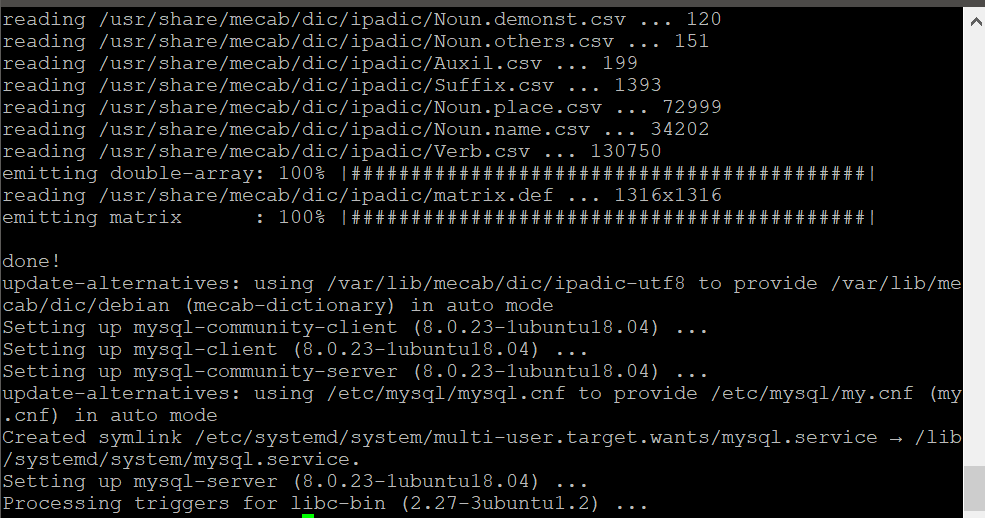
- 继续OK,进入选择验证方式和加密方式,默认选择即可。安装完成后就done了。
四、开启远程访问
-
使用
mysql -u root -p命令并输入你的密码登录 -
输入
use mysql;指定数据库 -
输入
select Host,User from user;进行查询,结果如下图 -
root用户的 Host为 localhost,此时只允许本地访问。未开启远程访问权限。

-
输入
update user set host = '%' where user = 'root';来修改,%代表允许所有的远程主机进行连接。 -
授权
grant ALL on *.* to `root`@`%` with grant option; -
刷新权限
flush privileges;
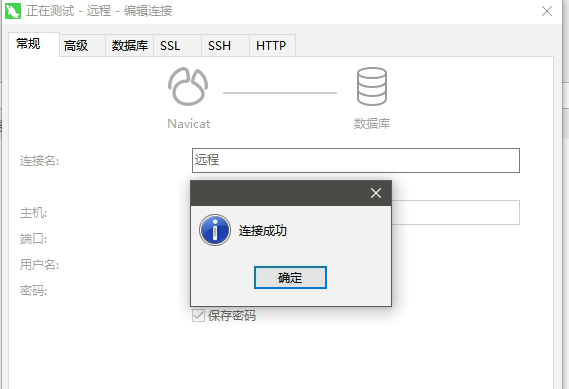
测试成功

 浙公网安备 33010602011771号