mPLUG-Owl3环境搭建&推理测试

引子

多模态的大模型也写了很多篇,阿里系的之前有一篇Qwen-VL的相关部署,感兴趣的童鞋请移步(Qwen-VL环境搭建&推理测试-CSDN博客)。今天这个mPLUG-Qwl3,更新换代也很快,这都第三代,据说,这个专门用来理解多图、长视频,OK,让我们开始吧。

一、模型介绍

论文作者来自阿里mPLUG团队,他们一直深耕多模态大模型底座,在此之前还提出了:(1)高效多模态底座mPLUG系列(2)模块化多模态大语言模型底座mPLUG-Owl系列(3)文档理解底座mPLUG-DocOwl系列等。mPLUG-Owl3模型的主体结构由视觉编码器SigLIP-400M、语言模型Qwen2和线性连接层组成。视觉编码器提取图像特征后,经线性层映射到与语言模型相同的维度。作者在文本序列中使用了作为图像标记位,并通过self-attention和cross-attention并行建模的方式将视觉特征融合到文本特征中。与Flamingo、EVLM等工作在语言模型的每一层插入cross-attention层的做法不同,mPLUG-Owl3仅将网络的少数层拓展为提出的Hyper Attention Transformer Block (HATB),从而避免了增加大量参数和计算。

二、环境搭建

模型下载

https://huggingface.co/mPLUG/mPLUG-Owl3-7B-240728/tree/main

代码下载

git clone GitHub - X-PLUG/mPLUG-Owl: mPLUG-Owl: The Powerful Multi-modal Large Language Model Family

环境安装

docker run -it -v /datas/work/zzq/:/workspace --gpus=all pytorch/pytorch:2.4.0-cuda12.4-cudnn9-devel bash

cd /workspace/mPLUG-Owl3/mPLUG-Owl-main/mPLUG-Owl3

pip install -r requirements.txt -i Simple Index

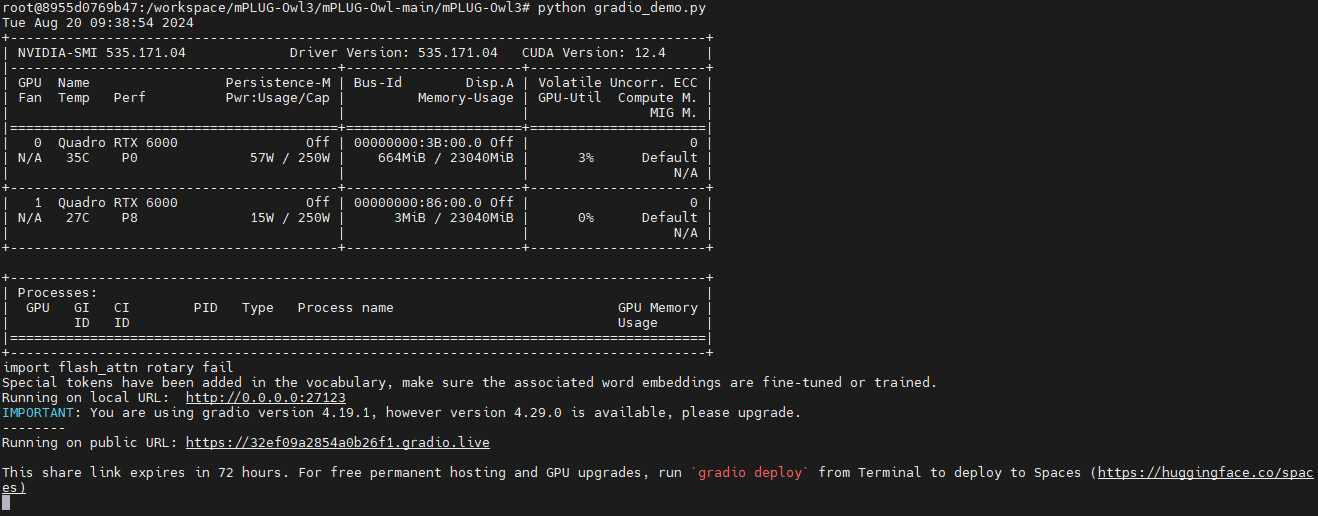
gradio生成公用链接:

(1)先按照提示,下载frpc_linux_amd64文件,https://cdn-media.huggingface.co/frpc-gradio-0.2/frpc_linux_amd64

(2)重命名为frpc_linux_amd64_v0.2, 并放入gradio(/opt/conda/lib/python3.11/site-packages/gradio)这个文件夹中(按你对应的,每个人的路径可能不一样)

(3)给gradio下的frpc_linux_amd64_v0.2文件增加权限 chmod +x /opt/conda/lib/python3.10/site-packages/gradio/frpc_linux_amd64_v0.2

三、推理测试

1、gradio demo

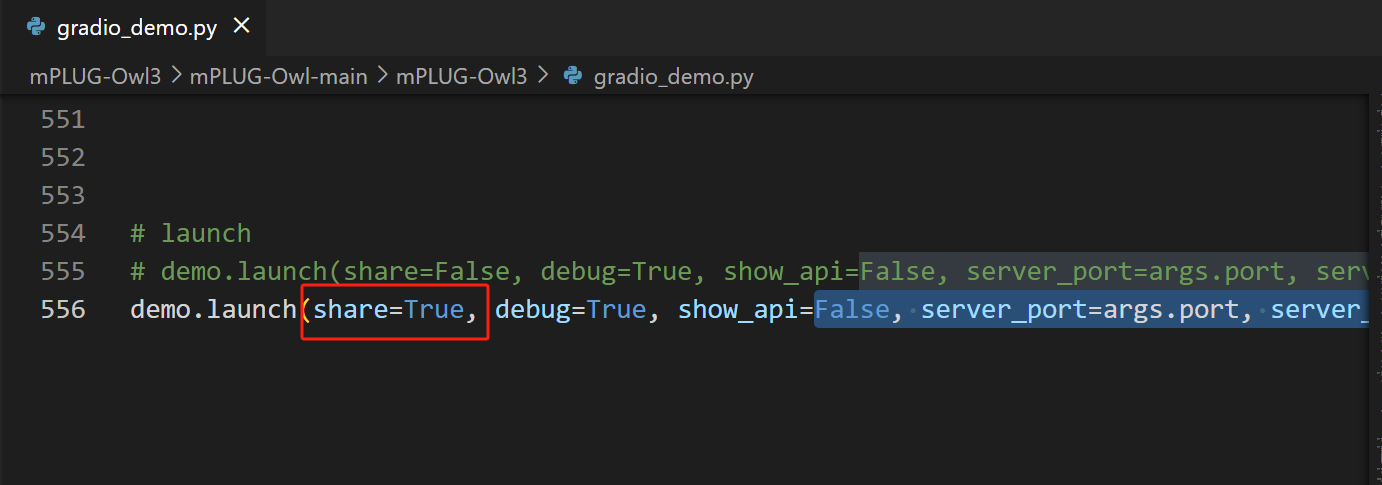
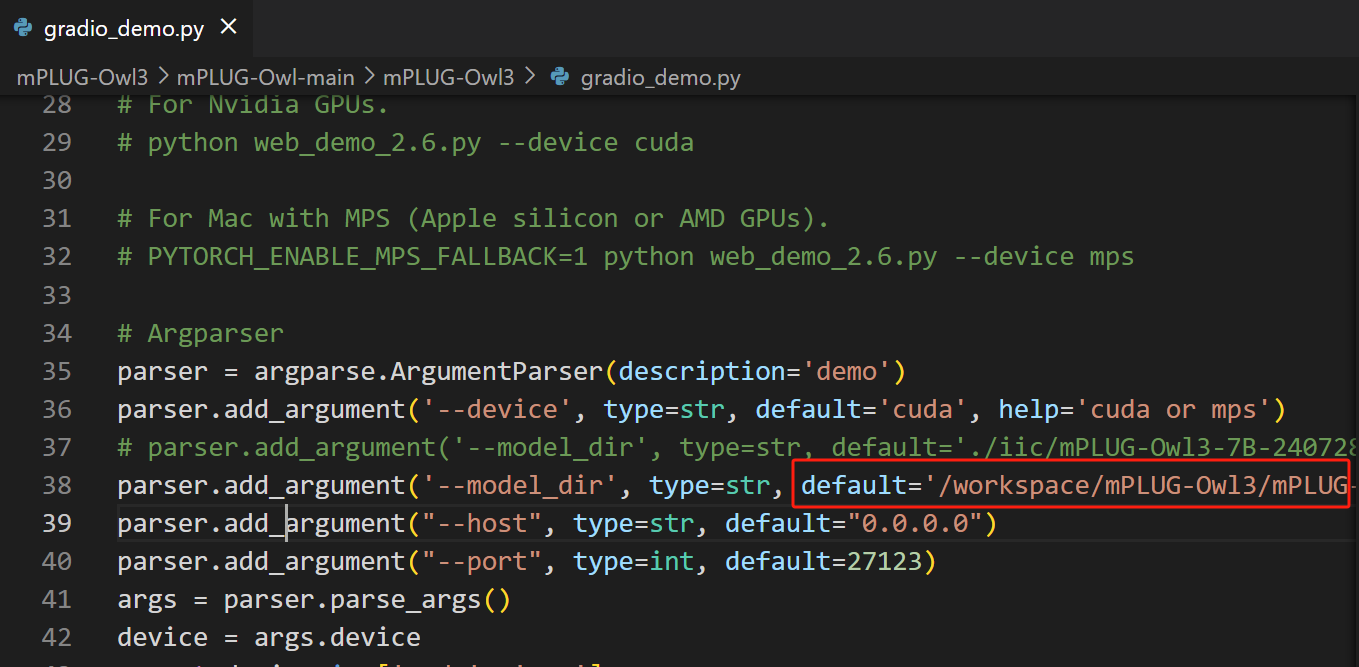
修改代码
python gradio_demo.py
2、Quick start

import torch
from transformers import AutoModel
from configuration_mplugowl3 import mPLUGOwl3Config
from modeling_mplugowl3 import mPLUGOwl3Model
model_path = '/workspace/mPLUG-Owl3/mPLUG-Owl-main/mPLUG-Owl3/models'
config = mPLUGOwl3Config.from_pretrained(model_path)
# print(config)
# model = mPLUGOwl3Model(config).cuda().half()
model = mPLUGOwl3Model.from_pretrained(model_path, attn_implementation='sdpa', torch_dtype=torch.half)
model.eval().cuda()

from PIL import Image

from transformers import AutoTokenizer, AutoProcessor
from decord import VideoReader, cpu    # pip install decord
model_path = '/workspace/mPLUG-Owl3/mPLUG-Owl-main/mPLUG-Owl3/models'
tokenizer = AutoTokenizer.from_pretrained(model_path)
processor = model.init_processor(tokenizer)

# image = Image.new('RGB', (500, 500), color='red')
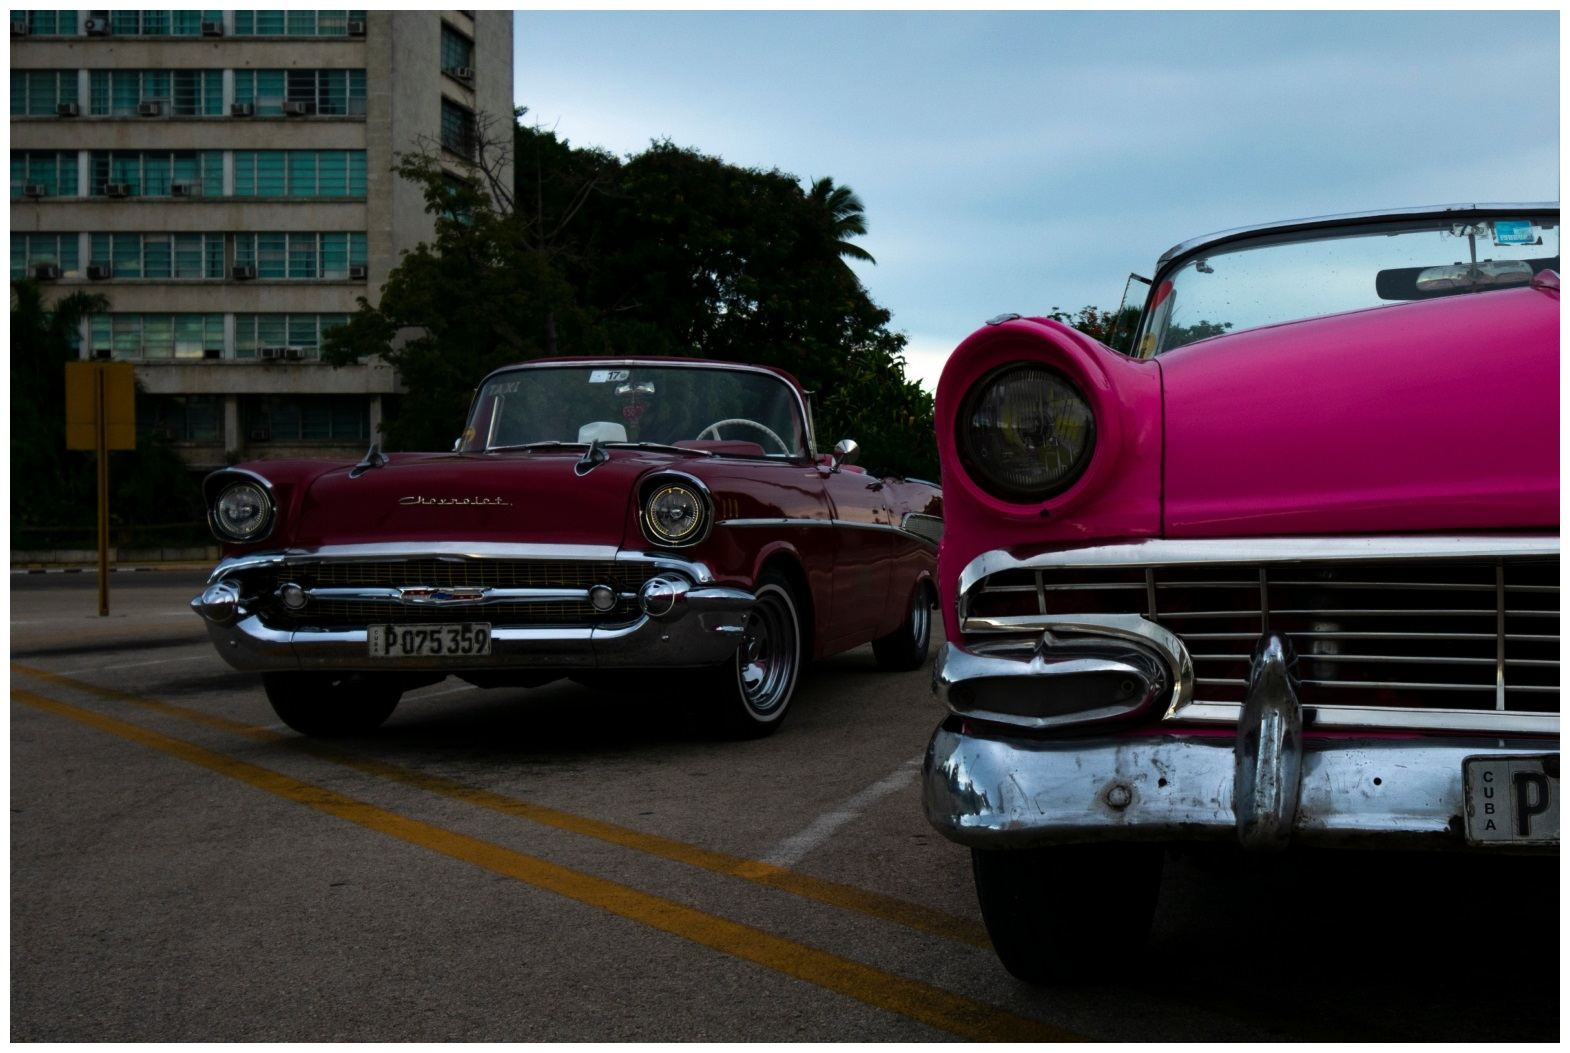
image = Image.open('images/cars.jpg')

messages = [
    {"role": "user", "content": """<|image|>
Describe this image."""},
    {"role": "assistant", "content": ""}
]
img_set = []
img_set.append(image)
inputs = processor(messages, images=img_set, videos=None)

inputs.to('cuda')
inputs.update({
    'tokenizer': tokenizer,
    'max_new_tokens':100,
    'decode_text':True,
})


g = model.generate(**inputs)
print(g)

python test,py


posted @ 2024-08-26 09:08  要养家的程序猿  阅读(183)  评论(0编辑  收藏  举报