elasticsearch集群搭建-windows
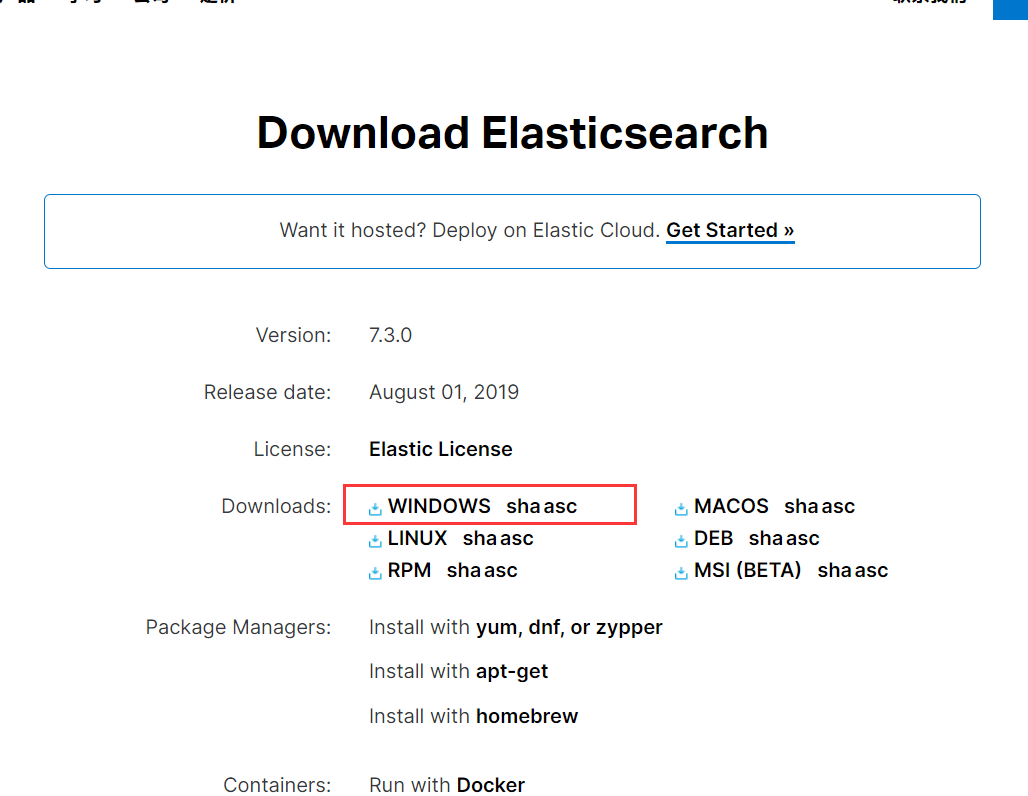
1、下载elasticsearch到本地并解压
下载地址: https://www.elastic.co/cn/downloads/elasticsearch
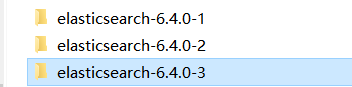
解压之后复制两份,node1当作主节点,node2、node3当作从节点
2、修改主节点配置文件
而我们只需要修改 /config 目录下的 elasticsearch.yml 文件
node-1:
#集群名字
cluster.name: elasticsearch-cluster
# 节点名字
node.name: node-1
#是否作为主机
node.master: true
#是否作为数据节点
node.data: false
network.host: 127.0.0.1
http.port: 9200
transport.tcp.port: 9300
# --------------------------------- 发现 ----------------------------------
# 其他节点的地址端口号,注意端口号为 节点通信端口
discovery.zen.ping.unicast.hosts: ["127.0.0.1:9300","127.0.0.1:9301", "127.0.0.1:9302"]
# 有资格作为master的节点的最小数量
discovery.zen.minimum_master_nodes: 1
# 节点将会等待响应多久后超时
discovery.zen.fd.ping_timeout: 30s
# 跨域
http.cors.enabled: true
http.cors.allow-origin: "*"
node-2:
#集群名字
cluster.name: elasticsearch-cluster
# 节点名字
node.name: node-2
#是否作为主机
node.master: true
#是否作为数据节点
node.data: false
network.host: 127.0.0.1
http.port: 9201
transport.tcp.port: 9301
# --------------------------------- 发现 ----------------------------------
# 其他节点的地址端口号,注意端口号为 节点通信端口
discovery.zen.ping.unicast.hosts: ["127.0.0.1:9300","127.0.0.1:9301", "127.0.0.1:9302"]
# 有资格作为master的节点的最小数量
discovery.zen.minimum_master_nodes: 1
# 节点将会等待响应多久后超时
discovery.zen.fd.ping_timeout: 30s
# 跨域
http.cors.enabled: true
http.cors.allow-origin: "*"
node-3:
#集群名字
cluster.name: elasticsearch-cluster
# 节点名字
node.name: node-3
#是否作为主机
node.master: true
#是否作为数据节点
node.data: false
network.host: 127.0.0.1
http.port: 9202
transport.tcp.port: 9302
# --------------------------------- 发现 ----------------------------------
# 其他节点的地址端口号,注意端口号为 节点通信端口
discovery.zen.ping.unicast.hosts: ["127.0.0.1:9300","127.0.0.1:9301", "127.0.0.1:9302"]
# 有资格作为master的节点的最小数量
discovery.zen.minimum_master_nodes: 1
# 节点将会等待响应多久后超时
discovery.zen.fd.ping_timeout: 30s
# 跨域
http.cors.enabled: true
http.cors.allow-origin: "*"
补充:

需要修改es相关配置信息需修改elasticsearch.yml文件
需要修改jvm相关配置信息需修改lvm.options文件
需要修改es相关配置信息需修改log4j2.properties文件
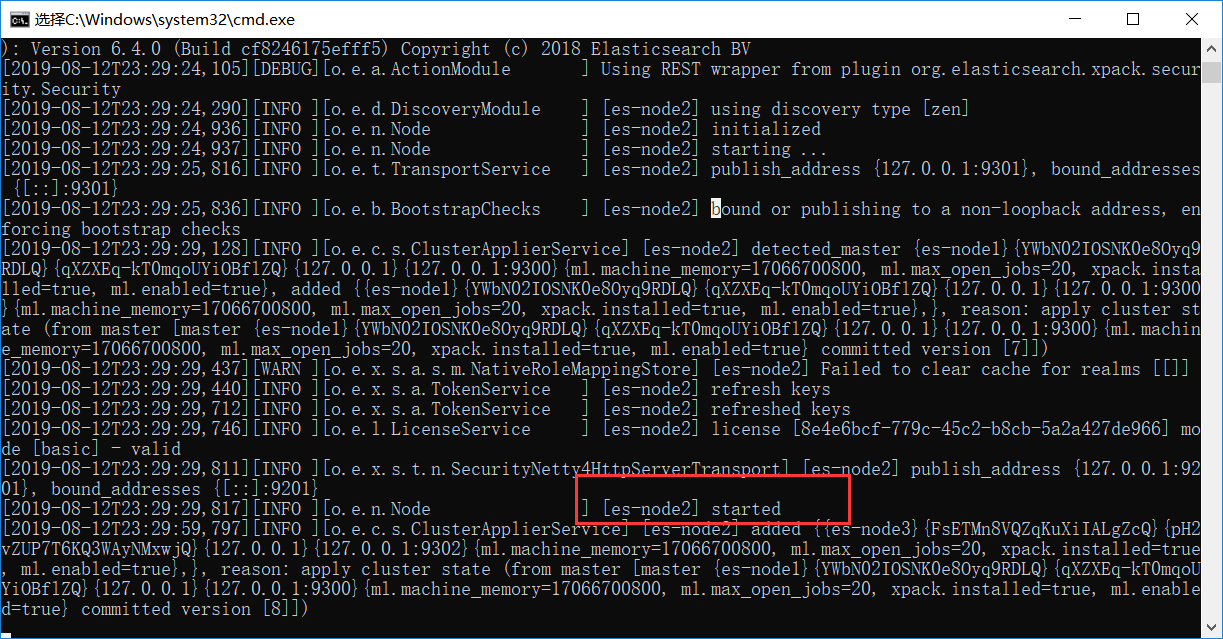
3、启动es
双击运行 /bin/elasticsearch.bat 文件运行,注意,此处尽量依次运行三个目录下的该文件。
启动成功如下:
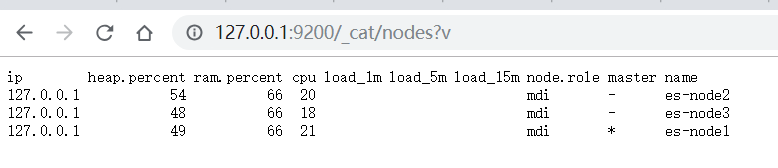
浏览器运行如下链接:
http://127.0.0.1:9200/_cat/nodes?v
结果如下:
4、安装head插件
下载链接:https://github.com/mobz/elasticsearch-head
下载解压后,进入该目录进行启动:
grunt server
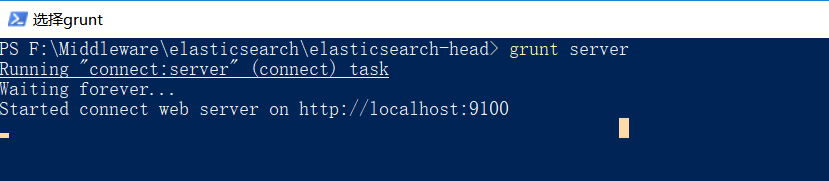
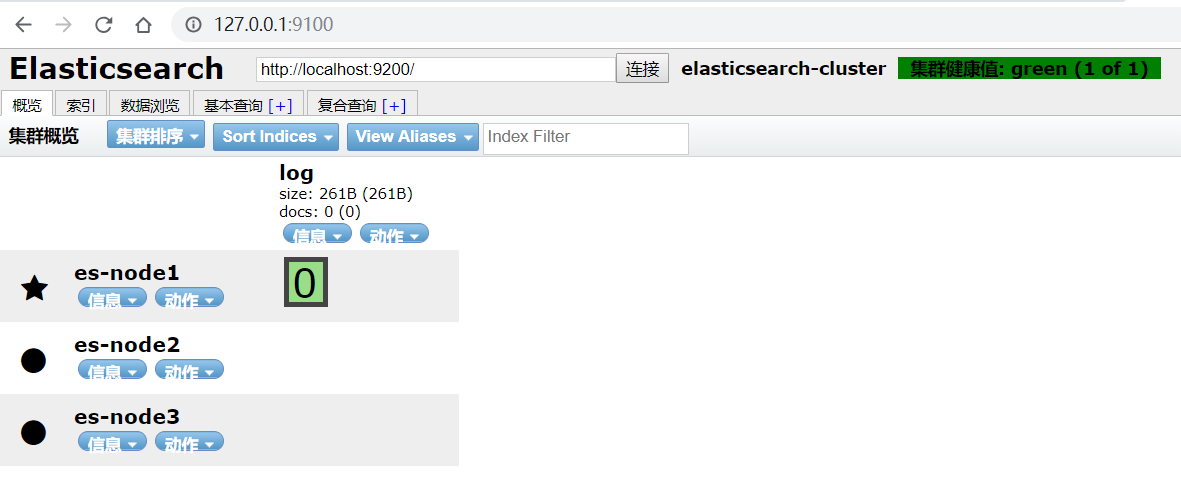
浏览器访问:http://127.0.0.1:9100
注意,grunt指令需要依托 npm 进行安装
安装指令:npm install -g grunt-cli

 浙公网安备 33010602011771号