
使用Axis2实现WebService的发布和调用
转载 https://blog.csdn.net/kris234seth/article/details/50456944
使用Axis2实现WebService的发布和调用
一、Axis2简介:
Axis2是一套崭新的WebService引擎,该版本是对Axis1.x重新设计的产物。Axis2不仅支持SOAP1.1和SOAP1.2,还集成了非常流行的REST WebService,同时还支持Spring、JSON等技术。在本文中主要介绍了如何使用Axis2开发一个不需要任何配置文件的WebService,并在客户端使用Java调用这个WebService。
二、Axis2下载安装:
Axis下载地址: http://ws.apache.org/axis2/
在本文使用了目前Axis2的最新版本1.6.4。读者可以下载如下两个zip包:
axis2-1..6.4-bin.zip
axis2-1.6.4-war.zip
其中 axis2-1.6.4-bin.zip 文件中包含了Axis2中所有的jar文件,axis2-1.6.4-war.zip 文件用于将WebService发布到Web容器中。
将 axis2-1.6.4-war.zip 文件解压到相应的目录,将目录中的axis2.war文件放到Tomcat服务器的webapps目录中(本文使用的Tomcat的版本是7.x),并启动Tomcat。
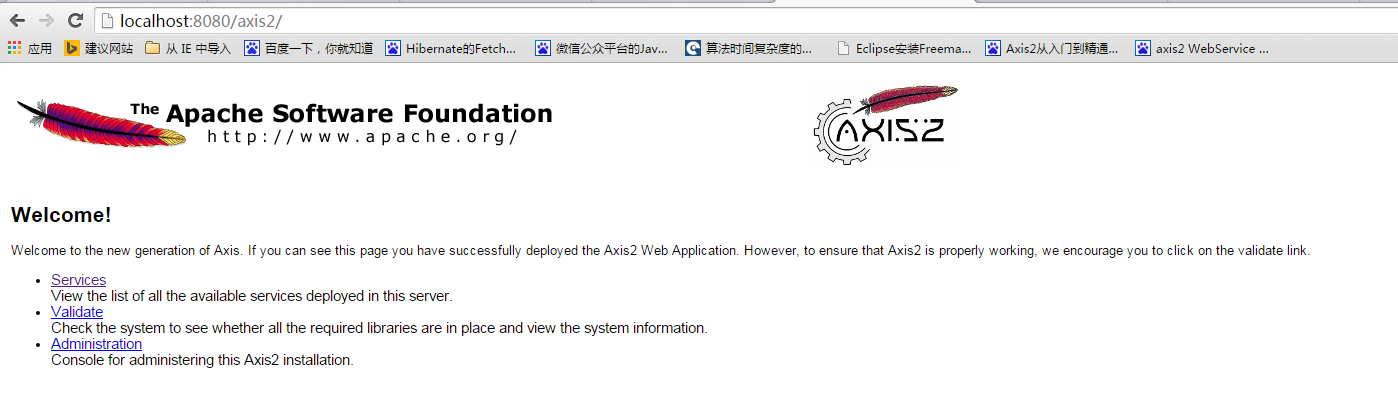
在浏览器地址栏中输入如下的URL: http://localhost:8080/axis2/
如果在浏览器中显示出如下所示的页面,则表示Axis2安装成功。
三、编写和发布WebService
在Axis2中不需要进行任何的配置,就可以直接将一个简单的POJO发布成WebService。其中POJO中所有的public方法将被发布成WebService方法。
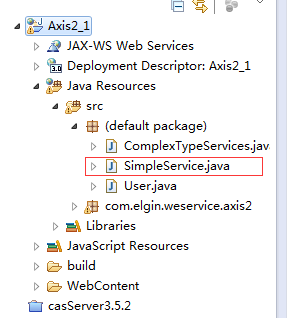
新建一个Java工程Axis2_1,直接点击src右键新建一个名为 SimpleService 的类,这样建好的Java文件会默认放在 default package中,在Java代码中将不会出现package 定义语句 (这很重要,因为发布webservice服务的class文件不能使用package关键字声明包)
SimpleService类:
- import java.util.Random;
- //注意:无package包声明
- public class SimpleService {
- public String getGreeting(String name){
- return "Hello " + name;
- }
- public int getPrice(){
- return new Random().nextInt(100);
- }
- }
在SimpleService类中有两个方法,由于这两个方法都是public方法,因此,它们都将作为WebService方法被发布
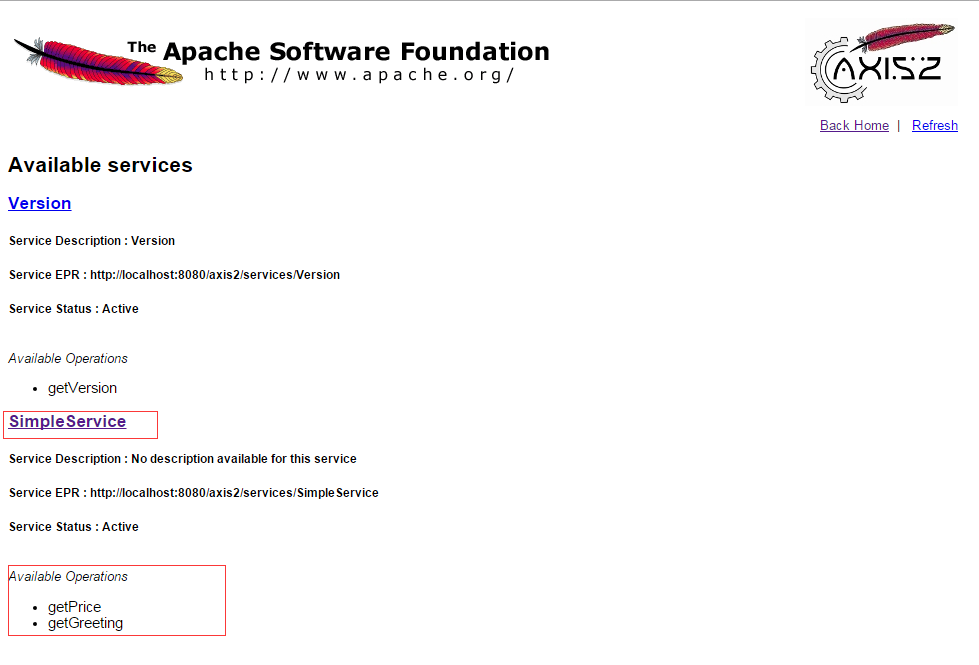
编译SimpleService类后,将SimpleService.class文件放到Tomcat容器的webapps\axis2\WEB-INF\pojo目录中(如果没有pojo目录,则新建该目录)。现在我们已经成功将SimpleService类发布成了WebService。在浏览器地址栏中输入如下的URL:
http://localhost:8080/axis2/services/listServices ,如果成功发布,则出现下图:
注意事项:
1. POJO类不能使用package关键字声明包。
2. Axis2在默认情况下可以热发布WebService,也就是说,将WebService的.class文件复制到pojo目录中时,Tomcat不需要重新启动就可以自动发布WebService。如果想取消Axis2的热发布功能,可以打开\webapps\axis2\WEB-INF\conf\axis2.xml,找到如下的配置代码:
- <parameter name="hotdeployment">true</parameter>
将true改为false即可。要注意的是,Axis2在默认情况下虽然是热发布,但并不是热更新,也就是说,一旦成功发布了WebService,再想更新该WebService,就必须重启Tomcat。这对于开发人员调试WebService非常不方便,因此,在开发WebService时,可以将Axis2设为热更新,同样在axis2.xml文件中找到如下配置:
- <parameter name="hotupdate">false</parameter>
将false改为true 即可
3. 发布WebService的pojo目录只是默认的,如果想在其他的目录发布WebService,可以打开axis2.xml文件,并在<axisconfig>元素中添加如下的子元素:
- <deployer extension=".class" directory="pojo" class="org.apache.axis2.deployment.POJODeployer"/>
directory属性的值 设置为你的发布目录即可
四、Java调用WebService
导入用到的jar包:
- axiom-api-1.2.15.jar
- axiom-impl-1.2.15.jar
- axis2-adb-1.6.4.jar
- axis2-kernel-1.6.4.jar
- axis2-transport-http-1.6.4.jar
- axis2-transport-local-1.6.4.jar
- commons-codec-1.3.jar
- commons-httpclient-3.1.jar
- commons-logging-1.1.1.jar
- httpcore-4.0.jar
- neethi-3.0.2.jar
- wsdl4j-1.6.2.jar
- XmlSchema-1.4.7.jar
Java调用代码(RPC方式):
- public class RPCClient {
- public static String address="http://localhost:8080/axis2/services/SimpleService";
- public static void main(String[] args) throws IOException{
- Object[] result=invoke("getPrice", new Object[]{}, new Class[]{int.class});
- System.out.println(result[0]);
- result=invoke("getGreeting", new Object[]{"jack"}, new Class[]{String.class});
- System.out.println(result[0]);
- }
- @SuppressWarnings("rawtypes")
- public static Object[] invoke(String method,Object[] params,Class[] classes) throws AxisFault{
- //使用RPC方式调用WebService
- RPCServiceClient client=new RPCServiceClient();
- Options option=client.getOptions();
- //指定调用的URL
- EndpointReference reference=new EndpointReference(address);
- option.setTo(reference);
- /*
- * 设置要调用的方法
- * http://ws.apache.org/axis2 为默认的(无package的情况)命名空间,
- * 如果有包名,则为 http://axis2.webservice.elgin.com ,包名倒过来即可
- * method为方法名称
- *
- */
- QName qname=new QName("http://ws.apache.org/axis2", method);
- //调用远程方法,并指定方法参数以及返回值类型
- Object[] result=client.invokeBlocking(qname,params,classes);
- return result;
- }
输出结果:

五、Java复杂数据的调用处理
在default package下新建返回复杂类型的WebService类
- import java.io.File;
- import java.io.FileOutputStream;
- import java.io.IOException;
- import java.util.Random;
- import com.elgin.webservice.axis2.User;
- public class ComplexTypeServices {
- /**
- * @Title: upload
- * @Description: 文件数据处理
- * @param b
- * @param len
- * @return 参数
- */
- public String upload(byte[] b ,int len){
- FileOutputStream fos=null;
- String path="";
- try {
- String dir=System.getProperty("user.dir");
- File file=new File(dir + "/" + new Random().nextInt(1000) + ".jsp");
- fos=new FileOutputStream(file);
- fos.write(b , 0 ,len);
- path=file.getAbsolutePath();
- System.out.println("File path:" + path);
- } catch (Exception e) {
- } finally{
- try {
- fos.close();
- } catch (IOException e) {
- e.printStackTrace();
- }
- }
- return path;
- }
- /**
- * @Title: getArray
- * @Description: 返回一维数组
- * @param i 数组长度
- * @return 参数
- */
- public int[] getArray(int i){
- int[] arr=new int[i];
- for (int j = 0; j < arr.length; j++) {
- arr[j]=new Random().nextInt(100);
- }
- return arr;
- }
- /**
- * @Title: getTwoArray
- * @Description: 返回二维数组
- * @return 参数
- */
- public String[][] getTwoArray(){
- return new String[][]{{"北京","上海"},{"南京","苏州"},{"深圳","厦门"},{"西安","兰州"}};
- }
- /**
- * @Title: getUser
- * @Description: 返回JavaBean对象
- * @return 参数
- */
- public User getUser(){
- User user=new User();
- user.setUsername("elgin");
- user.setAge(26);
- user.setEmail("3303335@qq.com");
- return user;
- }
- }
User类:
- package com.elgin.webservice.axis2;
- public class User implements Serializable{
- private static final long serialVersionUID = 1L;
- private String username;
- private int age;
- private String email;
- public String getUsername() {
- return username;
- }
- public void setUsername(String username) {
- this.username = username;
- }
- public int getAge() {
- return age;
- }
- public void setAge(int age) {
- this.age = age;
- }
- public String getEmail() {
- return email;
- }
- public void setEmail(String email) {
- this.email = email;
- }
- @Override
- public String toString() {
- return "User [username=" + username + ", age=" + age + ", email=" + email + "]";
- }
- }
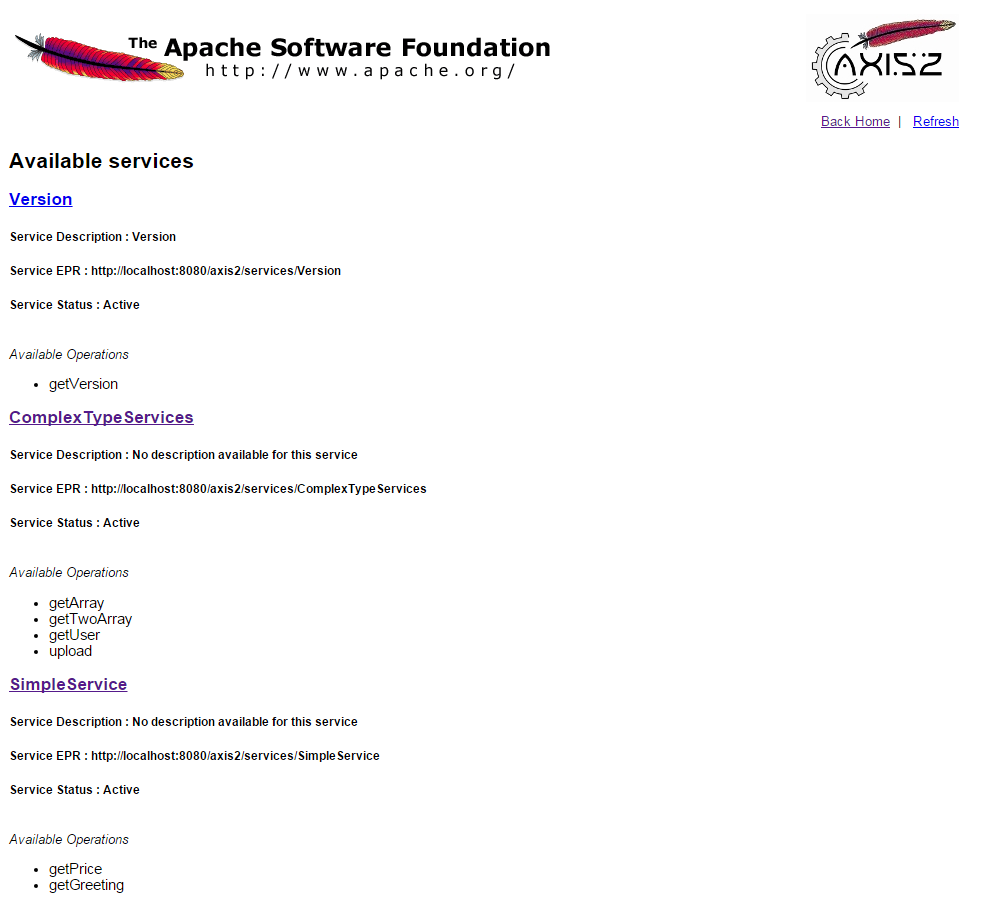
编译完成之后,将上述ComplexTypeServices类的class文件放到Tomcat容器的webapps\axis2\WEB-INF\pojo目录下,在Tomcat的webapps/axis2工程下的classes文件中新建文件路径:com/elgin/webservice/axis2 (User的包路径) ,然后将User的class文件放到此文件夹下,重启Tomcat,访问
http://localhost:8080/axis2/services/listServices 可以看到发布成功了,在list中有 ComplexTypeServices这个服务
逐一调用各个方法:
- package com.elgin.webservice.axis2;
- import java.io.File;
- import java.io.FileInputStream;
- import java.io.IOException;
- import javax.xml.namespace.QName;
- import org.apache.axis2.AxisFault;
- import org.apache.axis2.addressing.EndpointReference;
- import org.apache.axis2.client.Options;
- import org.apache.axis2.rpc.client.RPCServiceClient;
- public class RPCClient {
- public static String address="http://localhost:8080/axis2/services/SimpleService";
- public static String address1="http://localhost:8080/axis2/services/ComplexTypeServices";
- public static void main(String[] args) throws IOException{
- testUpload();
- testArray();
- testTwoArray();
- testUser();
- }
- @SuppressWarnings("rawtypes")
- public static Object[] invoke(String method,Object[] params,Class[] classes) throws AxisFault{
- //使用RPC方式调用WebService
- RPCServiceClient client=new RPCServiceClient();
- Options option=client.getOptions();
- //指定调用的URL
- EndpointReference reference=new EndpointReference(address1);
- option.setTo(reference);
- /*
- * 设置要调用的方法
- * http://ws.apache.org/axis2 为默认的(无package的情况)命名空间,
- * 如果有包名,则为 http://axis2.webservice.elgin.com ,包名倒过来即可
- * method为方法名称
- *
- */
- QName qname=new QName("http://ws.apache.org/axis2", method);
- //调用远程方法,并指定方法参数以及返回值类型
- Object[] result=client.invokeBlocking(qname,params,classes);
- return result;
- }
- public static void testUpload() throws IOException{
- String dir=System.getProperty("user.dir");
- File file=new File(dir +"/WebContent"+ "/hello.jsp");
- FileInputStream fis=new FileInputStream(file);
- int len=(int) file.length();
- byte[] b=new byte[len];
- int read=fis.read(b);
- fis.close();
- Object[] result=invoke("upload", new Object[]{b,read}, new Class[]{String.class});
- System.out.println(result[0]);
- }
- public static void testArray() throws AxisFault{
- Object[] result=invoke("getArray", new Object[]{5}, new Class[]{int[].class});
- int[] arr=(int[]) result[0];
- for (int i : arr) {
- System.out.println(i );
- }
- }
- public static void testTwoArray() throws AxisFault{
- Object[] result=invoke("getTwoArray", new Object[]{}, new Class[]{String[][].class});
- String[][] arr=(String[][]) result[0];
- for (String[] strings : arr) {
- for (String str : strings) {
- System.out.println(str);
- }
- }
- }
- public static void testUser() throws AxisFault{
- Object[] result=invoke("getUser", new Object[]{}, new Class[]{User.class});
- User user=(User) result[0];
- System.out.println(user.toString());
- }
- }
调用结果:


 浙公网安备 33010602011771号