
基于.NET6平台开发WebApi(十一)—— 使用JWT进行用户鉴权
基于NET6平台WebApi尝鲜项目: 基于最新的.NET6平台,完全抛弃繁杂的接口,采用.NET最经典的三层架构,结合简化的DDD设计模式... (gitee.com)
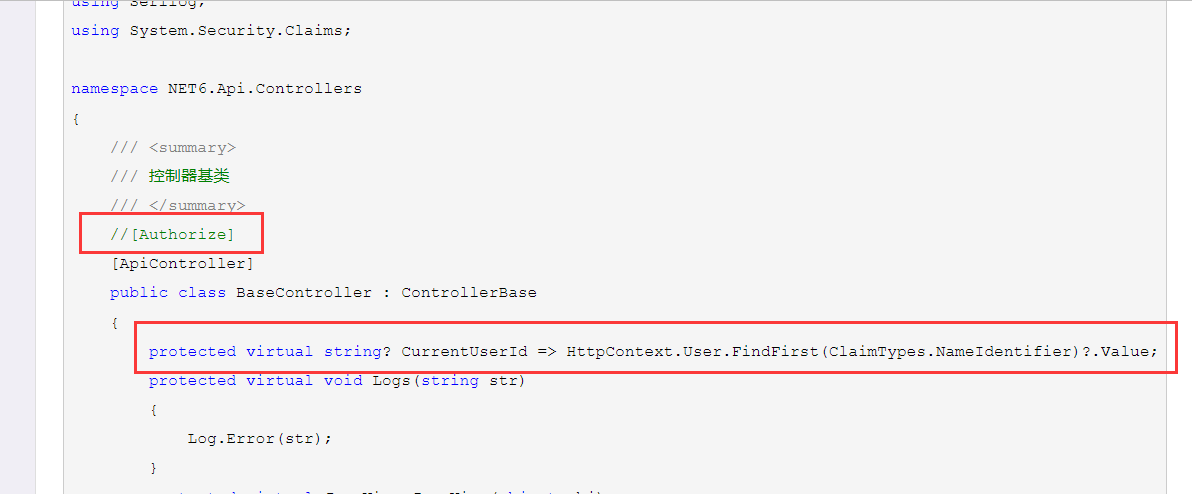
至此我们的项目已经可以正常运行了,但是聪明的你可能发现了一个问题,那就是我们在第九章中将控制器基类中的[Authorize]标记注释掉了,而且我们添加了一个CurrentUserId属性,没错,它就是为了用户鉴权使用的。用户登录可以说是WebApi必不可少的功能,本篇我们就来详细说说如何进行用户鉴权。
1、对于小型项目或者个人项目来说,可能规模比较小,而且不需要单点登录这样的功能,也就没有必要去单独建设一个IdentityServer服务器来实现鉴权,此处我们可以直接使用.NET自带的功能来实现JWT签发,首先我们打开Nuget,搜索安装Microsoft.AspNetCore.Authentication.JwtBearer。

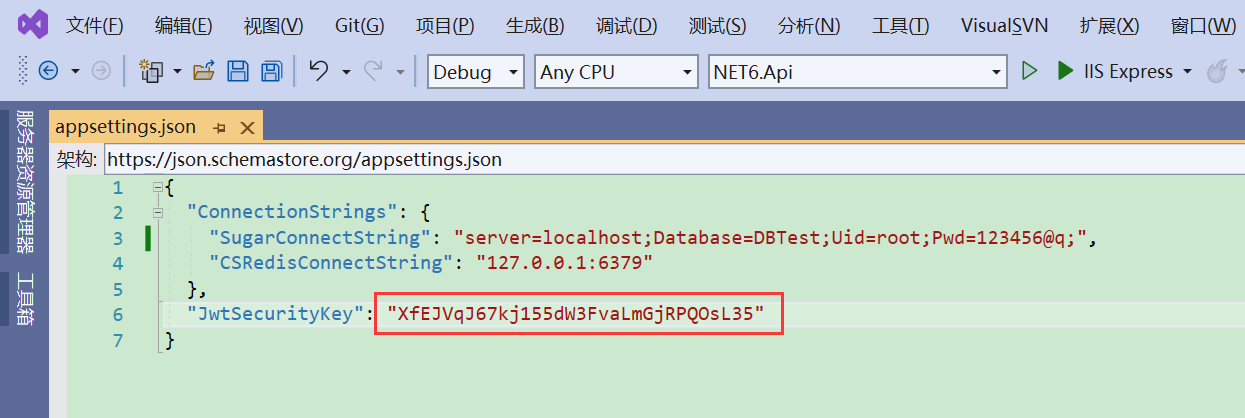
2、接着我们在appsettings.json中配置一个key用于JWT签发,然后打开Program.cs,添加如下代码
#region 添加校验
builder.Services.AddAuthentication(JwtBearerDefaults.AuthenticationScheme).AddJwtBearer(options =>
{
    options.TokenValidationParameters = new TokenValidationParameters
    {
        ValidateIssuer = true,
        ValidateAudience = true,
        ValidateLifetime = true,
        ValidateIssuerSigningKey = true,
        ValidAudience = "net6api.com",
        ValidIssuer = "net6api.com",
        IssuerSigningKey = new SymmetricSecurityKey(Encoding.UTF8.GetBytes(_config["JwtSecurityKey"])),
    };
});
#endregion
app.UseAuthentication();
app.UseAuthorization();
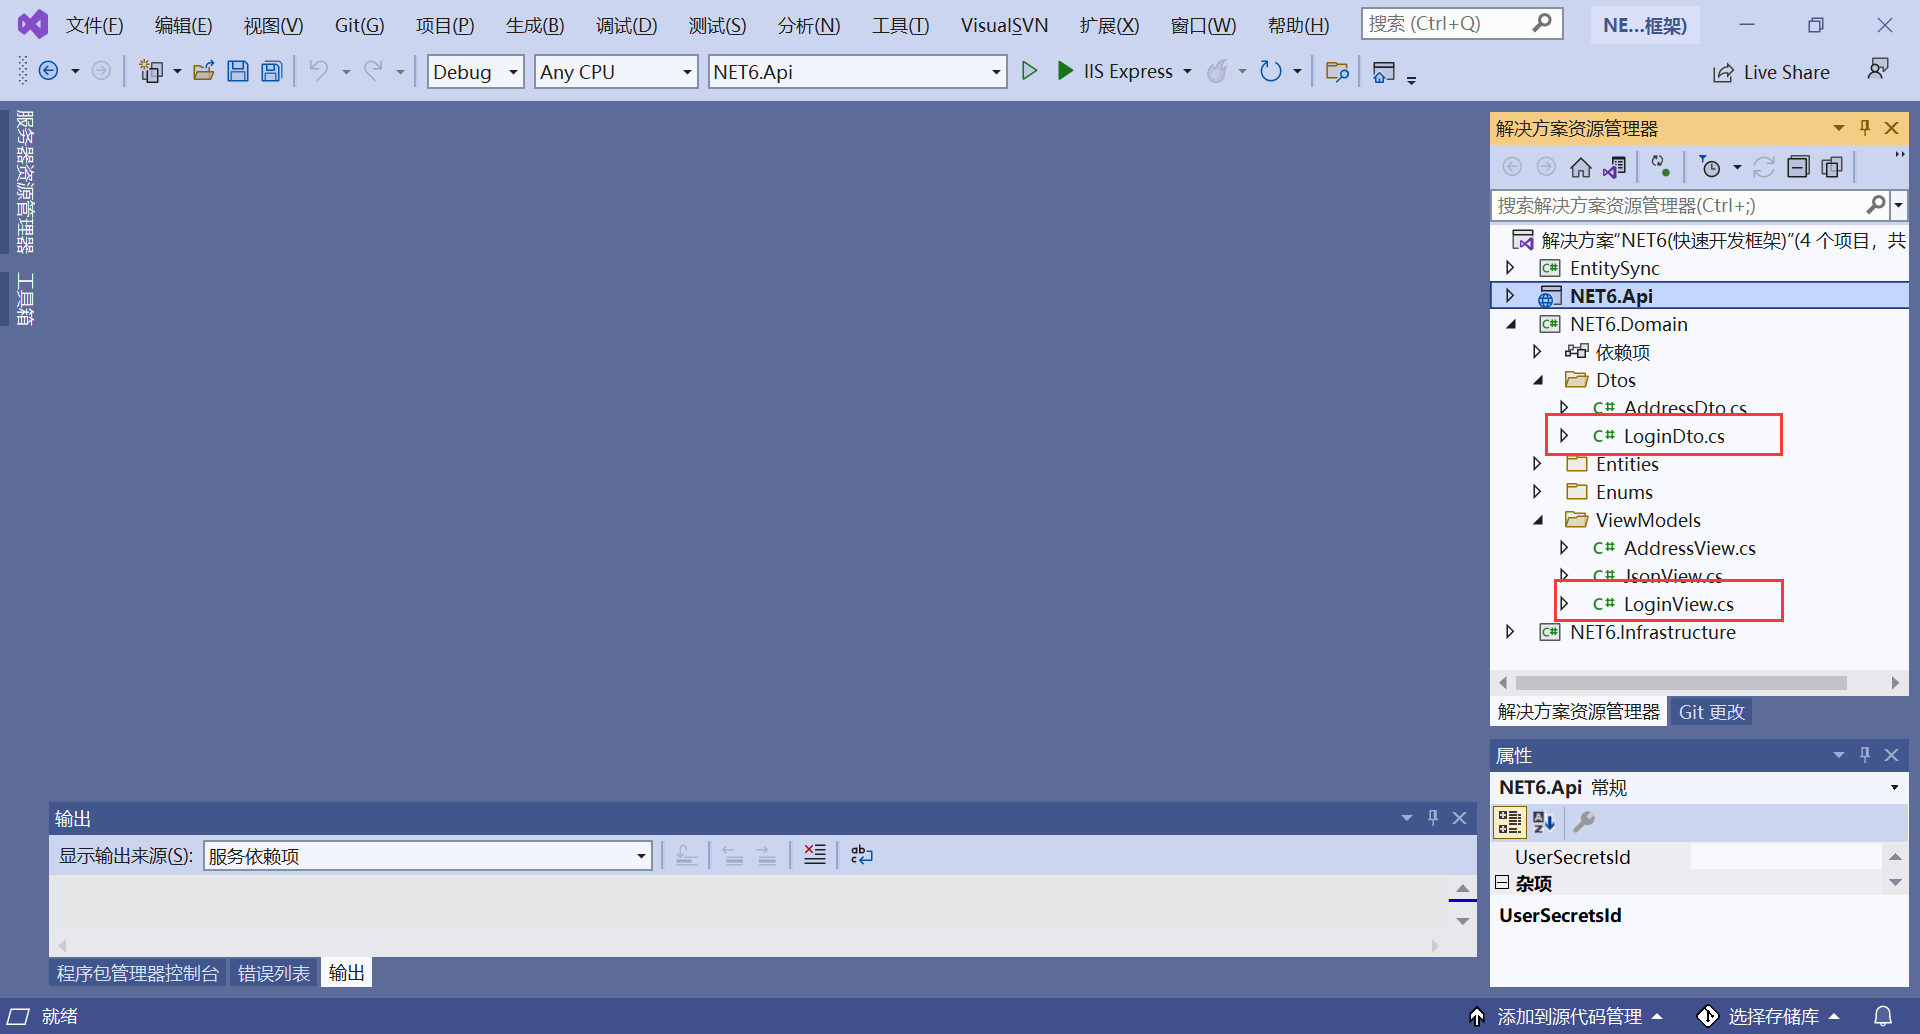
3、接下来我们创建一个LoginDto类用于用户登录信息输入,一个LoginView用于用户登录信息返回,代码如下
namespace NET6.Domain.Dtos
{
    /// <summary>
    /// 用户登录
    /// </summary>
    public class LoginDto
    {
        /// <summary>
        /// 登录名
        /// </summary>
        public string LoginName { get; set; }
        /// <summary>
        /// 密码
        /// </summary>
        public string Password { get; set; }
    }
}
namespace NET6.Domain.ViewModels
{
    /// <summary>
    /// 登录信息
    /// </summary>
    public class LoginView
    {
        /// <summary>
        /// token
        /// </summary>
        public string Token { get; set; }
        /// <summary>
        /// 过期时间
        /// </summary>
        public DateTime Expires { get; set; }
        /// <summary>
        /// 用户Id
        /// </summary>
        public string Id { get; set; }
        /// <summary>
        /// 用户名称
        /// </summary>
        public string Name { get; set; }
        /// <summary>
        /// 用户头像
        /// </summary>
        public string Avatar { get; set; }
    }
}
4、接着我们创建一个新的控制器,命名为AuthController,同样继承于BaseController,添加一个登录方法,并且假设我们用户信息已经验证成功,我们给登录方法加上[AllowAnonymous]标记并将BaseController中的[Authorize]标记启用,代码如下
using Microsoft.AspNetCore.Authorization;
using Microsoft.AspNetCore.Mvc;
using Microsoft.IdentityModel.Tokens;
using NET6.Domain.Dtos;
using NET6.Domain.ViewModels;
using System.IdentityModel.Tokens.Jwt;
using System.Security.Claims;
using System.Text;

namespace NET6.Api.Controllers
{
    /// <summary>
    /// 鉴权相关
    /// </summary>
    public class AuthController : BaseController
    {
        readonly IConfiguration _config;
        public AuthController(IConfiguration config)
        {
            _config = config;
        }

        /// <summary>
        /// 用户登录
        /// </summary>
        /// <param name="dto"></param>
        /// <returns></returns>
        [AllowAnonymous]
        [HttpPost("login")]
        [ProducesResponseType(typeof(LoginView), StatusCodes.Status200OK)]
        public async Task<IActionResult> LoginAsync(LoginDto dto)
        {
            #region 校验用户信息,假设此处我们已经校验成功

            #endregion
            var view = new LoginView
            {
                Expires = DateTime.Now.AddDays(30)
            };
            var claims = new[] { new Claim(ClaimTypes.NameIdentifier, "") };
            var key = new SymmetricSecurityKey(Encoding.UTF8.GetBytes(_config["JwtSecurityKey"]));
            var creds = new SigningCredentials(key, SecurityAlgorithms.HmacSha256);
            var token = new JwtSecurityToken(
                issuer: "net6api.com",
                audience: "net6api.com",
                claims: claims,
                expires: view.Expires,
                signingCredentials: creds);
            view.Token = new JwtSecurityTokenHandler().WriteToken(token);
            return Ok(JsonView(view));
        }
    }
}
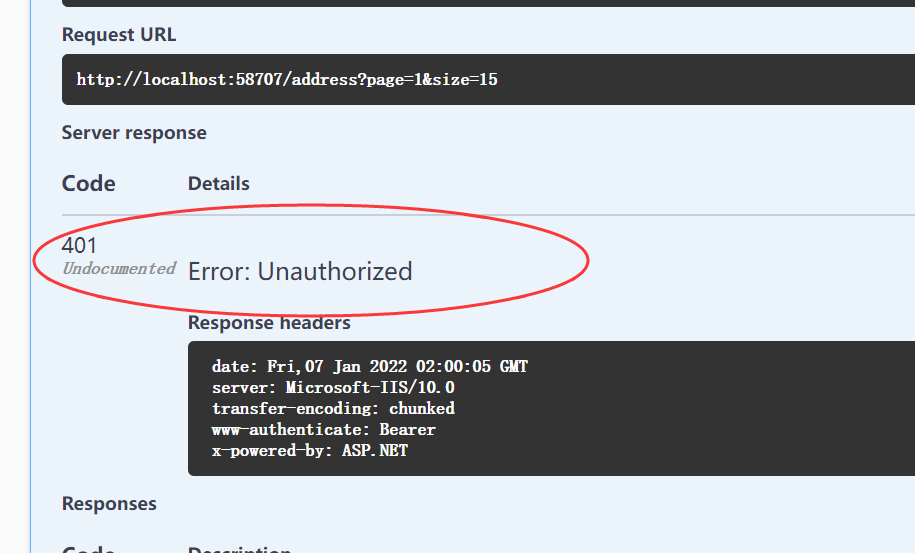
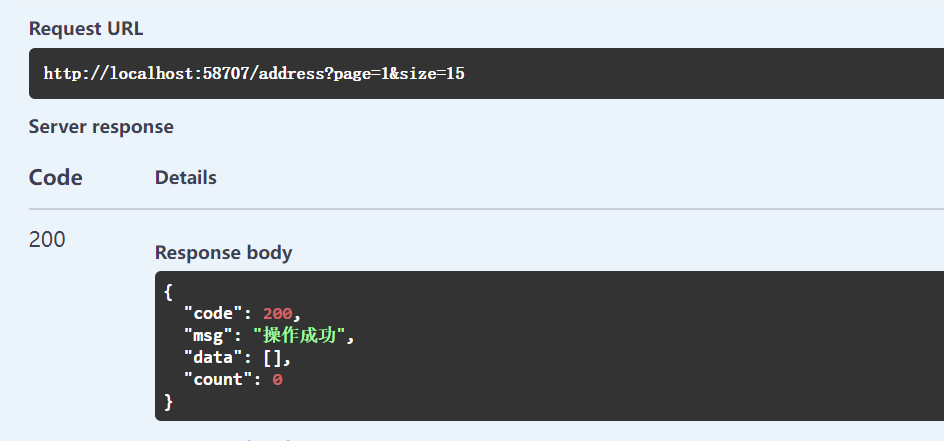
4、编译运行,我们直接访问http://localhost:58707/address?page=1&size=15,发现返回401,表明请求未授权。
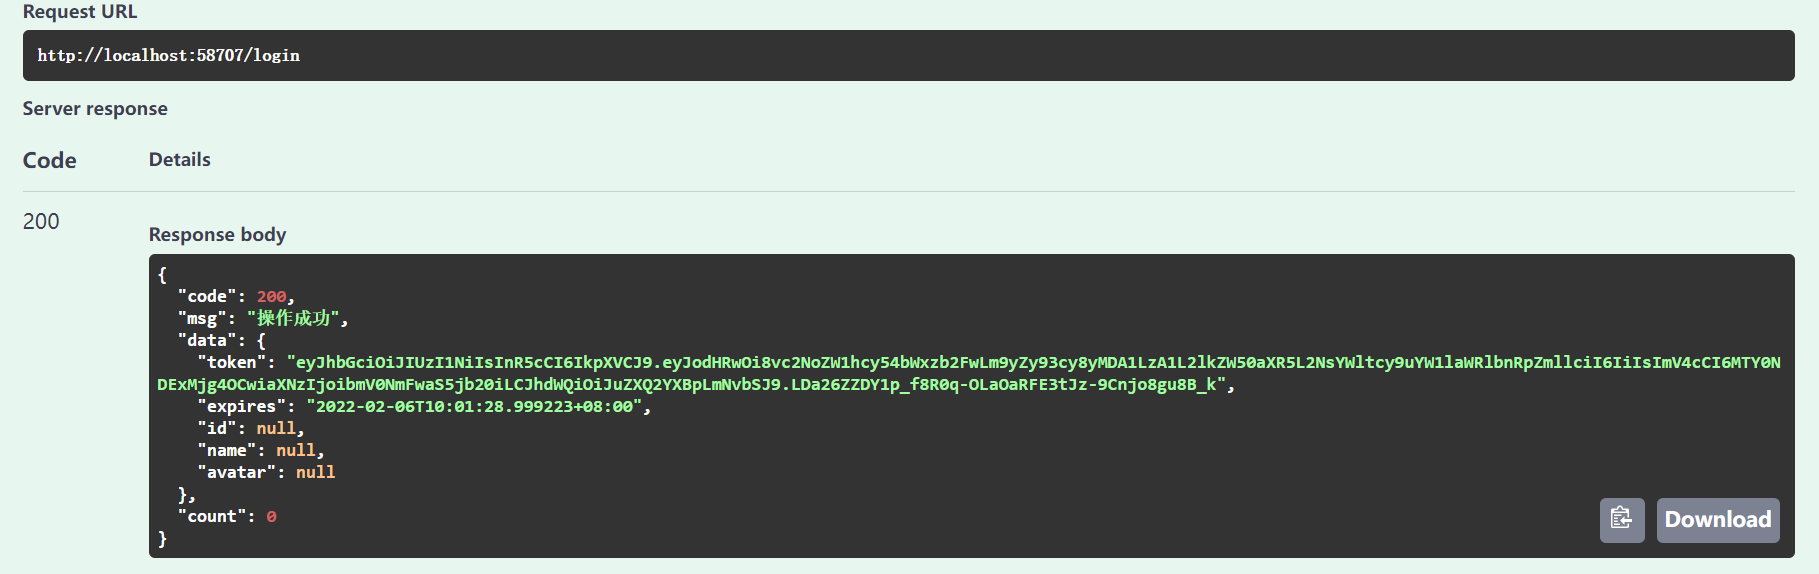
5、我们访问用户登录接口,获取Token。
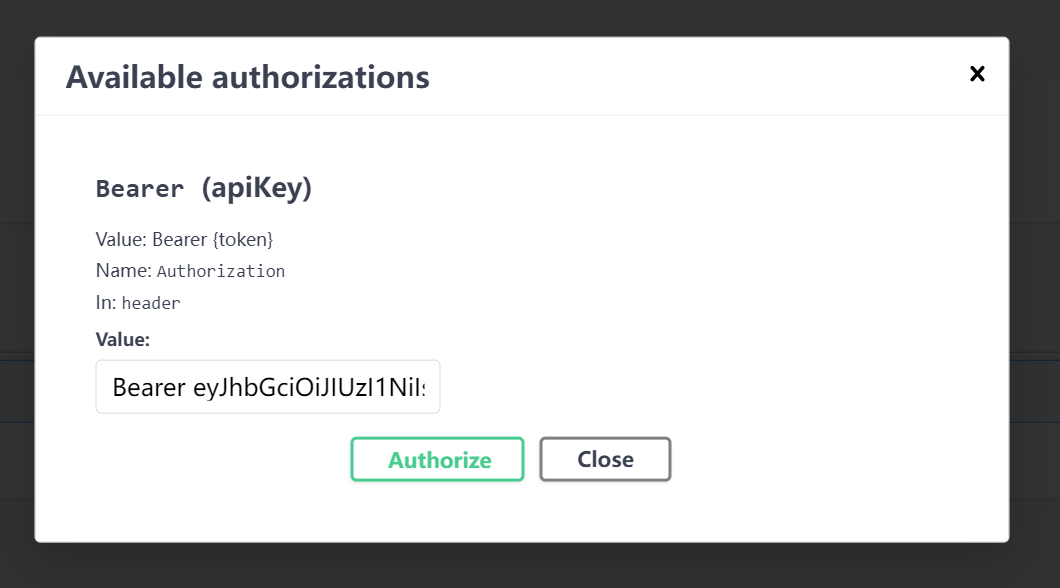
6、我们使用Token再次访问接口,发现鉴权通过,接口正常返回。
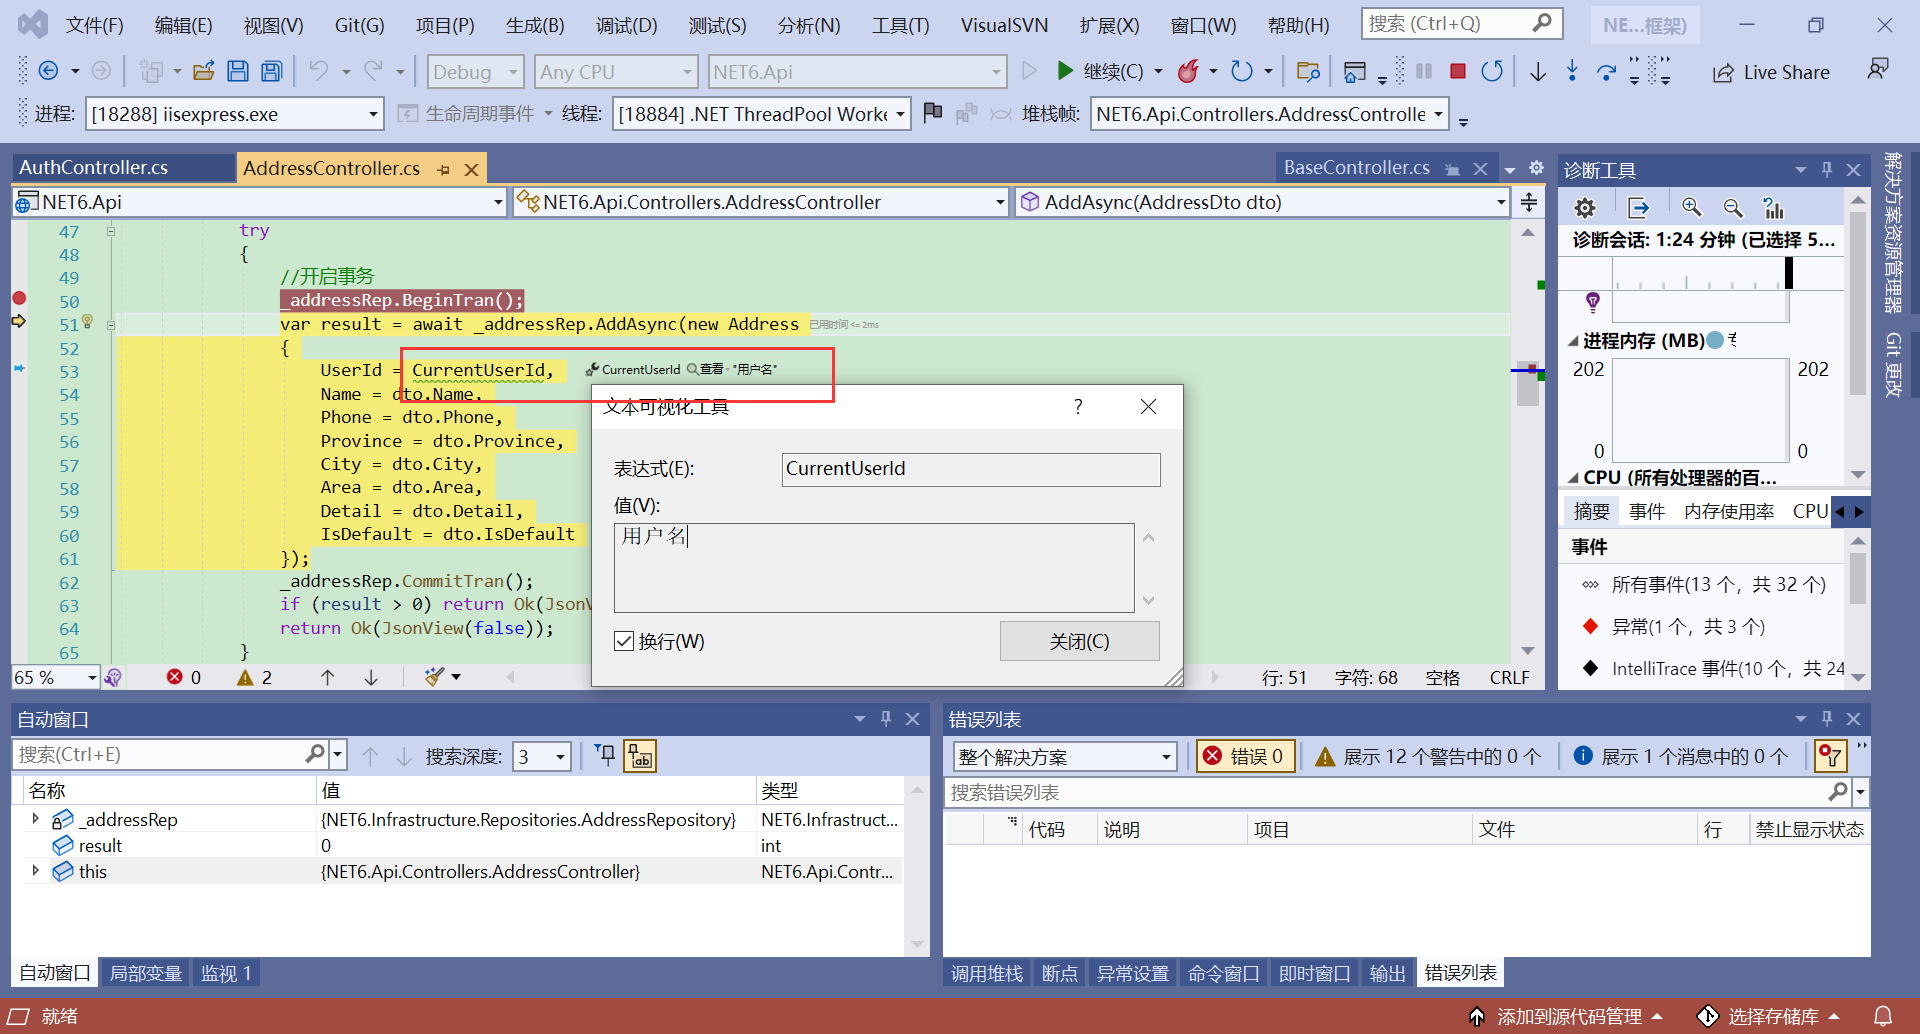
7、一切搞定之后我们该如何获取用户信息呢,直接访问我们在BaseController中定义的CurrentUserId即可(可以将更多的信息添加到Token中,在此处同样可以获取)。
本文来自博客园,作者:昨夜丶雨疏风骤,转载请注明原文链接:https://www.cnblogs.com/netsix/p/15773885.html

 浙公网安备 33010602011771号