
xcode uiscrollview with paging and zoom
Here is a simple and sample code that demonstrate the photo slide function with zoom using uiscrollview.
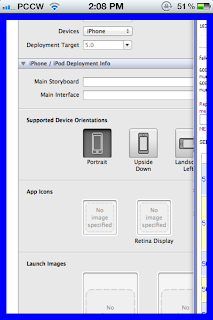
this is the first photo
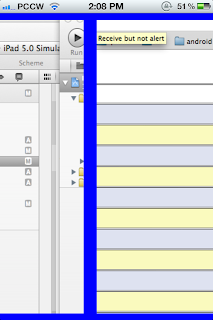
sliding

zooming in particular photo
1. first drag three photos to your project , size not important .
2 viewcontroller.h 's code
#import <UIKit/UIKit.h>
@interface ViewController : UIViewController<UIScrollViewDelegate>{
UIScrollView *bgScorllView; // background scrollview control the slide paging
UIView *bgView; // background view is on the bgscrollview
UIImageView *picImageView; // the imageview for the photo where in the current screen
UIScrollView *picScrollView; // the scrollview for the current screen to preform zoom function
UIImageView *preImageView; // the imageview for the left side of the current screen
UIImageView *nextImageView; // the imageview for the right side of the current screen
}
@end
3. code for viewcontroller.m
at viewdidload
1. define the contentsize of the view , it 's for sliding and paging on the bgscrollview
2. run loadPage
at loadPage
1. remove all subview at bgview first to save memory
2. load the current screen scroll view and imagview
3. add imageview at both sides of current screen , so even slide before reach that page , can see that images
4. add tag for the current screen scrollview , so it won't be confused for uiscrollview delegate - (void)scrollViewDidEndDecelerating:(UIScrollView *)scrollView
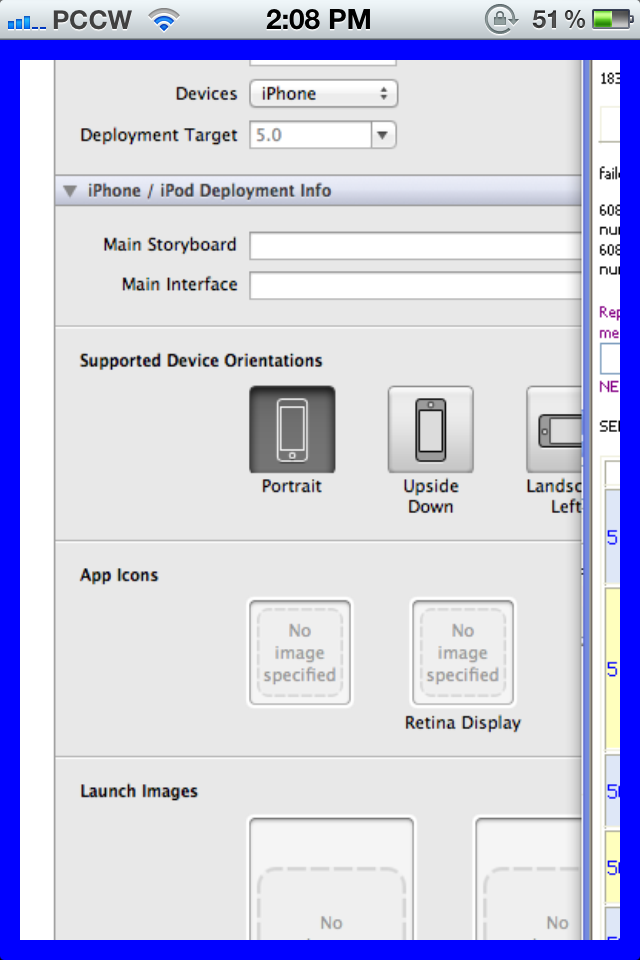
this is the first photo
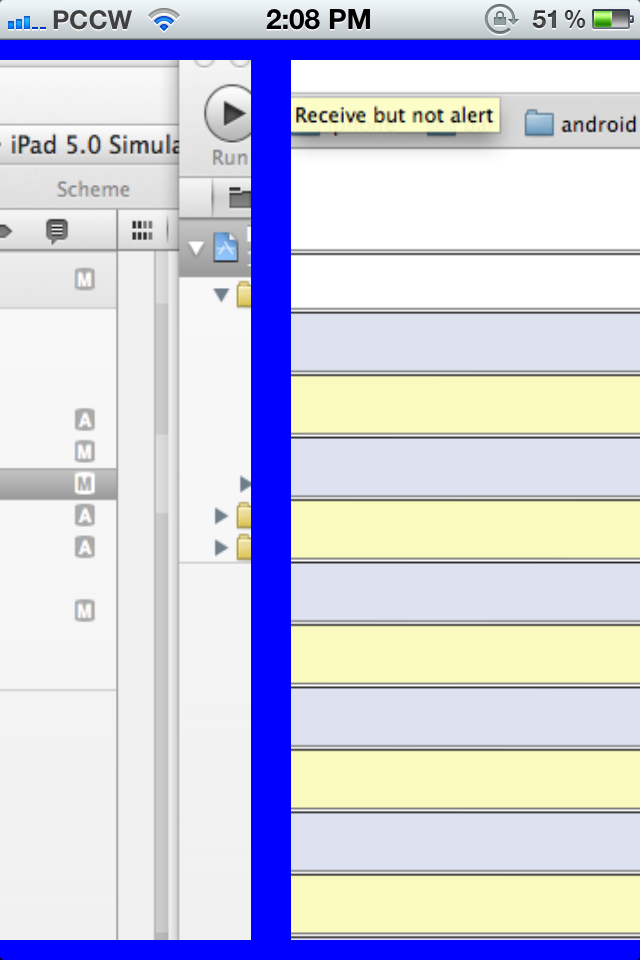
sliding
zooming in particular photo
1. first drag three photos to your project , size not important .
2 viewcontroller.h 's code
#import <UIKit/UIKit.h>
@interface ViewController : UIViewController<UIScrollViewDelegate>{
UIScrollView *bgScorllView; // background scrollview control the slide paging
UIView *bgView; // background view is on the bgscrollview
UIImageView *picImageView; // the imageview for the photo where in the current screen
UIScrollView *picScrollView; // the scrollview for the current screen to preform zoom function
UIImageView *preImageView; // the imageview for the left side of the current screen
UIImageView *nextImageView; // the imageview for the right side of the current screen
}
@end
3. code for viewcontroller.m
at viewdidload
1. define the contentsize of the view , it 's for sliding and paging on the bgscrollview
2. run loadPage
at loadPage
1. remove all subview at bgview first to save memory
2. load the current screen scroll view and imagview
3. add imageview at both sides of current screen , so even slide before reach that page , can see that images
4. add tag for the current screen scrollview , so it won't be confused for uiscrollview delegate - (void)scrollViewDidEndDecelerating:(UIScrollView *)scrollView
#import "ViewController.h"
@implementation ViewController
int numberOfPhotos = 3;
int currentpage;
- (void)didReceiveMemoryWarning
{
[super didReceiveMemoryWarning];
// Release any cached data, images, etc that aren't in use.
}
-(void)loadPage :(int) page{
currentpage = page;
for (UIImageView *sView in bgView.subviews){
NSLog(@"removesubview %@",sView);
[sView removeFromSuperview];
}
NSLog(@"page number %d",page);
UIImage *image = [UIImage imageNamed:[NSString stringWithFormat:@"iphonescroll%d.png",page]];
picScrollView = [[UIScrollView alloc] initWithFrame:CGRectMake((page-1)*320+10, 10,300,440)];
picScrollView.delegate = self;
picScrollView.maximumZoomScale =3;
picScrollView.minimumZoomScale =1;
picScrollView.zoomScale =1;
picScrollView.clipsToBounds = YES;
picScrollView.bounces = YES;
picScrollView.scrollEnabled = YES;
picScrollView.autoresizingMask = UIViewAutoresizingFlexibleHeight;
picScrollView.tag = 5;
picImageView = [[UIImageView alloc] initWithImage:image];
[picImageView setFrame:CGRectMake(0, 0, 300,440)];
[picScrollView addSubview:picImageView];
[bgView addSubview:picScrollView];
int nextpage = page +1 ;
UIImage *nextimage = [UIImage imageNamed:[NSString stringWithFormat:@"iphonescroll%d.png",nextpage]];
nextImageView = [[UIImageView alloc] initWithImage:nextimage];
[nextImageView setFrame:CGRectMake((nextpage-1)*320+10, 10, 300,440)];
[bgView addSubview:nextImageView];
int prepage = page -1 ;
UIImage *preimage = [UIImage imageNamed:[NSString stringWithFormat:@"iphonescroll%d.png",prepage]];
preImageView = [[UIImageView alloc] initWithImage:preimage];
[preImageView setFrame:CGRectMake((prepage-1)*320+10, 10, 300,440)];
[bgView addSubview:preImageView];
}
#pragma mark - View lifecycle
- (void)viewDidLoad
{
[super viewDidLoad];
// Do any additional setup after loading the view, typically from a nib.
NSLog(@"%@",[UIScreen mainScreen]);
bgScorllView = [[UIScrollView alloc] initWithFrame:[[UIScreen mainScreen] bounds]];
[self.view addSubview:bgScorllView];
int width = 320*numberOfPhotos;
bgView = [[UIView alloc] initWithFrame:CGRectMake(0, 0, width,460)];
[self loadPage:1];
[bgScorllView setContentSize:CGSizeMake(width,460)];
bgScorllView.pagingEnabled = YES;
bgScorllView.delegate = self;
bgScorllView.backgroundColor = [UIColor blueColor];
[bgScorllView addSubview:bgView];
//[self.view addSubview:bgView];
}
- (UIView *) viewForZoomingInScrollView:(UIScrollView *)scrollView
{
//NSLog(@"viewforzooming scrollview tag %d",scrollView.tag);
return picImageView;
}
- (void)scrollViewDidZoom:(UIScrollView *)scrollView{
//NSLog(@"scrollviewdidzoom scrollview tag %d %f",scrollView.tag,scrollView.zoomScale);
}
- (void)scrollViewDidEndDecelerating:(UIScrollView *)scrollView{
if (scrollView.tag == 0){
//NSLog(@"viewdisscroll length %f",scrollView.contentOffset.x);
int pageNumber = floor(scrollView.contentOffset.x / 320 + 0.5) +1;
//NSLog(@"page number %d",pageNumber);
if (pageNumber != currentpage){
[self loadPage:pageNumber];
}
}
}
/*
- (void)scrollViewDidScroll:(UIScrollView *)scrollView{
//NSLog(@"scrollviewdidscroll scrollview tag %d",scrollView.tag);
if (scrollView.tag == 0){
//NSLog(@"viewdisscroll length %f",scrollView.contentOffset.x);
int pageNumber = floor(scrollView.contentOffset.x / 320 + 0.5) +1;
//NSLog(@"page number %d",pageNumber);
[self loadPage:pageNumber];
}
}
*/
- (void)scrollViewDidEndScrollingAnimation:(UIScrollView *)scrollView{
if (scrollView.tag == 0 ){
// NSLog(@"viewdidendscroll ");
}
}
