SpringBoot中配置Swagger
首先在pom.xml添加springfox-swagger2和springfox-swagger-ui两个依赖,并且spring-boot-starter-parent的版本不能太高,可以设置为2.1.6.RELEASE
<!-- https://mvnrepository.com/artifact/io.springfox/springfox-swagger2 --> <dependency> <groupId>io.springfox</groupId> <artifactId>springfox-swagger2</artifactId> <version>2.9.2</version> </dependency> <!-- https://mvnrepository.com/artifact/io.springfox/springfox-swagger-ui --> <dependency> <groupId>io.springfox</groupId> <artifactId>springfox-swagger-ui</artifactId> <version>2.9.2</version> </dependency>
在config/目录下创建一个SwaggerConfig.java。
package com.example.springdemo.config; import org.springframework.context.annotation.Configuration; import springfox.documentation.swagger2.annotations.EnableSwagger2; @Configuration @EnableSwagger2 public class SwaggerConfig { }
如果@EnableSwagger2注解无法识别的话,需要点击这个循环图标重新加载maven project即可

在application.properties中添加下面代码,否则运行时会报空指针错误
spring.mvc.pathmatch.matching-strategy=ANT_PATH_MATCHER
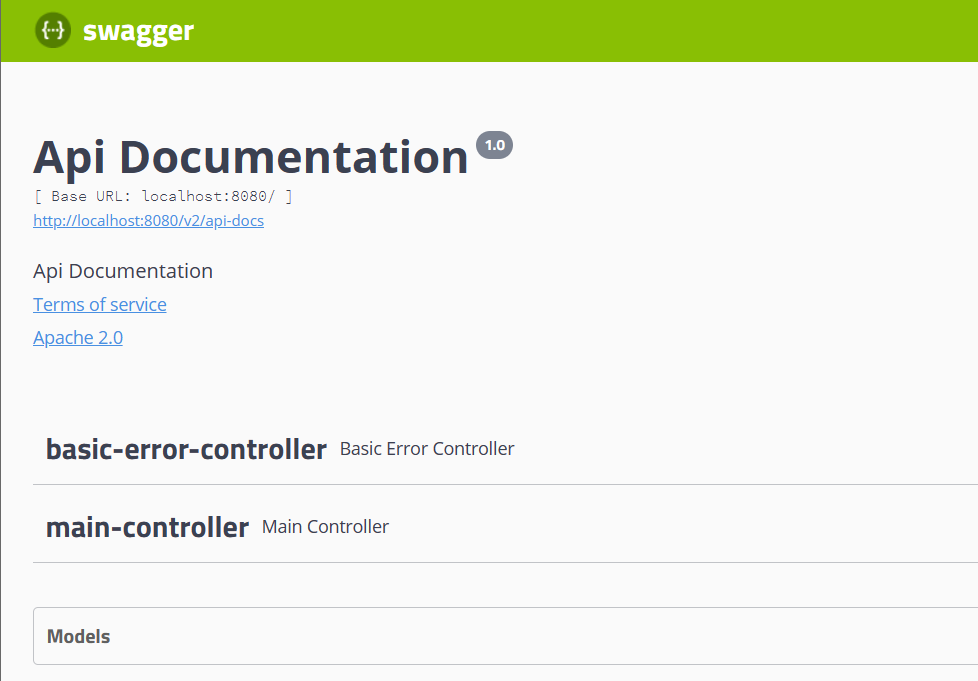
运行项目,访问 http://localhost:8080/swagger-ui.html 即可看到Swagger界面

如果在maven中添加依赖
<!-- 引入swagger-bootstrap-ui包 /doc.html--> <dependency> <groupId>com.github.xiaoymin</groupId> <artifactId>swagger-bootstrap-ui</artifactId> <version>1.9.1</version> </dependency>
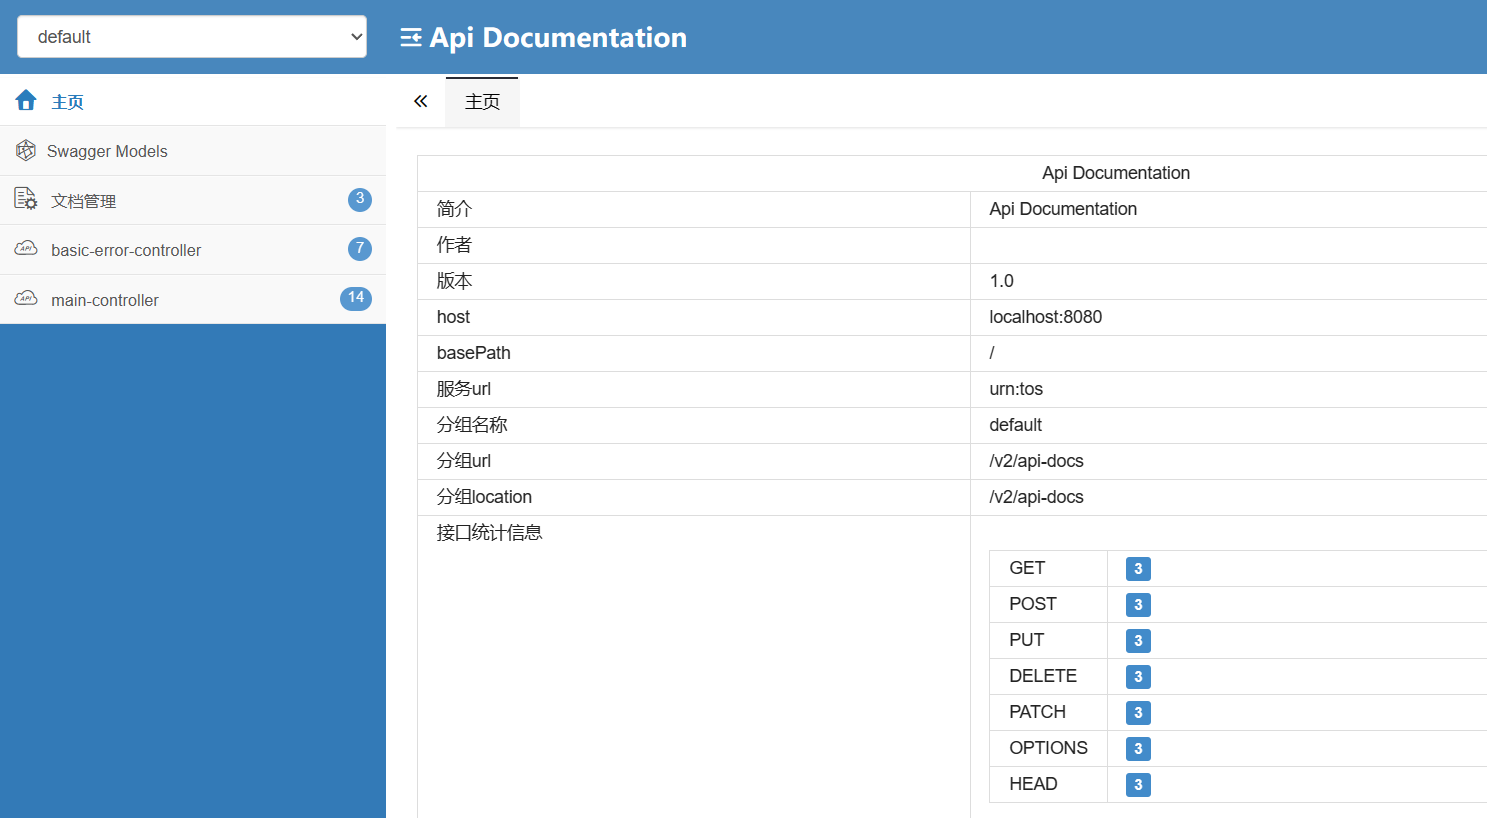
访问 http://localhost:8080/doc.html 则会使用另一种蓝色的UI打开界面


【推荐】国内首个AI IDE,深度理解中文开发场景,立即下载体验Trae
【推荐】编程新体验,更懂你的AI,立即体验豆包MarsCode编程助手
【推荐】抖音旗下AI助手豆包,你的智能百科全书,全免费不限次数
【推荐】轻量又高性能的 SSH 工具 IShell:AI 加持,快人一步
· 阿里最新开源QwQ-32B,效果媲美deepseek-r1满血版,部署成本又又又降低了!
· 单线程的Redis速度为什么快?
· SQL Server 2025 AI相关能力初探
· AI编程工具终极对决:字节Trae VS Cursor,谁才是开发者新宠?
· 展开说说关于C#中ORM框架的用法!