linux基于VSCODE使用rust开发stm32开发环境搭建
1. 安装rust
curl --proto '=https' --tlsv1.2 -sSf https://sh.rustup.rs | sh
2.添加stm32需要的工具链
rustup target add thumbv6m-none-eabi thumbv7m-none-eabi thumbv7em-none-eabi thumbv7em-none-eabihf
cargo install cargo-binutils
rustup component add llvm-tools-preview
3.安装项目生成子命令
cargo install cargo-generate
4.安装编译,烧写,调试等相关的工具
sudo apt install gdb-multiarch openocd qemu-system-arm
5.安装VSCODE
https://code.visualstudio.com/
6.安装VSCODE的插件
rust-analyzer:使用VSCode开发Rust必备
cortex-debug:调试、debug嵌入式程序
crates:提升编辑Cargo.toml的体验,辅助包管理
7.创建一个stm32的项目(芯片:stm32f103zet6)
cargo generate --git https://github.com/rust-embedded/cortex-m-quickstart
8.修改配置
文件:.cargo/config.toml
根据自己的芯片修改,我的芯片是stm32f103zet6,修改如下:
[target.thumbv7m-none-eabi]
# uncomment this to make `cargo run` execute programs on QEMU
# runner = "qemu-system-arm -cpu cortex-m3 -machine lm3s6965evb -nographic -semihosting-config enable=on,target=native -kernel"

[target.'cfg(all(target_arch = "arm", target_os = "none"))']
# uncomment ONE of these three option to make `cargo run` start a GDB session
# which option to pick depends on your system
# runner = "arm-none-eabi-gdb -q -x openocd.gdb"
# runner = "gdb-multiarch -q -x openocd.gdb"
# runner = "gdb -q -x openocd.gdb"

rustflags = [
  # Previously, the linker arguments --nmagic and -Tlink.x were set here.
  # They are now set by build.rs instead. The linker argument can still
  # only be set here, if a custom linker is needed.

  # By default, the LLD linker is used, which is shipped with the Rust
  # toolchain. If you run into problems with LLD, you can switch to the
  # GNU linker by uncommenting this line:
  # "-C", "linker=arm-none-eabi-ld",

  # If you need to link to pre-compiled C libraries provided by a C toolchain
  # use GCC as the linker by uncommenting the three lines below:
  # "-C", "linker=arm-none-eabi-gcc",
  # "-C", "link-arg=-Wl,-Tlink.x",
  # "-C", "link-arg=-nostartfiles",
]

[build]
# Pick ONE of these default compilation targets
# target = "thumbv6m-none-eabi"        # Cortex-M0 and Cortex-M0+
target = "thumbv7m-none-eabi"        # Cortex-M3
# target = "thumbv7em-none-eabi"       # Cortex-M4 and Cortex-M7 (no FPU)
# target = "thumbv7em-none-eabihf"     # Cortex-M4F and Cortex-M7F (with FPU)
# target = "thumbv8m.base-none-eabi"   # Cortex-M23
# target = "thumbv8m.main-none-eabi"   # Cortex-M33 (no FPU)
# target = "thumbv8m.main-none-eabihf" # Cortex-M33 (with FPU)
9.修改memory.x文件
根据自己的芯片,修改FLASH和RAM的大小和起始地址,我的芯片是stm32f103zet6,所有修改如下:
MEMORY
{
  /* NOTE 1 K = 1 KiBi = 1024 bytes */
  /* TODO Adjust these memory regions to match your device memory layout */
  /* These values correspond to the LM3S6965, one of the few devices QEMU can emulate */
  FLASH : ORIGIN = 0x00000000, LENGTH = 512k
  RAM : ORIGIN = 0x20000000, LENGTH = 64K
}

/* This is where the call stack will be allocated. */
/* The stack is of the full descending type. */
/* You may want to use this variable to locate the call stack and static
   variables in different memory regions. Below is shown the default value */
/* _stack_start = ORIGIN(RAM) + LENGTH(RAM); */

/* You can use this symbol to customize the location of the .text section */
/* If omitted the .text section will be placed right after the .vector_table
   section */
/* This is required only on microcontrollers that store some configuration right
   after the vector table */
/* _stext = ORIGIN(FLASH) + 0x400; */

/* Example of putting non-initialized variables into custom RAM locations. */
/* This assumes you have defined a region RAM2 above, and in the Rust
   sources added the attribute `#[link_section = ".ram2bss"]` to the data
   you want to place there. */
/* Note that the section will not be zero-initialized by the runtime! */
/* SECTIONS {
     .ram2bss (NOLOAD) : ALIGN(4) {
       *(.ram2bss);
       . = ALIGN(4);
     } > RAM2
   } INSERT AFTER .bss;
*/
10 . 修改项目依赖库
Cargo.toml
[package]
authors = ["navysummer <navysummer@yeah.net>"]
edition = "2018"
readme = "README.md"
name = "rust-stm32-led"
version = "0.1.0"

[dependencies]
cortex-m = "^0.7.7"      # Access to the generic ARM peripherals
cortex-m-rt = "^0.7.3"  # Startup code for the ARM Core
embedded-hal = "^1.0.0"  # Access to generic embedded functions (`set_high`)
panic-halt = "^0.2.0"    # Panic handler
stm32f1xx-hal = {version = "^0.10.0", features = ["stm32f103", "rt", "medium"]}

# this lets you use `cargo fix`!
[[bin]]
name = "rust-stm32-led"
test = false
bench = false

[profile.release]
codegen-units = 1 # better optimizations
debug = true # symbols are nice and they don't increase the size on Flash
lto = true # better optimizations
11. 编写代码
src/main.rs
#![deny(unsafe_code)]
#![no_main]
#![no_std]

use panic_halt as _;

use cortex_m_rt::entry;
use stm32f1xx_hal::{pac, prelude::*};

#[entry]
fn main() -> ! {
    let dp = pac::Peripherals::take().unwrap();
    let cp = cortex_m::Peripherals::take().unwrap();

    let mut flash = dp.FLASH.constrain();
    let rcc = dp.RCC.constrain();

    let clocks = rcc.cfgr.freeze(&mut flash.acr);

    let mut gpiob = dp.GPIOB.split();
    let mut led = gpiob.pb5.into_push_pull_output(&mut gpiob.crl);
    let mut delay = cp.SYST.delay(&clocks);
    loop {
        led.toggle();
        delay.delay_ms(1_000_u16);
    }
}
12. 编译
cargo build
13.烧写
/usr/bin/openocd -s /usr/share/openocd/scripts -f openocd.cfg -c "program target/thumbv7m-none-eabi/debug/rust-stm32-led preverify verify reset exit 0x08000000"
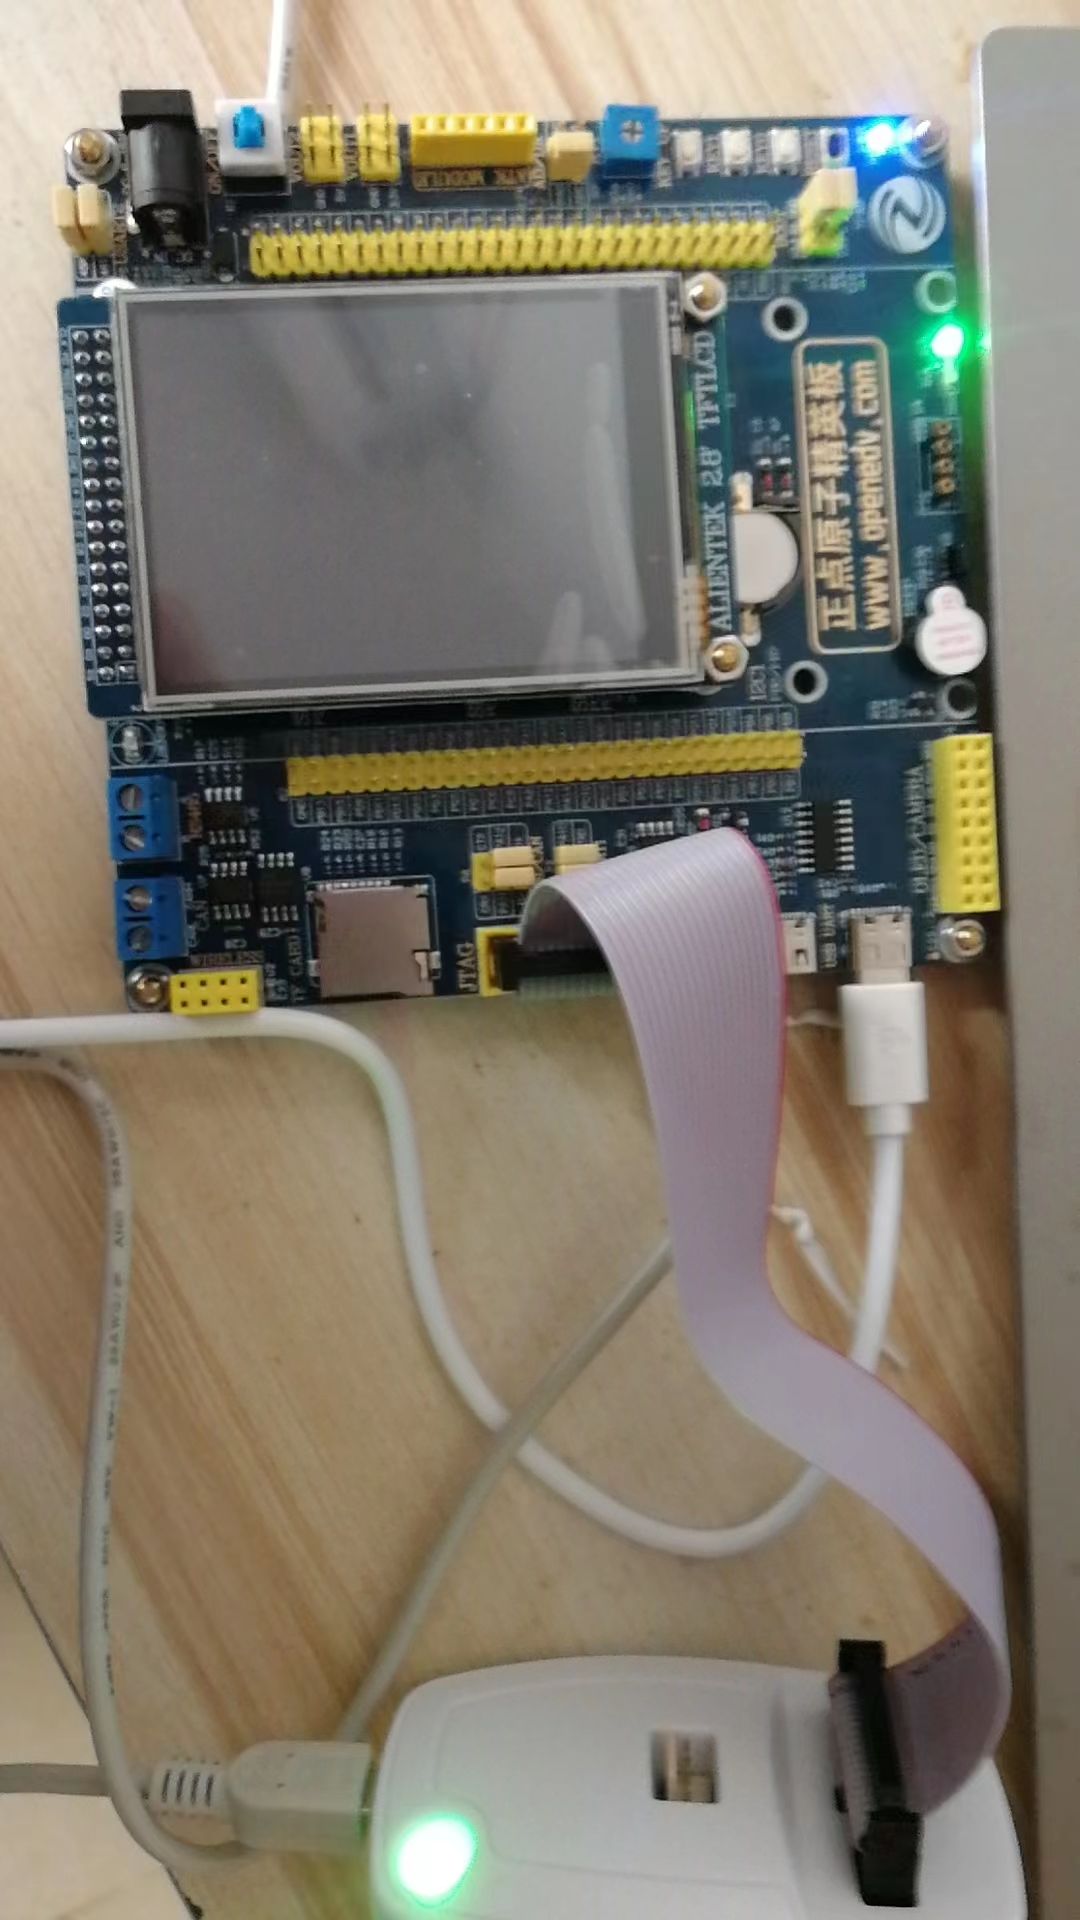
14运行效果

 浙公网安备 33010602011771号