Windows下给你mac下的开发体验 windows+wsl+zsh+vscode
本教程只针对nodejs开发环境 别的语言没有研究应该也是互通的
大家都知道windows的命令行工具是真的难用,就算微软出了powershell使用起来也依旧没有linux下的那种感觉。
首先启用Linux子系统

或者命令行启动
管理员启动powershell
dism.exe /online /enable-feature /featurename:Microsoft-Windows-Subsystem-Linux /all /norestart
根据提示重启
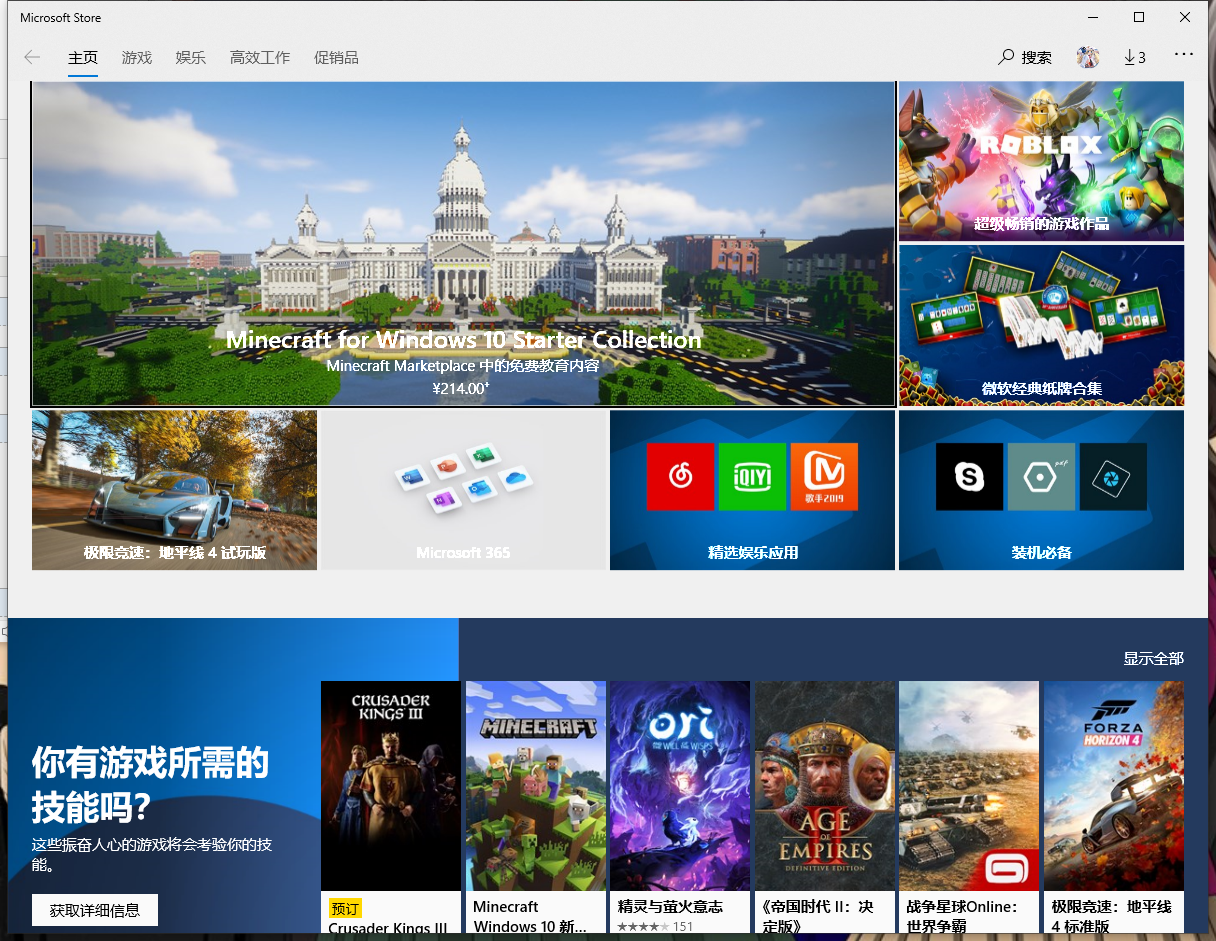
然后打开windows应用商店 Microsoft Store

搜索Linux

获取安装
我这边选择了Ubuntu20.04 LTS 看个人喜好
安装完成后要启动才会开始安装linux


安装完后关闭
进到目录
C:\Users\当前登录用户\AppData\Local\Microsoft\WindowsApps
注意:AppData是隐藏目录记得显示
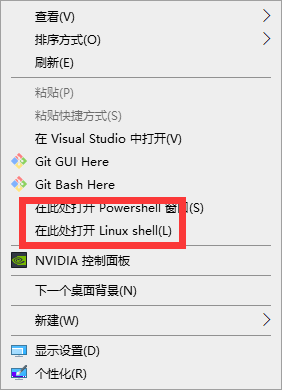
shift+右键 选择管理员运行powershell或者cmd
执行
ubuntu2004.exe config --default-user root

我个人喜欢用root用户 看你们喜欢了,不设置默认用户是root的话某些命令就要记得带sudo了。
win+r 输入 wsl 启动

现在就已经是root用户了
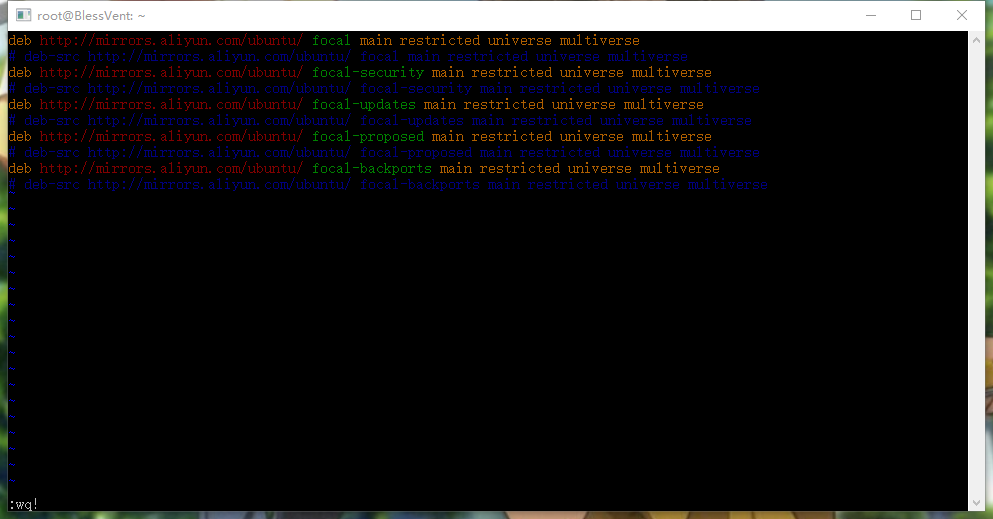
更换阿里云源
vi /etc/apt/sources.list
deb http://mirrors.aliyun.com/ubuntu/ focal main restricted universe multiverse
# deb-src http://mirrors.aliyun.com/ubuntu/ focal main restricted universe multiverse
deb http://mirrors.aliyun.com/ubuntu/ focal-security main restricted universe multiverse
# deb-src http://mirrors.aliyun.com/ubuntu/ focal-security main restricted universe multiverse
deb http://mirrors.aliyun.com/ubuntu/ focal-updates main restricted universe multiverse
# deb-src http://mirrors.aliyun.com/ubuntu/ focal-updates main restricted universe multiverse
deb http://mirrors.aliyun.com/ubuntu/ focal-proposed main restricted universe multiverse
# deb-src http://mirrors.aliyun.com/ubuntu/ focal-proposed main restricted universe multiverse
deb http://mirrors.aliyun.com/ubuntu/ focal-backports main restricted universe multiverse
# deb-src http://mirrors.aliyun.com/ubuntu/ focal-backports main restricted universe multiverse

更新软件源数据库,更新系统
apt update
apt upgrade

安装编译工具
apt install build-essential autoconf libpng-dev # 包含了gcc、g++、make等工具

安装zsh
apt install zsh

安装oh-my-zsh
sh -c "$(wget -O- https://raw.githubusercontent.com/ohmyzsh/ohmyzsh/master/tools/install.sh)"

安装nvm
curl -o- https://raw.githubusercontent.com/nvm-sh/nvm/v0.35.3/install.sh | bash

安装python2.7
apt install python
现在就可以愉快的使用wsl终端了

安装VSCODE
记得勾选添加到PATH
打开VSCODE 按F1找选择默认shell


选择 WSL Bash
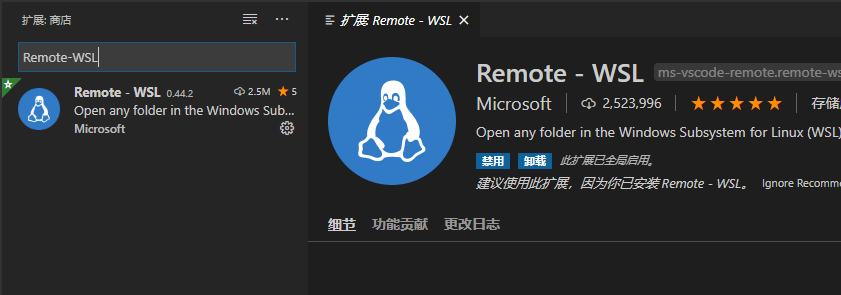
选择安装扩展 搜索Remote-WSL 安装


这样就会远程到wsl开发,调试了。
windows环境下的运行环境,git等就可以卸载了 直接使用wsl的就行了。
参考链接
https://www.lizenghai.com/archives/38734.html#25_git


