【云服务器学习之旅】环境工具的安装
前言
刚搭建起了云服务器,里面很多必须的环境依赖和必要工具都没有,这里就记录下我平时要用的工具的安装。
yum
centos里没有ubuntu等常见的apt,是用yum或dnf命令下载软件的
yum和apt-get的区别
一般来说著名的linux系统基本上分两大类:
查看系统版本命令:cat /proc/version
RedHat系列,包管理工具是yum
Redhat、Centos、Fedora等
centos升为8后yum被dnf代替了,但依旧能用
常见的安装包格式 rpm包,安装rpm包的命令是“rpm -参数”
包管理工具 yum
支持tar包
Debian系列,包管理工具是apt-get
Debian、Ubuntu、kali等
常见的安装包格式 deb包,安装deb包的命令是“dpkg -参数”
包管理工具 apt-get
支持tar包
yum命令
yum  install 包名  //安装包
yum  install epel-release  //扩展包更新包
yum  update //更新yum源
yum  remove  包名  //卸载包
yum  reinstall  包名  //重新安装包
yum  update -y //加一个-y,默认选择yes
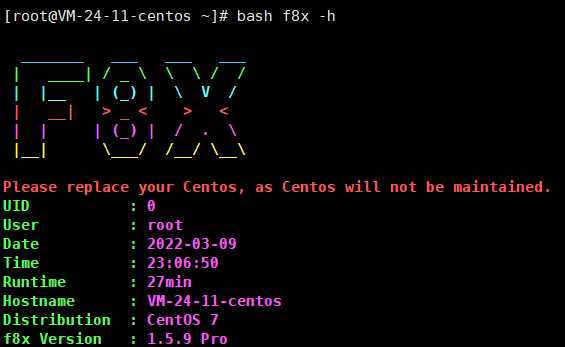
f8x 强烈推荐!!!
项目地址:https://github.com/ffffffff0x/f8x/blob/main/README.zh-cn.md
下载地址:https://github.com/ffffffff0x/f8x/releases
使用方法
将下载好的f8x二进制文件传输到云服务器上
使用命令bash f8x -all全自动化部署 (默认不走代理,兼容 CentOS7/8,Debain10/9,Ubuntu20/18,Fedora33)
常用部署
使用 -b 选项安装基本环境 (gcc、make、git、vim、telnet、jq、unzip 等基本工具)
使用 -p 选项安装代理环境 (警告:国外云服务器上不要用,会降速)
使用 -d 选项安装开发环境 (python3、pip3、Go、Docker、Docker-Compose、SDKMAN)
使用 -k 选项安装渗透环境 (hashcat、ffuf、OneForAll、ksubdomain、impacket 等渗透工具)
      -k -a 信息收集、扫描、爆破、抓取
      -k -b 漏洞利用
      -k -c 后渗透、C2
      -k -d 其他
      -k -e 功能重叠或长期不维护
使用 -s 选项安装蓝队环境 (Fail2Ban、chkrootkit、rkhunter、河马webshell查杀工具)
使用 -f 选项安装其他工具 (Bash_Insulter、vlmcsd、AdguardTeam、trash-cli 等辅助工具)
使用 -cloud 选项安装云应用 (Terraform、Serverless Framework、wrangler)
使用 -all 选项全自动化部署 (默认不走代理,兼容 CentOS7/8,Debain10/9,Ubuntu20/18,Fedora33)
渗透测试工具
dirsearch
目录扫描工具
项目地址:https://github.com/maurosoria/dirsearch
安装
git clone https://github.com/maurosoria/dirsearch.git
cd dirsearch
pip3 install -r requirements.txt
python3 dirsearch.py -u <URL> -e <EXTENSIONS>
遇到问题
- K8X安装的python版本是3.6,dirsearch要3.7或更高
解决方法:https://blog.csdn.net/weixin_41862761/article/details/103890774 - 安装完新版本后,pip3调用的还是旧的路径

解决方法,强制重新安装
curl https://bootstrap.pypa.io/get-pip.py -o get-pip.py
python3 get-pip.py --force-reinstall
参考链接:https://blog.csdn.net/wangweiwells/article/details/88374070
- 运行时,出现“No module named '_sqlite3'”
参考链接:https://www.jianshu.com/p/dd4532457b9f
运行结果

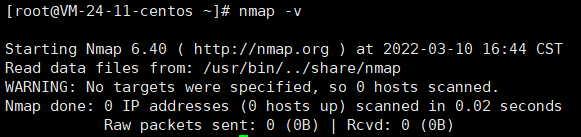
Nmap
端口扫描工具
安装命令
yum install nmap
运行结果
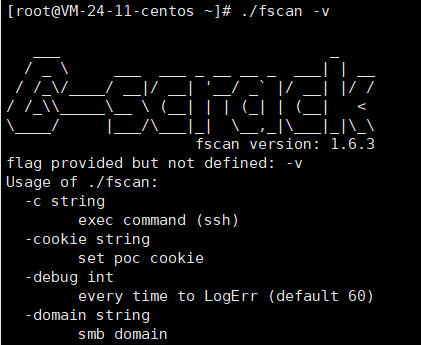
fsan
内网扫描工具
项目地址:https://github.com/shadow1ng/fscan
安装
本机下载二进制fscan文件,拖到云服务器上
记得给运行权限
./fscan -v
运行结果
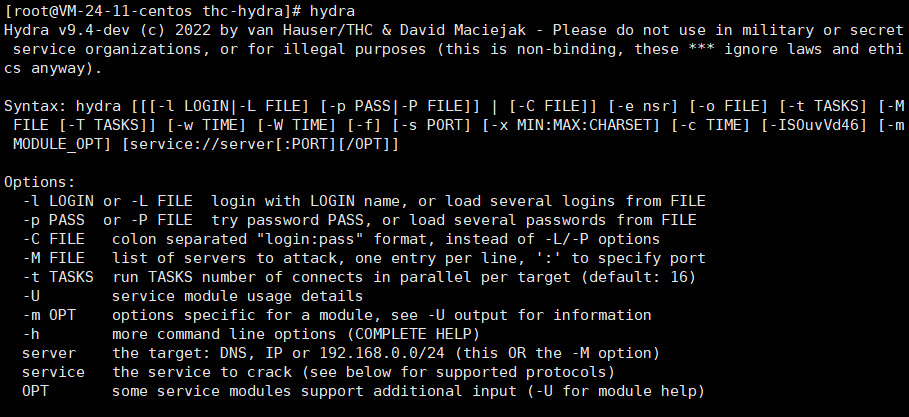
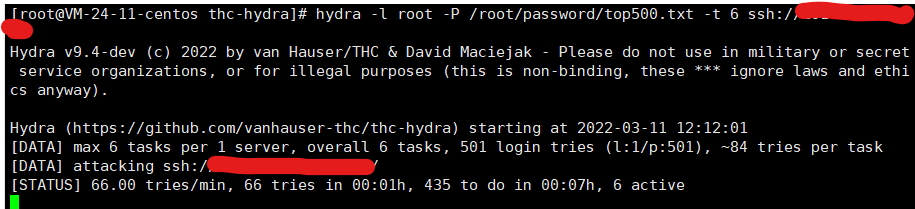
hydra
密码爆破工具
项目地址:https://github.com/vanhauser-thc/thc-hydra
安装
如果要ssh爆破,要先安其他库
yum -y install gcc libssh-devel openssl-devel
git clone https://github.com/vanhauser-thc/thc-hydra
cd thc-hydra/
./configure
make
make install
使用
hydra
运行结果
爆破本机ssh试试
OneForAll
子域名扫描工具
项目地址:https://github.com/shmilylty/OneForAll
安装
- git clone
git clone https://gitee.com/shmilylty/OneForAll.git
#或
git clone https://github.com/shmilylty/OneForAll.git
- 安装依赖
cd OneForAll/
sudo yum install gcc python3-devel python3-pip -y
sudo python3 -m pip install -U pip setuptools wheel -i https://mirrors.aliyun.com/pypi/simple/
sudo pip3 install --ignore-installed -r requirements.txt -i https://mirrors.aliyun.com/pypi/simple/
python3 oneforall.py --help
使用演示
python3 oneforall.py --target example.com run
python3 oneforall.py --targets ./example.txt run

结果说明
我们以python3 oneforall.py --target example.com run命令为例,OneForAll在默认参数正常执行完毕会在results目录生成相应结果:

- example.com.csv是每个主域下的子域收集结果。
说明
result.sqlite3是存放每次运行OneForAll收集到子域的SQLite3结果数据库- example_com_origin_result表存放每个模块最初子域收集结果。
- example_com_resolve_result表存放对子域进行解析后的结果。
- example_com_last_result表存放上一次子域收集结果(需要收集两次以上才会生成)。
- example_com_now_result表存放现在子域收集结果,一般情况关注这张表就可以了。
- 获取帮助
python oneforall.py --help

 浙公网安备 33010602011771号