
基于uniapp框架开发飞书小程序总结
前期准备
飞书官方客户端文档:https://open.feishu.cn/document/home/intro
飞书官方工具资源文档:https://open.feishu.cn/document/uYjL24iN/uEzMzUjLxMzM14SMzMTN/develop-gadget-with-uni-app
经过对比选型,决定使用uniapp框架进行开发,因为需求较简单,所以ui库就直接用了uniapp官方提供的库。
uniapp官方文档:https://uniapp.dcloud.net.cn/tutorial/
uniapp的论坛也提供了一些轮子:https://ext.dcloud.net.cn/
附:
开始开发
根据官方文档的步骤一路操作下来后,已经可以用hbuilder搭建一个新项目,配置好飞书开发者工具的路径后,通过运行将飞书开发者工具唤醒了。
导入项目后,就可以正式开发了。
由于基础的api,飞书和uniapp的官方文档中已经写得很清楚,可以直接参阅文档。
引入官方ui库:https://uniapp.dcloud.net.cn/component/uniui/quickstart.html
接下来开始配置store。
uniaap生成的项目中,已经内嵌了vuex,我因为一直使用React开发,已经很久没有接触过vue了,因此对照着文档进行了学习:https://uniapp.dcloud.net.cn/tutorial/vue3-vuex.html
整理一下配置步骤:
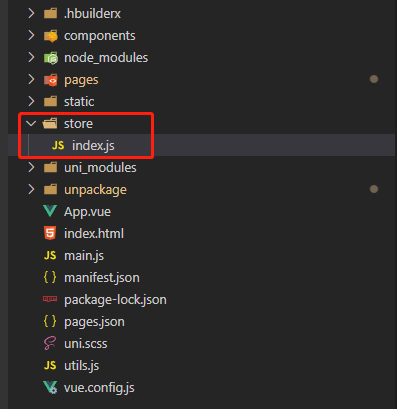
1.首先在项目根目录下新建store文件夹,其下新建index.js:
2.index.js的内容为:
// // 组装模块并导出 store 的地方
import {
	createStore
} from 'vuex'
import {
	tabbarList
} from '@/utils.js';

const store = createStore({
	// 存放状态
	state: {
		"code": '',
		"openId": '',
		"userInfo": {},
	},
	getters: {
		getCode(state) {
			return state.code || ''
		},
		getToken(state) {
			return state.openId || ''
		},
		getUserInfo(state) {
			return state.userInfo || {}
		},
	},
	// 同步函数
	mutations: {
		setCode(state, payload) {
			state.code = payload.code || ''
		},
		setUserInfo(state, payload) {
			state.userInfo = payload || {}
		},
		setOpenId(state, payload) {
			state.openId = payload || ''
		},
	},
	// 提交 mutation,通过 mutation 改变 state ,而不是直接变更状态,可以包含任意异步操作
	actions: {
		// 登录系统
		adsLogin({
			commit,
			state
		}, payload) {
			// 清理本地ads登录相关的缓存
			uni.removeStorageSync('OPEN_ID');
			uni.removeStorageSync('USER_INFO');
			return new Promise((resolve, reject) => {
				uni.request({
					url: '/login',
					method: 'POST',
					data: {
						code: state.code,
					},
					success: (res) => {
						const {
							code,
							message,
							result
						} = res.data;
						if (code === 0 && result) {
							commit('setUserInfo', result)
							commit('setOpenId', result.open_id)
							uni.setStorageSync('USER_INFO', result) // 存储userInfo
							uni.setStorageSync('OPEN_ID', result.open_id) // 存储open_id
							if (resolve) resolve(result)
						} else {
							uni.showToast({
								title: message || '操作失败',
								icon: 'error',
								duration: 3000
							})
							if (reject) reject(res)
						}
					},
					fail: err => {
						console.log(err, 'err');
						uni.showToast({
							title: err.errMsg || '请求错误',
							icon: 'fail',
							duration: 2000
						})
						if (reject) reject(err)
					}
				});
			})

		}
	}
})

export default store
其中的一些API,文档中都有很详细的介绍:
------------------------------------
<script>
	import store from '@/store/index.js'; // 引入store
	import {
		mapGetters,
		mapActions
	} from 'vuex';
	import qs from 'qs';

	export default {
		computed: {
			...mapGetters({
				code: 'getCode',
				token: 'getToken'
			})
		},
		// 监听小程序初始化
		onLaunch: function() {
			// 小程序初始化后全局执行一次,若【未登录ads|token过期】则触发登录,否则直接进入主页面
			const initCommon = () => {
				uni.request({
					url: '/jzData/common/init',
					header: {
						Authorization: `Bearer ${uni.getStorageSync('OPEN_ID')}`,
					},
					success: (res) => {
						const {
							code,
							message,
							result
						} = res.data;
						if (code === 0 && result) {
							uni.$emit('hasLogin');
							store.commit('setCommon', result)
						} else if (code === 50000) {
							// 如果接口返回code为50000,则说明ads登录过期,需要重新登录
							getAdsLogin()
						} else {
							uni.showToast({
								title: message || '操作失败',
								icon: 'error',
								duration: 2000
							})
						}
					}
				});
			}

			const getAdsLogin = () => {
				// 服务器问题-服务器缺省页;账号不存在-权限缺省页;网络问题-网络缺省页
				store.dispatch('adsLogin').then(() => {
						uni.$emit('hasLogin');
						initCommon()
					})
					.catch((res) => {
						uni.$emit('notLogin');
						if (res.statusCode === 500) {
							uni.redirectTo({
								url: `/pages/500/500`
							});
						} else {
							const message = res?.data?.message || '';
							//关闭当前页面,跳转到403无权限页面
							uni.redirectTo({
								url: `/pages/403/403?msg=${message}`
							});
						}
					});
			}
			// 登录并获取用户信息[每次进入小程序都执行,只对ads系统的登录状态做判断]
			tt.login({
				success(res) {
					// 存储飞书code,用于请求时传参
					store.commit({
						type: 'setCode',
						code: res.code || ''
					})
					// 如果已有openid在缓存,则不需要登录ads系统,存储userInfo&open_id
					if (uni.getStorageSync('OPEN_ID')) {
						store.commit('setUserInfo', uni.getStorageSync('USER_INFO') || {})
						store.commit('setOpenId', uni.getStorageSync('OPEN_ID') || '')
						initCommon()
					} else {
						// 使用小程序登录后返回的code登录ads系统
						// 服务器问题-服务器缺省页;账号不存在-权限缺省页;网络问题-网络缺省页
						store.dispatch('adsLogin').then((res) => {
								uni.$emit('hasLogin');
								const openId = res?.open_id;
								uni.request({
									url: '/init',
									header: {
										Authorization: `Bearer ${openId}`,
									},
									success: (res) => {
										const {
											code,
											message,
											result
										} = res.data;
										if (code === 0 && result) {
											store.commit('setCommon', result)
										} else {
											uni.showToast({
												title: message || '操作失败',
												icon: 'error',
												duration: 2000
											})
										}
									}
								});
							})
							.catch((res) => {
								uni.$emit('notLogin');
								if (res.statusCode === 500) {
									uni.redirectTo({
										url: `/pages/500/500`
									});
								} else {
									const message = res?.data?.message || '';
									//关闭当前页面,跳转到403无权限页面
									uni.redirectTo({
										url: `/pages/403/403?msg=${message}`
									});
								}
							});
					}
				},
				fail(res) {
					console.log(`飞书小程序登陆失败: ${JSON.stringify(res)}`);
					uni.$emit('failLogin');
					uni.redirectTo({
						url: `/pages/404/404`
					});
				}
			});

			// 全局添加拦截器
			uni.addInterceptor('request', {
				invoke(args) {
					const dev = 'https://xx.com';
					const pre = 'https://yy.com';
					const pro = 'https://zz.com';
					// args.url = (process.env.NODE_ENV === 'development' ? dev : pro) + args.url;
					// 发布测试版
					const params = args.data;
					if (args.method === 'GET' || !args.method) {
						args.url = pre + args.url + `?${qs.stringify(params, { arrayFormat: 'brackets' })}`;
						args.data = {}
					} else {
						args.url = pre + args.url;
					}
					console.log('请求内容:', args)
					// args.header = {
					// 	...args.header,
					// 	Authorization: `Bearer ${this.token}`,
					// }
				},
				success(args) {
					console.log('请求成功:', args)
				},
				fail(err) {
					console.log('请求失败:', err)
				},
			})
		},
		onShow: function() {
			// console.log('App Show')
		},
		onHide: function() {},
		onPageNotFound() {
			uni.redirectTo({
				url: '/pages/404/404'
			})
		},
		methods: {
			...mapActions([
				'adsLogin',
			]),
		}
	}
</script>

<style lang="scss">
	/*每个页面公共css */
	@import './static/font/iconfont.css';

	body {
		color: $uni-text-color;
		font-size: 28rpx;
		font-family: -apple-system, BlinkMacSystemFont, Segoe UI, PingFang SC, Hiragino Sans GB, Microsoft YaHei, Helvetica Neue, Helvetica, Arial, sans-serif, Apple Color Emoji, Segoe UI Emoji, Segoe UI Symbol;
		padding-bottom: 40rpx;
	}
</style>
逻辑处理很简单(因为真的很小一项目,请教了大佬后确定就简单做):先登录飞书,拿到飞书的code之后,请求后台系统,获取后台系统返回的openId,这个字段用于后续所有接口请求时拼接在头部。
3.store的主文件写完后,需要配置到main.js中(爷直接复制官方文档),就可以生效了:
import App from './App'
import store from './store'
import {
	createSSRApp
} from 'vue'

// #ifndef VUE3
import Vue from 'vue'

Vue.prototype.$store = store
Vue.config.productionTip = false

App.mpType = 'app'
const app = new Vue({
	store,
	...App
})
app.$mount()
// #endif

// #ifdef VUE3
export function createApp() {
	const app = createSSRApp(App)
	app.use(store)
	return {
		app
	}
}
// #endif
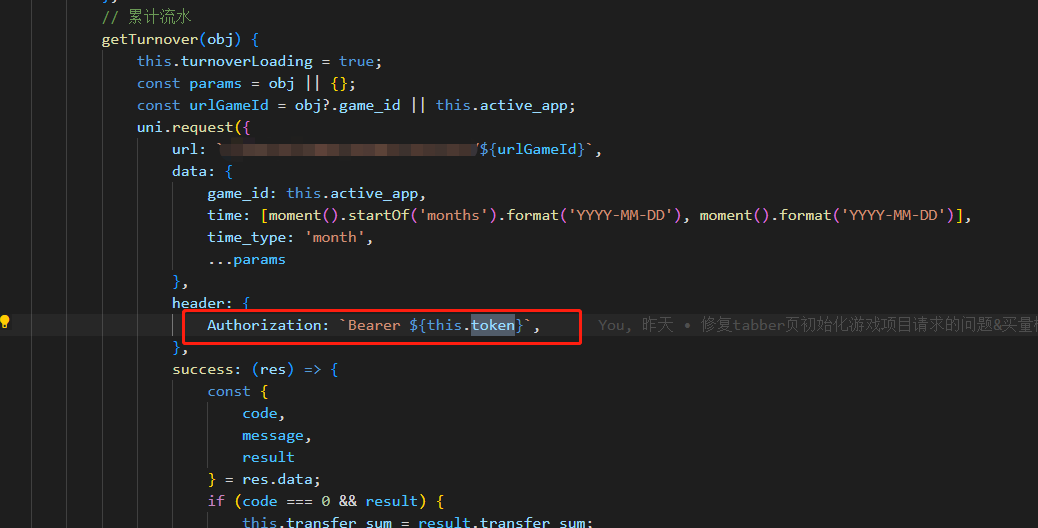
4.页面中使用:
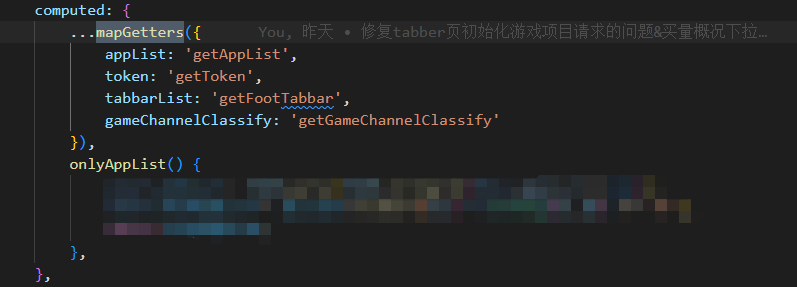
方法中就可以直接获取到:
同样模板代码中也可以直接拿到:

{
	"easycom": {
		"autoscan": true,
		"custom": {
			// uni-ui 规则如下配置
			"^uni-(.*)": "@dcloudio/uni-ui/lib/uni-$1/uni-$1.vue"
		}
	},
	"pages": [ //pages数组中第一项表示应用启动页,参考:https://uniapp.dcloud.io/collocation/pages
		{
			"path": "pages/index/index"
		},
		{
			"path": "pages/summary/summary",
			"style": {
				"enablePullDownRefresh": true
			}
		},
		// 项目概况
		{
			"path": "pages/overview/overview",
			"style": {
				"navigationBarTitleText": "项目概况",
				"enablePullDownRefresh": true
			}
		},
		// 买量概况
		{
			"path": "pages/buyVolume/buyVolume",
			"style": {
				"navigationBarTitleText": "买量概况",
				"enablePullDownRefresh": true
			}
		},
		// 媒体概况
		{
			"path": "pages/media/media",
			"style": {
				"navigationBarTitleText": "媒体概况",
				"enablePullDownRefresh": true
			}
		},
		// 人员概况
		{
			"path": "pages/person/person",
			"style": {
				"navigationBarTitleText": "人员概况",
				"enablePullDownRefresh": true
			}
		},
		{
			"path": "pages/500/500",
			"style": {
				"navigationStyle": "custom"
			}
		},
		{
			"path": "pages/404/404",
			"style": {
				"navigationStyle": "custom"
			}
		},
		{
			"path": "pages/403/403",
			"style": {
				"navigationStyle": "custom"
			}
		}
	],
	"globalStyle": {
		"navigationBarTextStyle": "black",
		"navigationBarTitleText": "Data(应用)",
		"navigationBarBackgroundColor": "#F8F8F8",
		"backgroundColor": "#F8F8F8"
	},
	"uniIdRouter": {},
	"tabBar": {
		"list": [{
				"pagePath": "pages/overview/overview"
			},
			{
				"pagePath": "pages/buyVolume/buyVolume"
			},
			{
				"pagePath": "pages/media/media"
			},
			{
				"pagePath": "pages/person/person"
			}
		]
	}
}
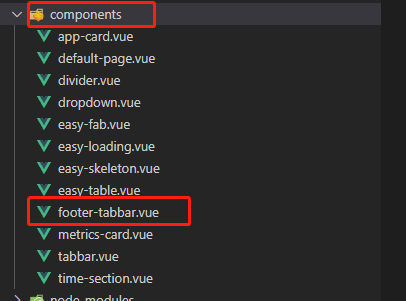
关于自定义组件,就记录一个自定义tabber来参考:
首先在components文件夹下新建组件:
功能较简单,就不赘述了,贴一下代码万一以后拿去复制:
<template>
	<view class="tab-bar">
		<view class="tab-bar-border"></view>
		<view v-for="(item,index) in tabBarList" :key="index" class="tab-bar-item" :data-id="index" @click="jump(item)">
			<image :src="current === item.index ? item.selectedIconPath : item.iconPath"></image>
			<view :style="{'color':current === item.index ? '#70b603' : '#909399'}" style="margin-top: 10rpx;">
				{{item.text}}
			</view>
		</view>
	</view>

</template>

<script>

	export default {
		name: "footer-tabbar",
		props: {
			tabBarList: {
				type: Array,
				default: uni.getStorageSync('tabBarList')
			},
			current: Number,
			gameId: String | Number
		},
		data() {
			return {
				value1: 0, // 默认页面
				inactiveColor: '#909399' // 高亮颜色
			}
		},
		onShow() {
		},
		methods: {
			// 点击跳转对应tabbar页面
			jump(e) {
				uni.switchTab({
					url: e.pagePath
				})
			}
		}
	}
</script>

<style lang="scss" scoped>
	.tab-bar {
		position: fixed;
		bottom: 0;
		left: 0;
		right: 0;
		height: 48px;
		border-top: 1px solid #ccc;
		background: white;
		display: flex;
		z-index: 98;
	}

	.tab-bar-border {
		// background-color: rgba(0, 0, 0, 0.33);
		background-color: white;
		position: absolute;
		left: 0;
		top: 0;
		width: 100%;
		height: 1px;
		border-top: 2rpx solid rgba(187, 187, 187, 0.3);
		transform: scaleY(0.5);
	}

	.tab-bar-item {
		flex: 1;
		text-align: center;
		display: flex;
		justify-content: center;
		align-items: center;
		flex-direction: column;
	}

	.tab-bar-item image {
		width: 24px;
		height: 24px;
	}

	.tab-bar-item view {
		font-size: 10px;
	}
</style>
默认配置:
export function tabbarList() {
	return [{
			iconPath: "/static/biaoqian.png",
			selectedIconPath: "/static/biaoqian_active.png",
			text: '项目概况',
			pagePath: "/pages/overview/overview",
			name: "overview",
			index: 0,
			permission: "JzDataSummaryGame"
		},
		{
			iconPath: "/static/shezhi.png",
			selectedIconPath: "/static/shezhi_active.png",
			text: '买量概况',
			pagePath: "/pages/buyVolume/buyVolume",
			name: "buyVolume",
			index: 1,
			permission: "JzDataSummaryAdvertise"
		}, {
			iconPath: "/static/wenjian.png",
			selectedIconPath: "/static/wenjian_active.png",
			text: '媒体概况',
			pagePath: "/pages/media/media",
			name: "media",
			index: 2,
			permission: "JzDataSummaryChannel"
		}, {
			iconPath: "/static/bianxie.png",
			selectedIconPath: "/static/bianxie_active.png",
			text: '人员概况',
			pagePath: "/pages/person/person",
			name: "person",
			index: 3,
			permission: "JzDataSummaryUser"
		},
	]
}
当接口返回权限时,就可以直接进行处理,存储起来使用
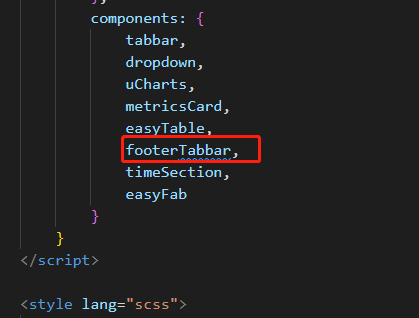
页面中引用:


点击的时候就可以切换到对应页面了。
关于下拉刷新,文档中有示例,使用也很简单:
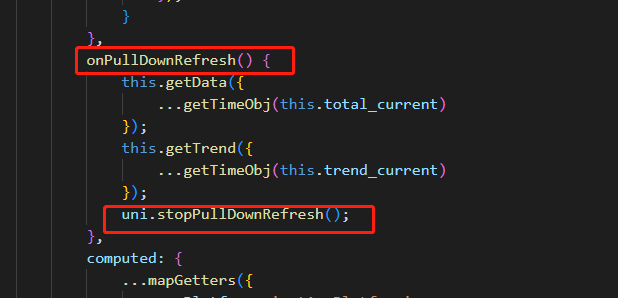
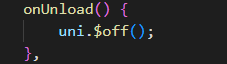
需要注意的是最后要关闭。
其次是关于登陆与否的监听,当没有登录/登陆失败时,进入首页时应当要进行页面跳转。前面登录相关的代码中,已经用了uni提供的监听方法进行登录状态的监听,接下来就是在首页中进行监听:
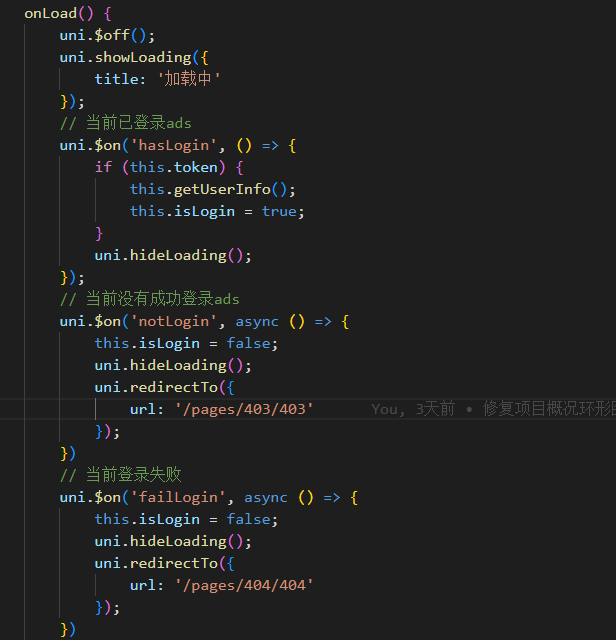
需要注意的是,页面卸载时需要关闭监听,否则会出问题:
关于字体图标,因为我引入后发现uni-icon提供的还蛮好看的,所以配置了也暂时没用,如需使用的话参考文档就好,阿里图标库也可以直接进行下载,很方便(但某种意义上还挺麻烦),使用的话也是按文档写法即可:

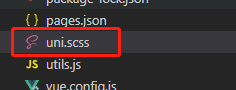
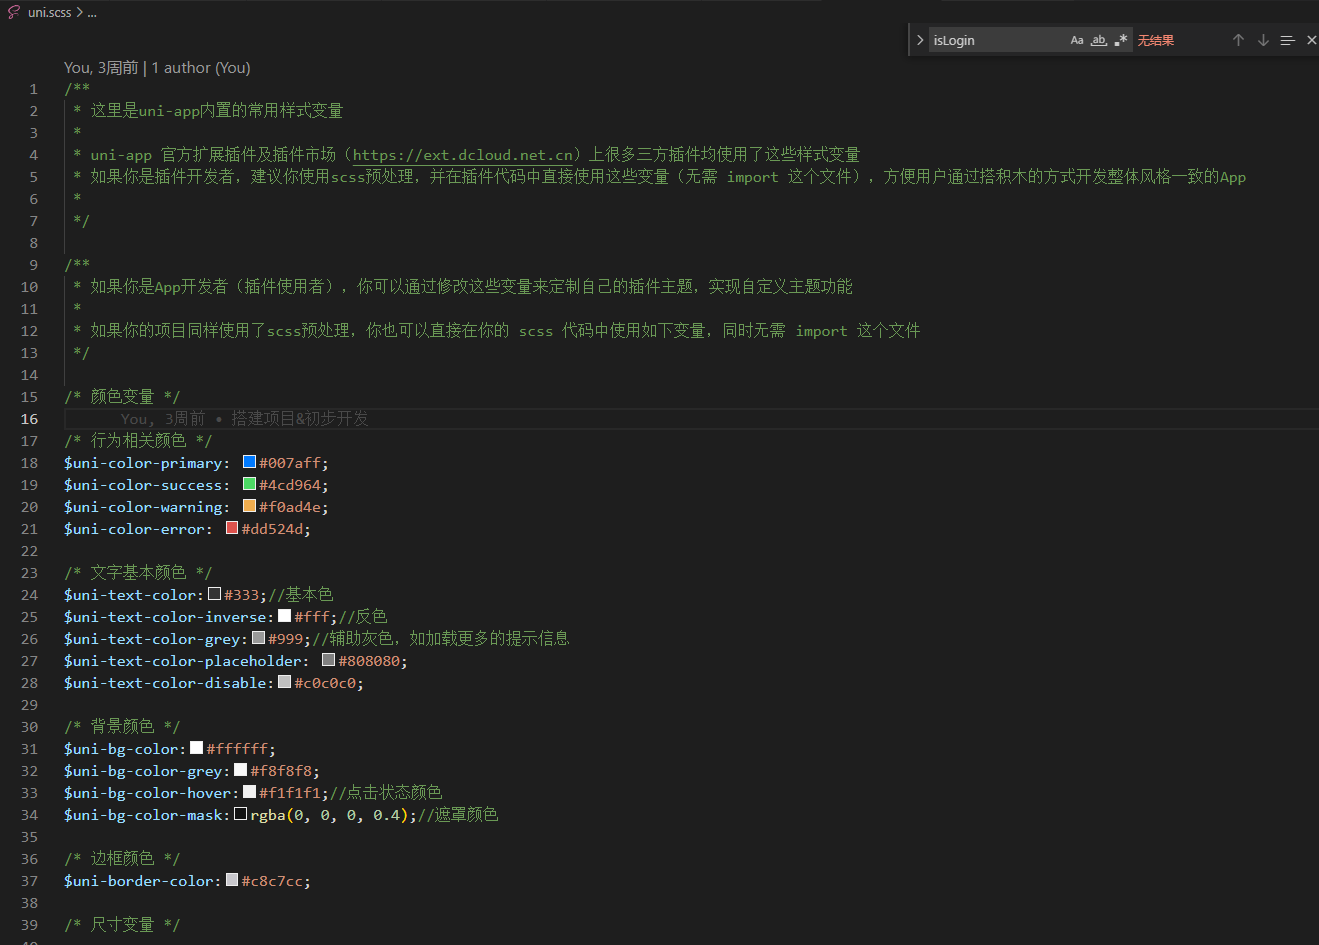
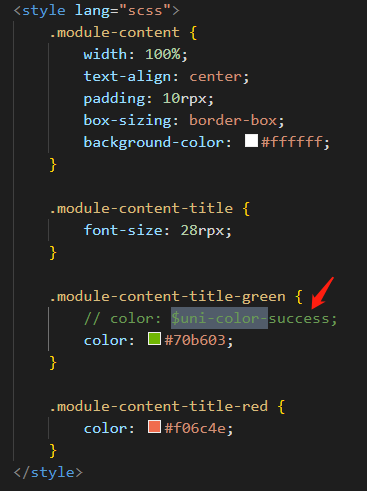
关于颜色,uniapp内置了一个uni.scss的文件,其中配置了许多常用样式变量,可以直接在代码中使用:
<template>
	<view>
		<default-page :imgUrl="imgUrl" :text="text" />
	</view>
</template>

<script>
	import defaultPage from '../../components/default-page.vue';

	export default {
		data() {
			return {
				imgUrl: '/static/403.png',
				text: '暂无极致Data账号,请前往飞书审批提交账号权限申请',
			}
		},
		onShow() {
			// 展示后端返回的信息
			const pages = getCurrentPages();
			const curPage = pages[pages.length - 1].options;
			if (curPage.msg) {
				this.text = curPage.msg
			}
		},
		methods: {

		},
		components: {
			defaultPage
		}
	}
</script>

<style>

</style>
其中基础组件会进行展示:
<template>
	<view class="default-page">
		<view class="default-page-icon">
			<image class="default-page-icon-img" :src="imgUrl"></image>
		</view>
		<view class="default-page-text">
			<view>{{text}}</view>
		</view>
		<view>
			<slot></slot>
		</view>
	</view>
</template>

<script>
	export default {
		name: "default-page",
		props: {
			imgUrl: String,
			text: String,
		},
		data() {
			return {};
		},

	}
</script>

<style lang="scss">
	.default-page {
		text-align: center;

		&-icon {
			&-img {
				display: inline-block;
				width: 340rpx;
				height: 340rpx;
				margin: 180rpx auto 32rpx;
			}
		}

		&-text {
			text-align: center;
			font-size: 30rpx;
			padding: 0 120rpx;
			line-height: 48rpx;
		}

		&-button {
			width: 320rpx;
		}
	}
</style>
项目打包
开发完后,会需要进行发布,只要在hbuilder中选择发布对应的小程序就好,跟运行差不多的步骤,但是打包好的代码是在build下面,从飞书开发者工具导入时需要注意,然后改好应用id,就可以上传代码啦~上传好后会给一个弹窗询问是否去设置,点击去设置的话就会自动打开到开发者后台,就可以更新最新版本咯。
好像也没什么特殊的了~暂时就记到这里~

 浙公网安备 33010602011771号